®
12
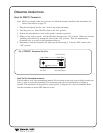
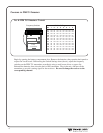
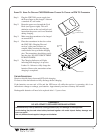
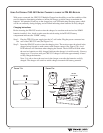
STEP 5: Locate the Tuning Coil (see figure 7). The tuning coil is a small. shiny
metal can with a screwdriver slot in a tuning slug in the top center. The Tuning Slug is
usually black or gray.
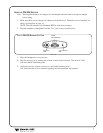
STEP 6: With the earphone or headphone supplied with the receiver plugged into the Ear Jack,
turn the volume control to a comfortable level, and listen for the transmitted signal.
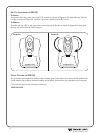
STEP 7: Gently put the tip of the tuning wrench into the slot in the tuning slug. Be careful not to
push hard on the slug so as not to damage the threads in the coil, and do not screw it
down more than 3 turns into the coil.
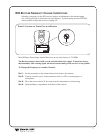
STEP 8: Turn the tuning slug in a counterclockwise direction about two turns. Then, slowly turn
the tuning slug in the clockwise direction until the signal is heard. There may be two
signal points heard. The one which is received first is a false response. Be sure to
continue tuning slightly further to the correct point, which will be much louder
. Tune
back and forth to find the center of the point of best response to the program being
heard.
STEP 9: Mark down the date, and if a new frequency has been chosen, mark it down inside the
receiver case for future reference.


