Getting to Know the Extended Features 35
3. Click the Association tab.
4. Enter the Network name (SSID).
5. Select the WPA2 option for Network Authentication.
6. Select the AES option for Data encryption.
7. Click the Authentication tab.
8. Select the Enable IEEE 802.1x authentication for this network check box.
9. Select the Smart Card or other Certificate option for EAP type.
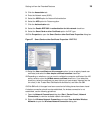
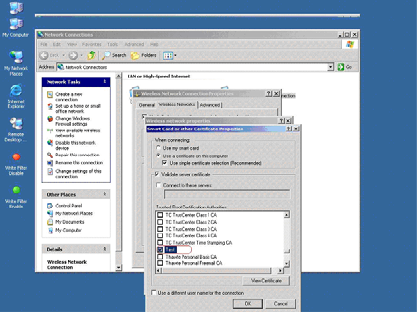
10.Click Properties to open the Smart Card or other Certificate Properties dialog box.
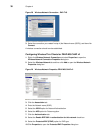
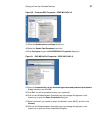
Figure 27 Smart Card or other Certificate Properties - EAP-TLS
11. Select the Use a certificate on this computer option (to use a registry-based user
certificate) and select the Use simple certificate selection check box.
12.Depending on whether or not you want to validate the computer certificate of the IAS
server, select or clear the Validate server certificate check box. If you select the
check box, select the certificate you want (which you have already imported into the
thin client) in the Trusted Root Certification Authorities list, and then click OK.
13.Click OK until all changes have been saved and all dialog boxes have been closed.
A wireless connection should now be established; if a wireless connection is not
established, use the following guidelines:
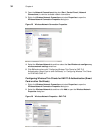
1. Open the Network Connections dialog box (Start | Control Panel | Network
Connections) to view the available network connections.
2. Right-click Wireless Network Connection and select View Available Wireless
Networks to open the Wireless Network Connection dialog box.


