Converting a text image into an HTML document
When you’ve scanned and saved a text image (in TIFF or PICT format), you
can convert it to an HTML file for use on the Internet.
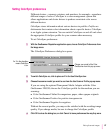
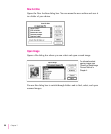
1 If necessary, open the Dispatcher window.
2 Click Archive and open the archive that contains the image you want to convert to HTML.
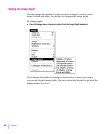
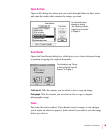
3 Drag the thumbnail of the text image from the archive to the TextBridge drag-and-drop
icon.
This opens the TextBridge application.
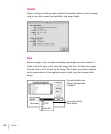
4 In the TextBridge dialog box that appears, make the selections you want.
For an explanation of the features, see your TextBridge manual.
5 When the TextBridge settings are what you want, click Go.
Depending on what you chose in TextBridge, you may have to click a
Continue button one or more times to get to the next step.
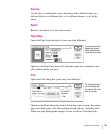
6 In the “Add pages and continue” dialog box, select your document and click Continue.
7 In the Save Output As dialog box that appears, select a Dispatcher archive folder,
choose HTML from the Text pop-up menu, type a name for the file, and click Continue.
TextBridge optical character recognition converts the file to text and saves the
image in HTML format.
8 When you are finished converting images, quit the TextBridge application.
The document appears as an HTML thumbnail in the Dispatcher archive. You
can now drag and drop the HTML thumbnail to applications in the
Dispatcher that support and read HTML files, such as web-authoring
applications.
Note: TextBridge converts images to text and saves them as HTML files but
does not read HTML files.
94
Chapter 6


