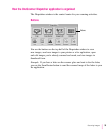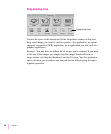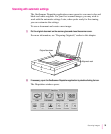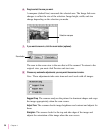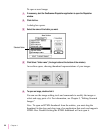
6 Drag to select the area you want.
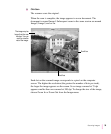
A marquee (dashed line) surrounds the selected area. The Image Info area
changes to reflect the size of the selection. Image height, width, and size
change depending on the selection you make.
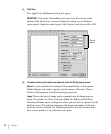
7 If you want to zoom in, click the zoom button (optional).
The area in the zoom view is the area that will be scanned. To return to the
original view, you must click Preview and start over.
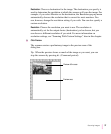
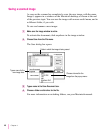
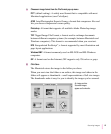
8 Choose any automatic adjustments you may want the scanner to make.
Note: These adjustments take extra time and won’t work with all images.
Suggest Crop
The scanner analyzes the picture for dominant shapes and crops
the image appropriately when the scan occurs.
Adjust Tone
The scanner checks image brightness and contrast and adjusts for
them.
Straighten
The scanner looks for the top and side edges of the image and
adjusts the orientation of the image when the scan occurs.
38
Chapter 4
Zoom button
Selection marquee


