


PRINTING FROM MAC OS X 27
These print options are specific to the EX Print Server and the digital press. You must choose
each Feature Set to see all the options. These options override settings in EX Print Server
Printer Setup but can be changed from Command WorkStation.
If you choose Printer’s default, the job prints according to the settings specified in Setup.
For more information about these options and overrides, see Print Options.
Some print options that are selectable from an application or are provided by Mac OS are
similar to the print options that are specific to the EX Print Server and the digital press. In
these cases, use the print options specific to the EX Print Server and the digital press that
appear in the Fiery Features menu. The application may not set up the file properly for
printing on the EX Print Server, resulting in unexpected finishing, printing errors, or longer
processing time. When you print to your selected digital press, make sure to clear the Collated
check box in the Copies & Pages menu of the printer driver.
If you select an invalid setting or combination of settings when printing a document, no error
message appears. For example, you may be able to select duplex printing on transparency
media. Invalid settings and combinations are ignored by the EX Print Server.
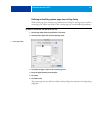
23 Click Print.
Retrieving secure print jobs on the digital press control panel
The Secure Print feature allows you to print sensitive or confidential jobs only when you are
present at the digital press. Before you send a job to print, you first type a password in to the
Secure Print field in the printer driver. To print your Secure Print job, you re-type the
password at the digital press control panel as described in the following procedures.
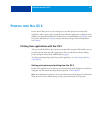
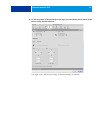
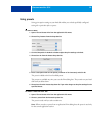
TO SEND A SECURE PRINT JOB
1 Choose Print from the application’s File menu.
2 Choose the EX Print Server as your printer.
3 Choose Fiery Features from the drop-down list.
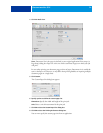
4 Click Full Properties in the Basic window.
5 Click the Job Info tab.
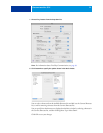
6 Type a password in the Secure Print field.
NOTE: The password is limited to alphanumeric characters (do not use symbols).
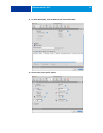
7 Type values for the other fields as needed and then send your job to the EX Print Server.
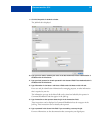
8 Click OK.
9 Click OK.