4800/2400 Series Installation and User Guide 1-1
1 Getting started with your
new scanner
Congratulations on purchasing your One Touch scanner. With your
scanner, you can quickly scan paper documents and color photos
to place their electronic images on your computer. If you have a
transparency adaptor with your scanner, you will also be able to
scan 35mm negatives and slides.
Step 1: Installing the scanner software
NOTE: You must install the scanner software before connecting
the scanner to your computer. Otherwise, the correct driver
software for your scanner will not be installed and it may not work
properly.
To install the scanner software:
1. Start your computer and make sure that no other applications
are running.
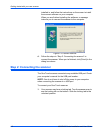
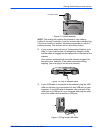
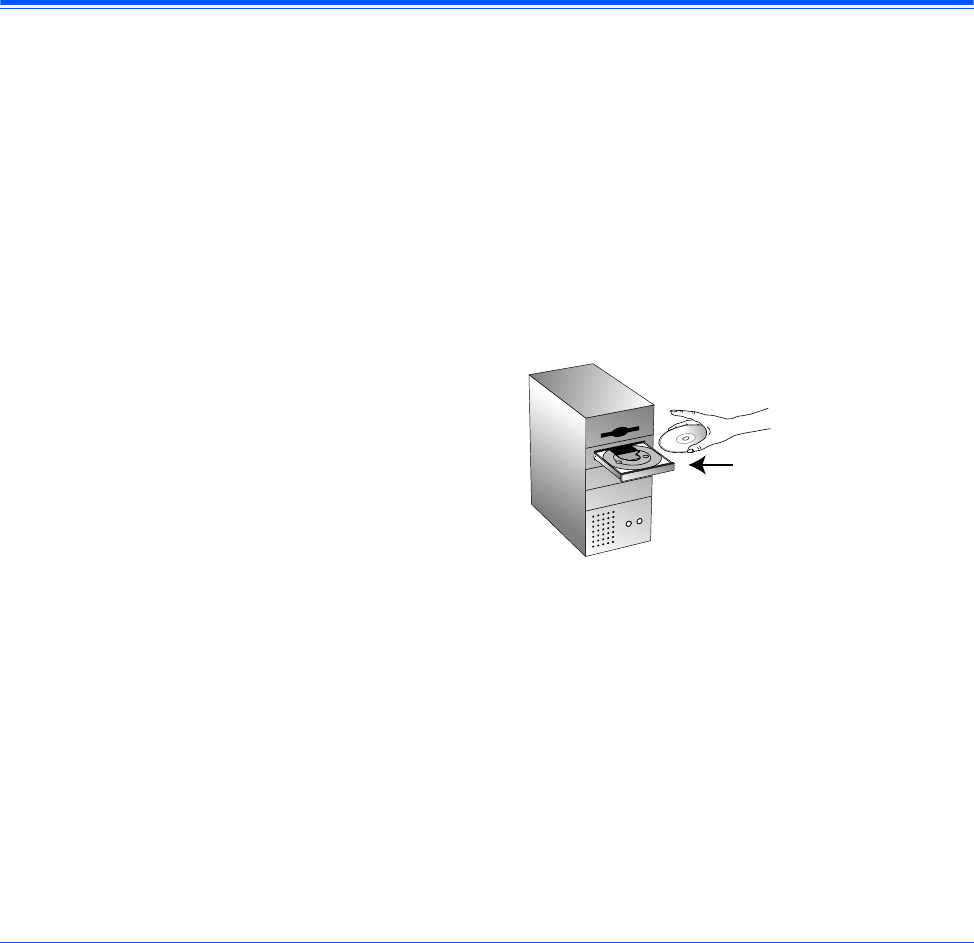
2. Insert the CD into your computer’s CD-ROM drive. The CD
automatically starts.
Figure 1-1 Insert CD
NOTE: If the CD does not automatically start, make sure the CD
drive’s door is completely shut. If the CD still does not start, click
the Windows icon named My Computer. The window shows the
drives available on your computer. Double-click the icon for your
CD-ROM drive to see the list of files on the CD. Double-click the file
named START32.EXE. The CD starts.
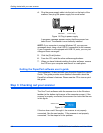
3. When the CD window appears, select the language in which
you require installation instructions. Then click the [PaperPort]
button, select the language you would like PaperPort to be


