24
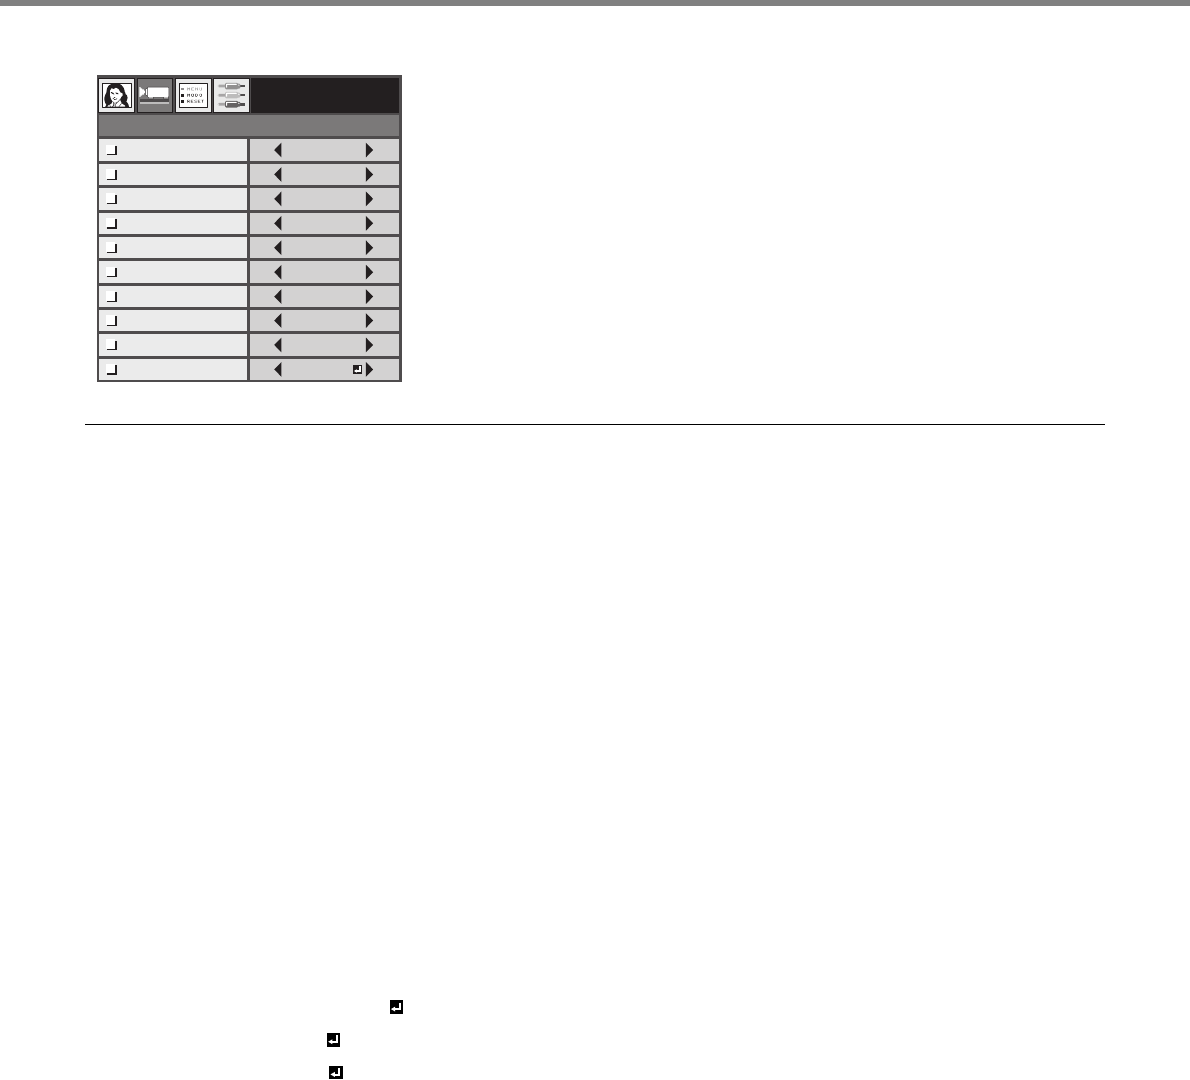
2. SETUP menu
• Do not change the setting of the LAMP MODE frequently. This could damage the lamp.
• To exit from the TEST PATTERN, press any buttons on the remote control.
SETUP
16:9
0
CINEMA
OFF
OFF
ON
BLUE
SCREEN ASPECT
VERTICAL
LOCATION
LAMP MODE
AUTO POWER
ON
AUTO POWER
OFF
SPLASH
SCREEN
HIDE SCREEN
COLOR
FRONT/TABLE
OFF
CROSS HATCH
LOCATION
TRIGGER OUT
TEST PATTERN
TV60
ITEM SETTING FUNCTION
SCREEN ASPECT 16:9, 4:3 Use to select the screen size.
VERTICAL
LOCATION
± 26 Use to adjust the position (height) of the projected image.
LAMP MODE STANDARD Select when using the projector in a bright environment.
CINEMA Select to moderate the intensity of the lamp. The operating sound is reduced and the lamp
lifetime becomes longer.
AUTO POWER ON ON, OFF When ON is selected, the lamp is automatically lit when the power cord is plugged in the
wall outlet. Select ON when using the projector mounted on the ceiling.
AUTO POWER
OFF
OFF, 5 – 60min Use to set the time elapsed before the projector enters the stand-by mode when there is no
signal input from the source.
SPLASH
SCREEN
ON, OFF Select ON to display the splash screen when the power is turned on
HIDE SCREEN
COLOR
BLUE, BLACK Use to select the backbround when there is no signal inputted from the selected source.
LOCATION FRONT/TABLE Select when viewing images from the front with the projector installed on the floor.
REAR/TABLE Select when viewing images projected from behind of the screen with the projector installed
on the floor.
FRONT/CEILING Select when viewing images from the front with the projector installed on the ceiling.
REAR/CEILING Select when viewing images projected from behind of the screen with the projector installed
on the ceiling.
TRIGGER OUT ON, OFF Selec ON when there is a signal received at the TRIGGER OUT terminal
TEST PATTERN
CROSS HATCH
Select to display the test cross hatched pattern.
WHITE
Select to display the maximum brightness image.
BLACK
Select to display the minimum brightness image.


