Settings
30
ªAdjusting Print Picture Quality
≥Select the INPUT method.
≥Select the picture you wish to adjust, and make the Single Screen
Display appear.
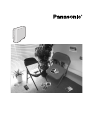
1 Select [Picture] under [OPTION] on the MENU screen,
and press
A.
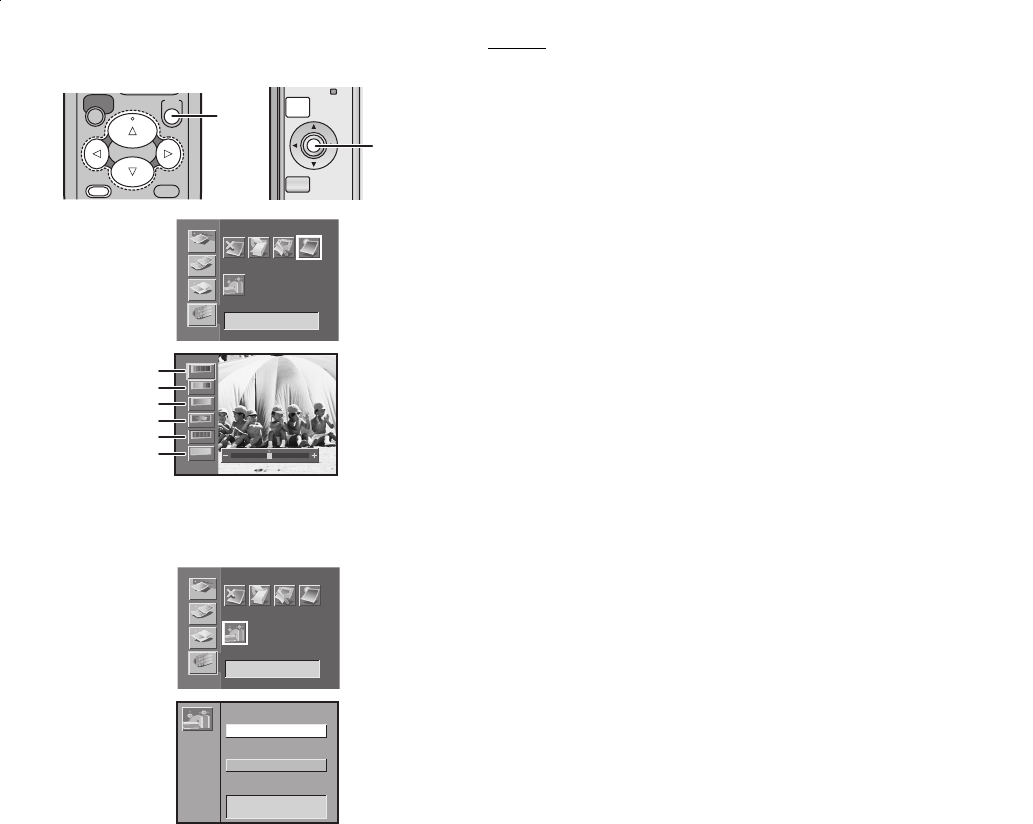
2 Adjust the quality, and press A.
34 Buttons: Item Selection
21 Buttons: Adjust
1Adjust the depth of the color.
2Adjust the color tint.
3Clarify dark portions.
4Adjust picture brightness and shade.
5Sharpen outline.
6Adjust white balance.
≥Adjustments on the TV Screen are approximations.
≥Adjustment on the TV Screen does not affect the printing image.
≥Adjustment of [SHARP] and {AWB] does not change on the TV Screen.
≥Adjustment is not recorded on the card.
≥The color will not become black and white even if adjusting the depth of
the color to [j].
Setting the Layout
When selecting the same setting as the layout, MENU moves as the
Cursor Buttons of the main unit are pushed.
1 Select [Layout] under [OPTION] on the MENU screen,
and press
A.
2 Select [Vertical] or [Horizontal], and press A.
PRINT
MENU
SET
DISPLAY/
CANCEL
A
SET
DISPLAY/
CANCEL
MENU
A
1
Tr i m
A
BASIC
FUNCTION
EFFECT
OPTION
Number Date
5
7
7
5
3
3
2
Picture
Layout
COLOR
BRIGHT
CONTRAST
SHARP
AWB
C·BALANCE
1
2
3
4
5
6
2
Tr i m
A
BASIC
FUNCTION
EFFECT
OPTION
Number Date
5
7
7
5
3
3
2
Picture
Layout
Vertical
Horizontal
Layout
1
2
AP10U-Eng.book 30 ページ 2002年9月27日 金曜日 午前10時8分