26
•
Drag
: Press and hold your finger with some pressure
before you start to move it. Do not release your finger
until you have reached the target position.
•
Rotate
: Automatically change the screen orientation
from portrait to landscape by turning the device
sideways. For example: rotate to landscape orientation
when entering text, to provide a larger keyboard, or
when viewing web content to minimize scrolling.
•
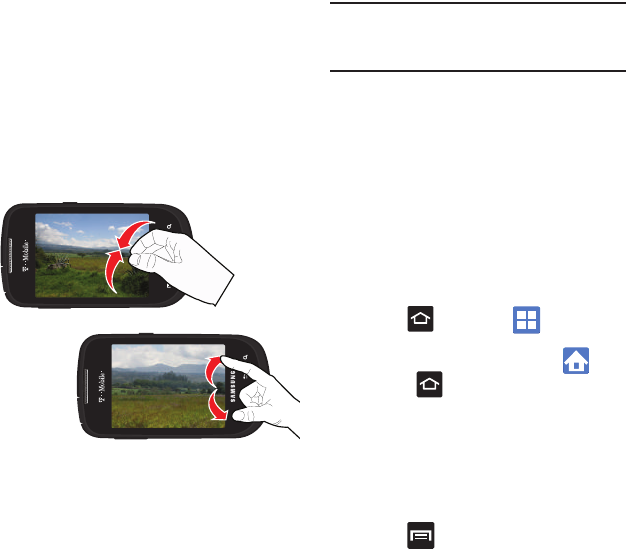
Pinch
: “Pinch” the screen using your thumb and
forefinger to zoom out when viewing a picture or a Web
page. (Move fingers inward to zoom out.)
•
Spread
: “Spread” the screen using your thumb and
forefinger to zoom in when viewing a picture or a Web
page. (Move fingers outward to zoom in.)
Note:
These screens can be re-arranged in any
desired order. For more information, refer to
“Customizing the Screens” on page 32.
Menu Navigation
You can tailor the phone’s range of functions to fit
your needs using both menus and applications.
Menus, sub-menus, and features are accessed by
scrolling through the available on-screen menus.
Your phone defaults with seven home screens.
Navigating Through the Application Menus
There are four default Application Menus available.
As you add more applications from the Android
Marketplace, more screens are created to house
these new apps.
1. Press and then tap (
Applications
).
The first Application Menu displays.
•
To close the Applications screen, tap or
press .
2. Sweep the screen to access the other menus.
3. Tap any of the on-screen icons to launch the
associated application.
Using Sub-Menus
Sub-menus are available from within most screen
and applications.
1. Press . A sub-menu displays at the
bottom of the phone screen.
2. Tap an option.
Pinch (Zoom Out)
Spread (Zoom In)


