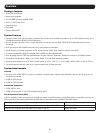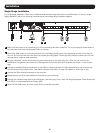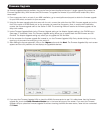
UsetheM3x8Phillipsheadhexscrews
provided with the rack mount kit
Useusersupplied
hardware to attach
to the rack
5
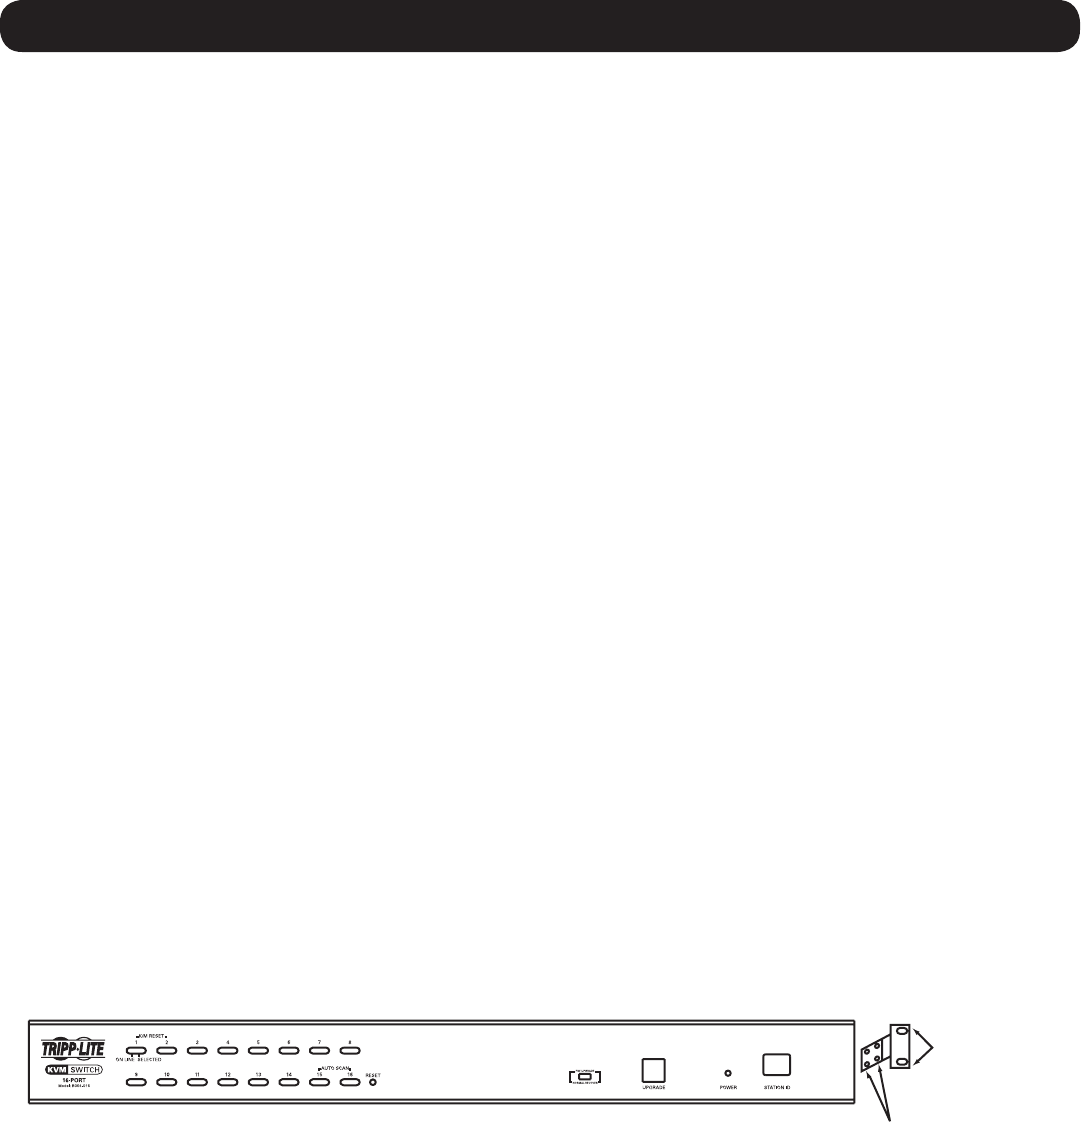
Installation
Rackmount Warnings
•Beforeworkingontherack,makesurethatthestabilizersaresecuredtotherack,extendedtotheoor,andthatthefull
weightoftherackrestsontheoor.Installfrontandsidestabilizersonasinglerackorfrontstabilizersforjoinedmultiple
racks before working on the rack.
•Alwaysloadtherackfromthebottomup,andloadtheheaviestitemintherackrst.
•Makesurethattherackislevelandstablebeforeextendingadevicefromtherack.
•Usecautionwhenpressingthedevicerailreleaselatchesandslidingadeviceintooroutofarack;thesliderailscanpinch
yourngers.
•Afteradeviceisinsertedintotherack,carefullyextendtherailintoalockingposition,andthenslidethedeviceintothe
rack.
•DonotoverloadtheACsupplybranchcircuitthatprovidespowertotherack.Thetotalrackloadshouldnotexceed80
percent of the branch circuit rating.
•Makesurethatallequipmentusedontherack,includingpowerstripsandotherelectricalconnectors,isproperlygrounded.
•Ensurethatproperairowisprovidedfordevicesintherack.
•Ensurethattheoperatingambienttemperatureoftherackenvironmentdoesnotexceedthemaximumambient
temperaturespeciedfortheequipmentbythemanufacturer.
•Donotsteponorstandonanydevicewhenservicingotherdevicesintherack.
Stacking
TheKVMswitchcanbeplacedonanylevelsurfacethatcansafelysupportitsweightplustheweightofattachedcables.When
placingtheKVMswitchonadesktop,removethebackingmaterialfromtherubberfeetthatcamewiththispackageandafx
themtotheswitch’sbottompanelatthecorners.Note: To ensure adequate ventilation, allow at least 5 cm on each side, and
13 cm at the back for power cord and cable clearance.
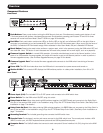
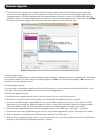
Rackmounting
TheKVMswitchcanbemountedina19-in(1U)rackspace.Therackmountbracketscanbeinstalledoneitherthefrontor
the back of the unit so that it can be mounted to the front or back of the rack.
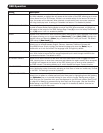
1. Dependingonwhetheryoufront-rackmountorrear-rackmounttheunit,removethetwoscrewslocatedonbothsidesof
the front or back of the unit.
2. Usethescrewssuppliedwiththerackmountkittoattachtherackmountbracketstothefrontorrearoftheunit.
3. Position the device in the front or rear of the rack and align the holes in the mount brackets with the holes in the rack.
4. Secure the rack mount brackets to the rack using user-supplied screws.