5-10 C
HAPTER
5: M
AINTENANCE
AND
U
PGRADES
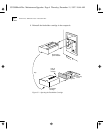
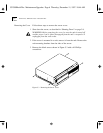
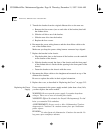
5 Transfer the bracket from the original diskette drive to the new one.
a Remove the four screws (two on each side of the bracket) that hold
the diskette drive.
b Slide the old drive out of the bracket.
c Slide the new drive into the bracket.
d Replace the four screws.
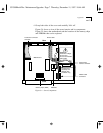
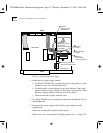
6 Reconnect the power wiring harness and the short ribbon cable to the
rear of the diskette drive.
Make sure you keep the power wiring harness connector keys aligned.
7 Replace the bracket in the chassis.
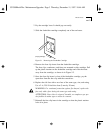
a Slip the keyhole slots on the bottom of the bracket over the standoffs
on the bottom of the chassis.
b Slide the bracket toward the front of the chassis until the front panel
of the diskette drive is flush with the opening in the front panel of the
chassis.
c Fasten the bracket to the chassis with the screw.
8 Reconnect the ribbon cables to the daughtercard mounted on top of the
diskette drive bracket.
Be sure to replace the cables in their original orientation.
9 Replace the cover, as described in “Replacing the Cover” on page 5-15.
Replacing the Power
Supply
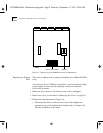
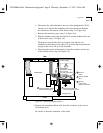
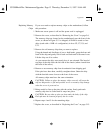
If any component in the power supply module (other than a fuse) fails,
you must replace the entire module.
WARNING:
Do not open the power supply. It contains hazardous
voltages. There are no user-serviceable parts inside.
VORSICHT:
Öffnen Sie niemals das Netzteil. Hochspannung! Es sind
keine zu wartenden Teile enthalten.
AVERTISSEMENT:
Ne pas ouvrir ce bloc d’alimentation. Tensions
dangereuses à l’intérieur. Ne contient aucune piece que l’utilisateur
puisse réparer.
PELIGRO:
No abra fuente de alimentacion. Contiene alta tensión. No
hay partes para reemplazar adentro.
CS2500BookFile : MaintenanceUpgrades Page 10 Thursday, December 11, 1997 10:44 AM


