20 M150 FPD Monitor Installation Guide
Testing the M150 FPD
Note: The M150 FPD has a power status light located on the front of the bezel.
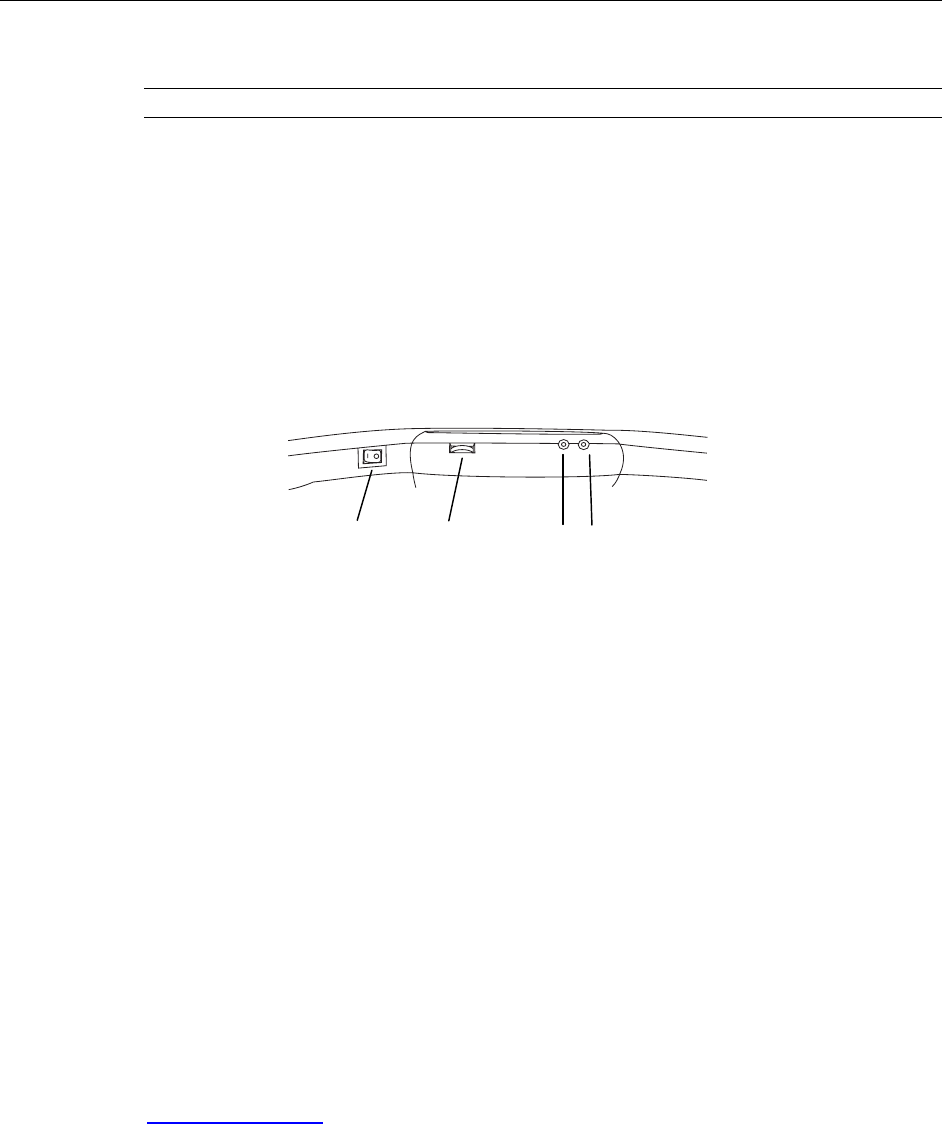
After connection, turn on the power switch located at the bottom of the front bezel.
Before you test your touch monitor, make sure all cables are connected properly and
routed through the cable management system. Be sure to tighten all cable screws.
To test that the monitor is working properly:
1. Turn on your computer.
2. Make sure the video image is displayed. If it is not, turn on your monitor.
3. Make sure the video image is centered within the screen area. Use the monitor controls to
adjust the image, if necessary.
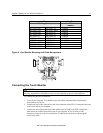
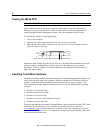
Microphone in
Head Phones
Volume
Power switch
Perform an Auto Config first, then if you wish you can adjust the horizontal and vertical
position, contrast, and brightness to better suit your video card and your personal
preference. Refer to Chapter 3 for more information on using the on-screen menu to
adjust the video display.
Installing TouchWare Software
TouchWare software includes the touch screen driver and control panel that enables your
touch screen to work with your computer. When you install the CD included with your
monitor, TouchWare will automatically load the correct driver for your system. 3M
Touch Systems currently supports touch screen drivers for the following PC operating
systems:
• Windows XP (serial and USB)
• Windows 2000 (serial and USB)
• Windows NT 4.0 (serial only)
• Windows 9x (serial and USB (Windows 98 only))
• Windows Me (serial and USB)
These drivers and relevant technical documentation, can be found on the latest 3M Touch
Solutions CD (19-640) and are also available for download from our website at
www.3Mtouch.com
. After the software is installed, restart your computer to load and
activate the touch screen driver. To complete the setup of your touch monitor, make sure
you calibrate the touch screen.
3M Touch Systems Proprietary Information


