


14
Creating Multi-Line Labels
You can print a maximum of five lines on a label.
The number of lines you can print on a label depends on
the label width you have selected.
The display only shows one line of text at a time. Use the
navigation keys to scroll through multiple lines.
To create a multi-line label
1 Enter the text for the first line, and press
2 Enter the text for the next line.
3 Repeat these steps for each additional line.
Using International Characters
The printer supports the extended Latin character set
using RACE technology. Similar to using a mobile phone
keypad, holding down a letter key will display all the
variations of that letter.
For example, if French is selected as the language and
you hold down the letter a, you will see à á â ã ä å and
so on through all the variations available. The order in
which the variations appear depends on the language
you have selected.
Creating Industrial Labels
You can quickly create labels for special industrial
applications, such as wire/cable wrap, flag, breaker, or
module. You can also create a fixed length label. Hot
Keys are available for each of the label types.
The current label type is displayed in the Caption bar. By
default, the label type is General with no special
formatting, text center aligned, and the length
automatically determined by the amount of text.
Pressing a Hot Key always changes the current label type
to the selected label type. For example, if you choose Flag
and later want a General label, press the General key to
remove the Flag settings and return to General label type.
See
Using Custom Defaults
on page 16 for information
about setting up custom defaults for each label type.
Creating Fixed Length Labels
Normally, the length of the label is determined by the
length of the text entered. However, you may want to
make a label for a specific purpose that is a fixed length
regardless of the length of the text.
The default fixed length is 1.0”. Any change you make to
the fixed length setting remains in effect until you change
the setting.
To set the label length
1 Press + .
2 Select the length of the label and press .
Any text that does not fit within the fixed length appears
shaded in the display and will not print.
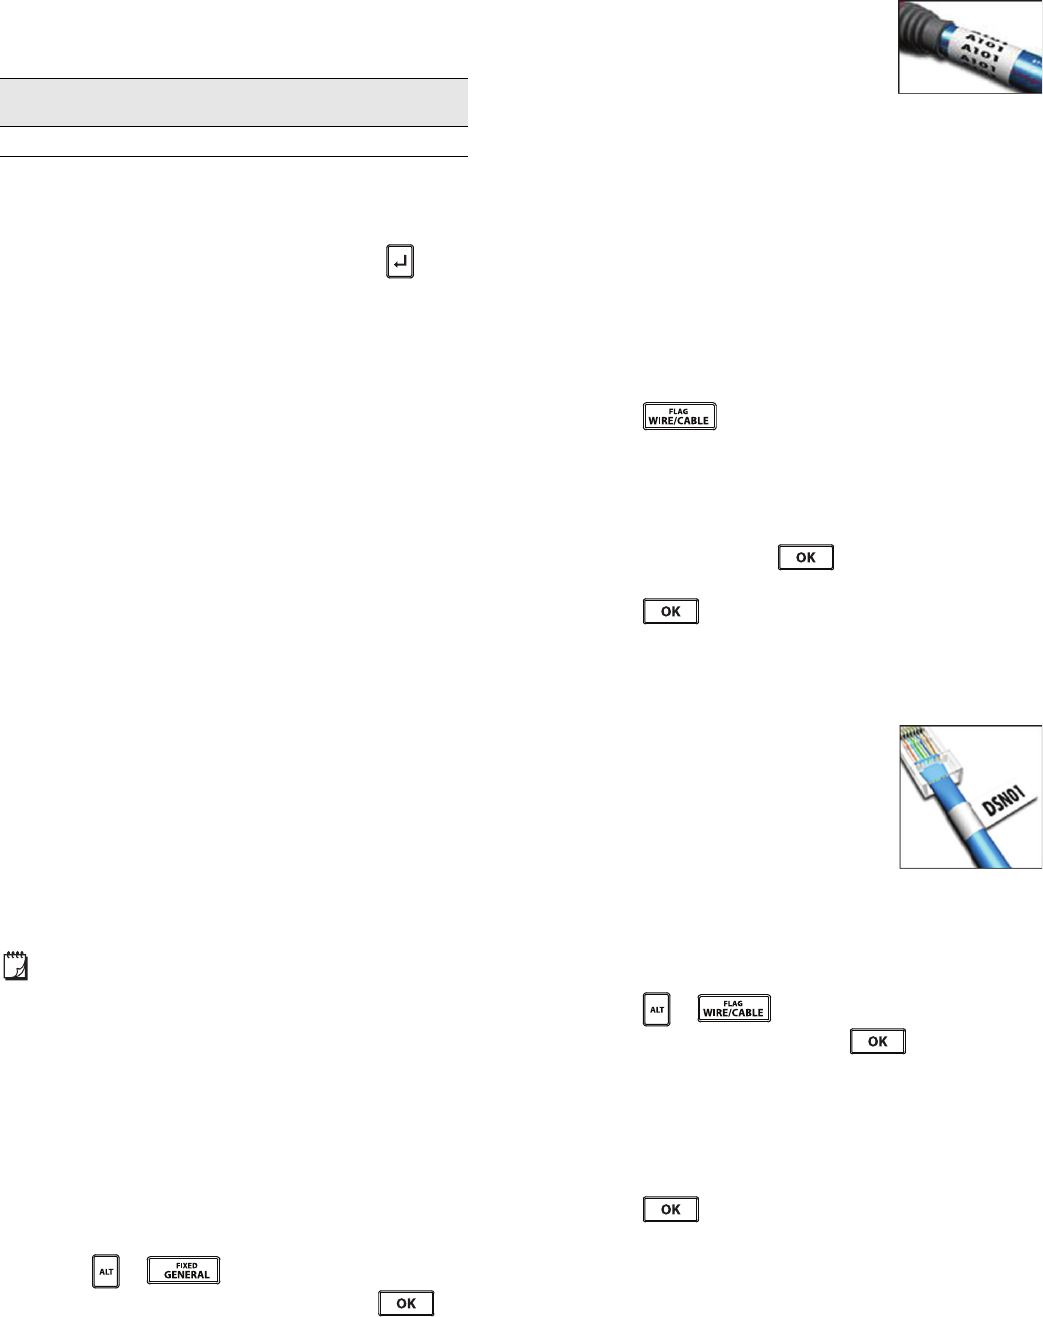
Creating Wire/Cable Labels
A wire/cable label is placed around a
wire or cable. The label text is repeated
as many times as possible depending
on the size of the text and the width or
length of the label.
You can manually enter the diameter of the cable you are
creating a label for, or you can select from a number of
predefined wire gauges and cable types. If you choose a
predefined wire gauge or cable type, the printer
automatically determines the size of the label. The
selections available are shown below.
To create a wire/cable label
1 Press .
2 Do one of the following:
• To select a predefined label size, select the
desired wire gauge or cable type.
• To manually enter the diameter of the cable, select
Self-select, press , and then enter the
diameter of the cable.
3 Press .
To create multiple labels quickly, see Creating a Series
of Labels on page 16.
Creating Flag Labels
A flag label wraps around a wire or
cable leaving the text part of the label
extending out from the cable. The text
on a flag label is automatically printed
on both ends of the label, leaving a
blank space in the middle that wraps
around the cable. When the label is
applied to the cable, both ends of the label are applied
back to back leaving a tail or flag. The result is a label that
can be read from both sides.
To create a flag label
1 Press + .
2 Select the flag type and press .
3 Do one of the following:
• Select the length for the flag portion of the label.
•Select AUTO to have the length for the flag
portion automatically determined by the amount
of text.
4 Press .
To create multiple labels quickly, see Creating a Series
of Labels on page 16.
Label
Width
1/4” 3/8” 1/2” 3/4”
# Lines 1335
CAT X AWG: 0 - 2
COAX AWG: 3+
AWG: 4/0 - 2/0 Self-select