


11
To create a flag label
1. Press + .
2. Select Small, Medium, Large, or XLarge for the
wrap around portion and press .
3. Enter or select the length for the flag portion of
the label and press .
Select AUTO to have the length automatically
set to fit the text.
To create multiple labels quickly, see Creating a
Series of Labels on page 15.
Creating Fixed Length Labels
Normally, the length of the label is determined by
the length of the text entered. However, you may
want to make a label for a specific purpose that is a
fixed length regardless of the length of the text.
The factory default fixed length is 1.0” (25 mm). Any
change you make to the fixed length setting
remains in effect until you change it.
To set the label length
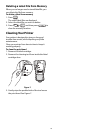
1. Press .
2. Enter or select the length of the label and
press .
Any text that does not fit within the fixed length
appears shaded in the display and will be cut off
when the label is printed.
Creating Panel Labels
You can create two types of panel labels: Patch
Panel and Electrical Panel labels.
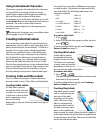
Creating Patch Panel Labels
A Patch Panel label allows
you to label a row of ports
on a patch panel. You
select the distance
between ports, enter the
text, and print. The result
is a long label with
multiple, evenly spaced
text for each port.
To create a patch panel label
1. Press .
2. Select Patch panel and press .
3. Enter or select the distance between each port
and press .
The default distance is 0.6” (12 mm).
4. Enter or select the number of ports and
press .
Each port is separated by a solid black line on
the display.
5. Enter the text for each port in the label.
Use the left or right arrow key to move from
port to port.
To create data for the ports automatically, see
Creating a Series of Labels on page 15.
To print separator lines between the ports, see
Printing Separator Lines Between Cells on
page 14.
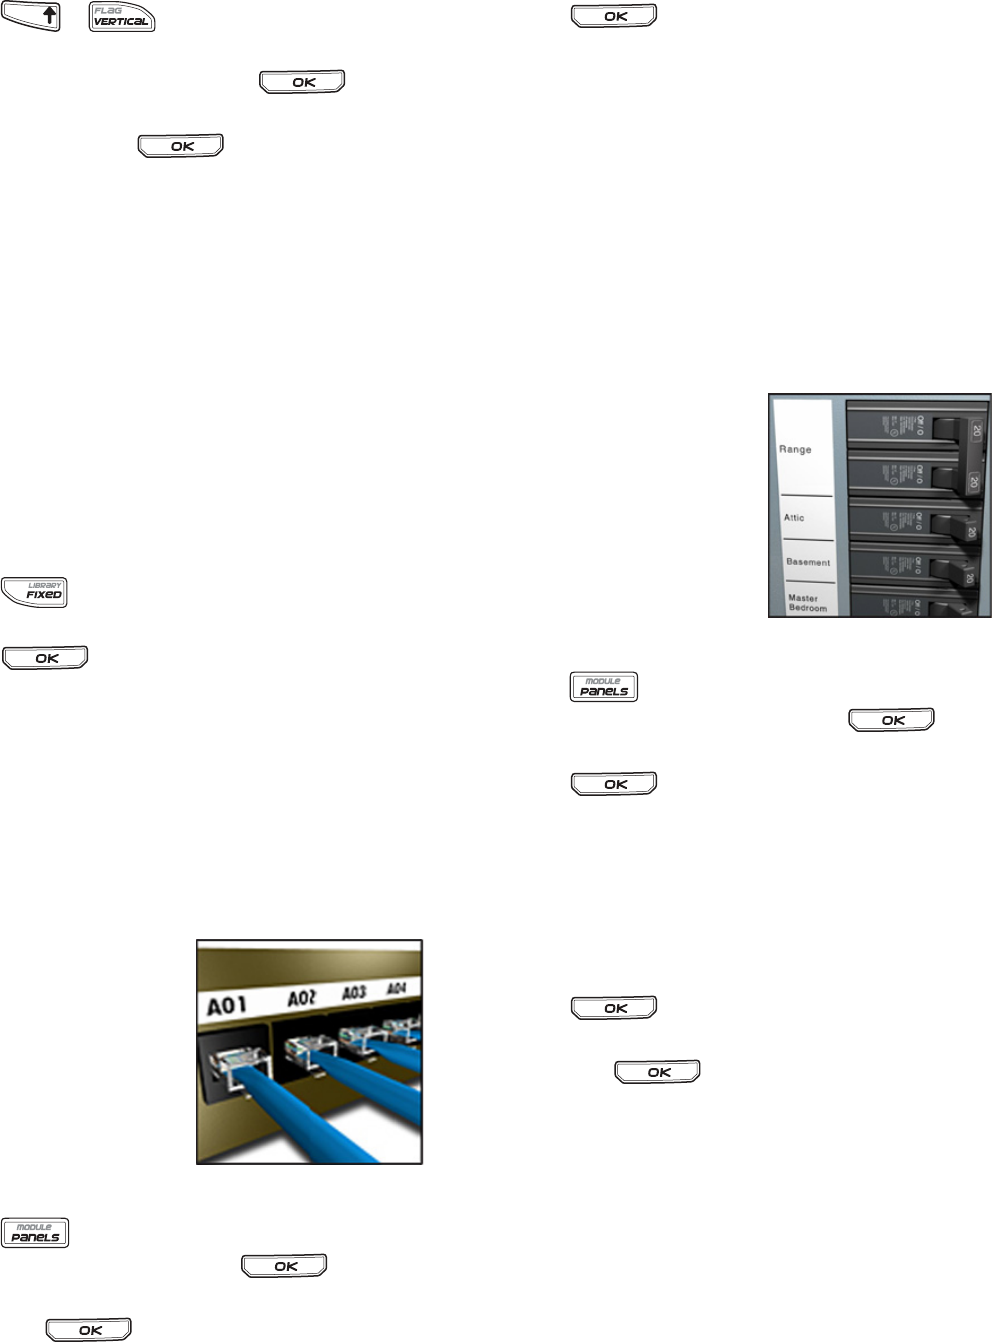
Creating Electrical Panel Labels
An Electrical Panel label
allows you to label a row of
breakers on an electrical
panel. You select the
breaker size and number
of breakers, enter the text,
and print. The result is a
long label with text for
each breaker.
To create an electrical panel label
1. Press .
2. Select Electrical panel and press .
3. Enter or select the breaker length and
press .
Select the length that applies to the smallest size
breaker in the panel. You can then use breaker
multipliers to increase the size of any individual
breakers that are larger. The default breaker size
is 1.0” (25.4 mm).
4. Enter or select the number of breakers and
press .
5. Select the breaker multiplier for each breaker
and press .
Each breaker is separated by a solid black line on
the display.
6. Enter the text for each breaker in the label.
Use the up or down arrow key to move from
breaker to breaker.
To adjust the breaker multipliers after a label has
been created, see Using Breaker Multipliers on
page 12.
To create data for the breakers automatically, see
Creating a Series of Labels on page 15.
TFIHS