5
About Your New Printer
With your new 3M™ Portable Labeler PL200 printer,
you can create a wide variety of high-quality, self-
adhesive labels. You can choose to print your labels
in many different sizes and styles. The printer uses
3M™ Portable Labeler Refill Cartridges in widths of
1/4” (6 mm), 3/8” (9 mm), 1/2” (12 mm), or 3/4”
(19 mm). 3M label refill cartridges are also available
in a wide range of materials, such as flexible nylon,
permanent polyester, vinyl, non-adhesive tag, and
heat shrink tubes.
Visit www.3m.com/electrical for information on
the full line of labels and accessories for your
printer.
Product Registration
Visit www.3m.com/portablelabeler to register
your label printer online.
Getting Started
Follow the instructions in this section to start using
your printer for the first time.
Connecting the Power
The printer can operate on battery or AC power. A
power adapter is included with your printer.
An optional rechargeable battery pack is included
if you purchased the hard case kit.
Visit www.3m.com/electrical for information on
obtaining an optional rechargeable battery pack.
The printer can operate with six AA alkaline
batteries for power; however, alkaline batteries
should only be used as temporary backup power.
To save power, the printer will automatically turn
off after five minutes of inactivity.
Connecting the Power Adapter
The printer uses a 110V-240V power adapter.
Connecting the power adapter with the battery
pack inserted recharges the battery pack.
To connect the power adapter
1. Plug the power adapter into the power
connector on the top of the printer. See Figure 2.
Figure 2
2. Plug the other end of the power adapter into a
power outlet.
Inserting the Battery Pack
The hard case kit includes a rechargeable, Lithium-
ion battery pack for portable use when not
connected to the power adapter. As temporary
backup power, the printer can operate using six AA
alkaline batteries.
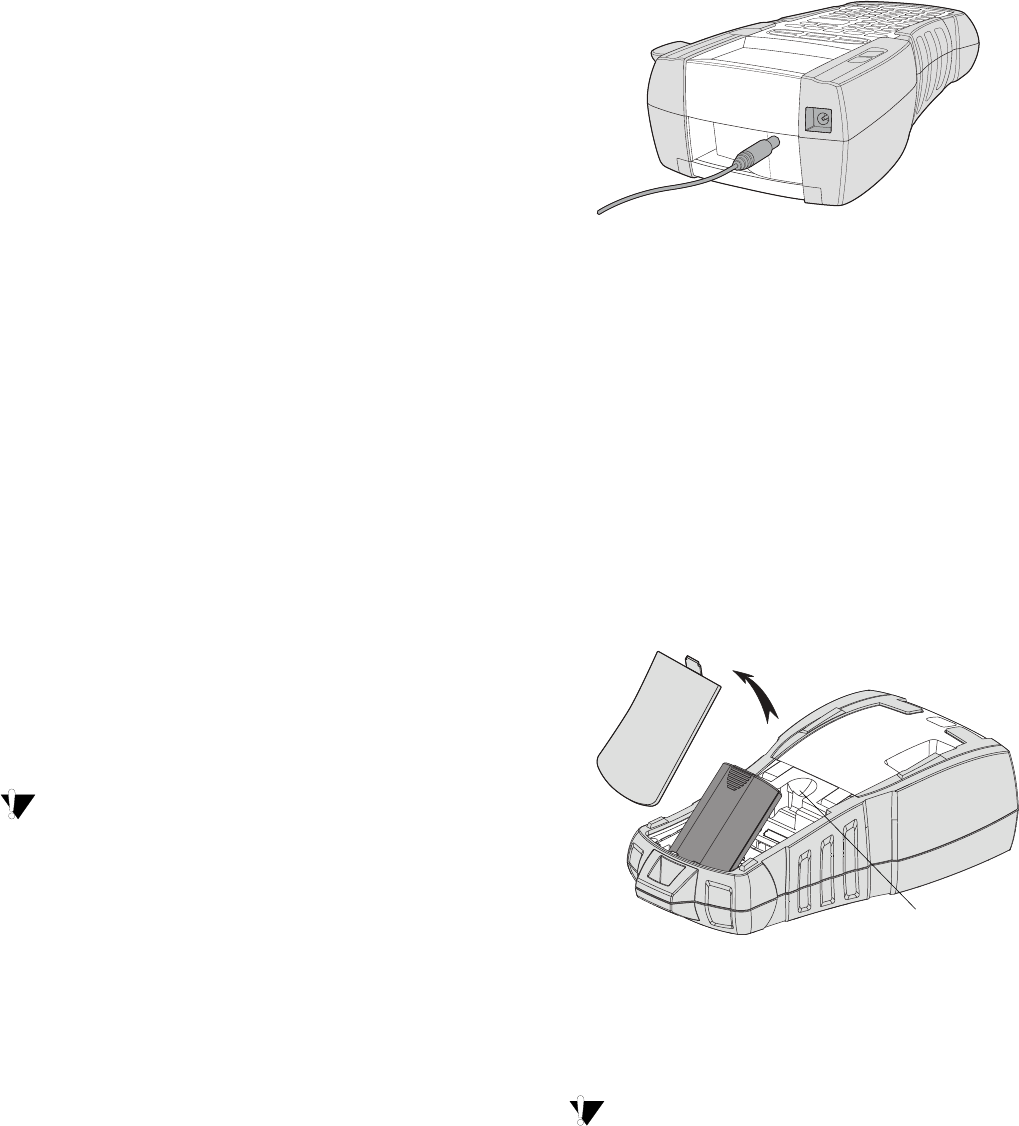
To insert the battery pack
1. Press the thumb latch on the back of the printer
to remove the battery compartment cover. See
Figure 3.
Figure 3
2. Insert the battery pack into the battery
compartment. See Figure 3.
3. Replace the battery compartment cover.
Remove the battery pack if the printer will not
be used for a long period of time.
Press thumb
latch to open


