


Procedures
ATP-CNX-020 Rel. 1.2, Doc. Rev. 01.06 3
Aastra CNX Installation and Setup Procedures
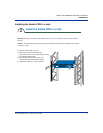
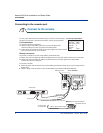
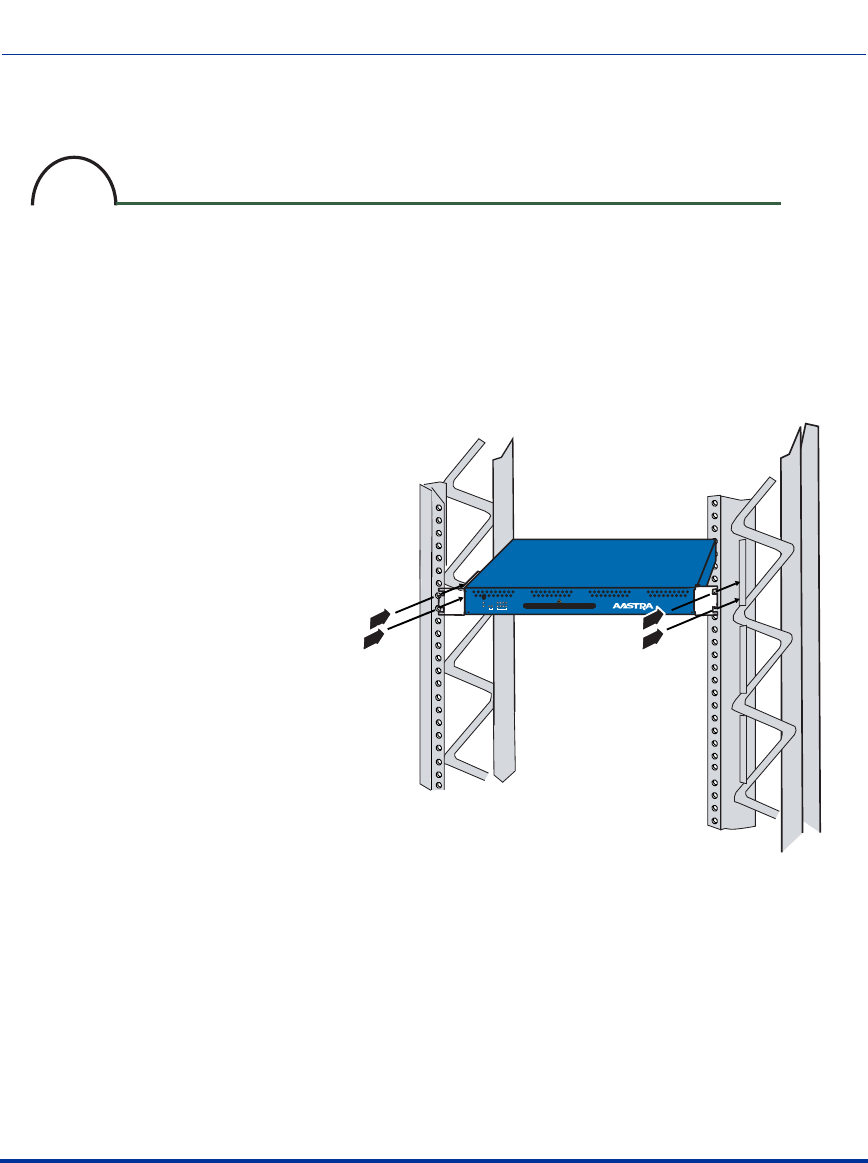
Installing the Aastra CNX in a rack
Warning: Before you install the Aastra CNX unit in a rack, ensure that the rack is sturdy and well
secured.
Caution: The operating environment must provide unobstructed front-to-back airflow to the chassis
mounted in a rack.
a. Mount the rackmount brackets to the
Aastra CNX unit in a flush-mount position using
the 6 Phillips head screws.
b. Align the bracket holes to the rack and
insert truss-head screws (not provided).
c. Tighten the screws to 15 in-lb (.69 Nm).
To install an Aastra CNX in a rack:
Install the Aastra CNX in a rack
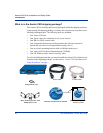
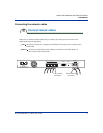
2
CNX
POWER
STATUS
1 2
COMPACTFLASH
ALARM
ACTIVE
1
10/100 ENET
T1 / E1
2
1
2
3
4