72 Chapter 3
Removing the LCD Bezel
1. See “Removing the Battery Pack” on page 44.
2. See “Removing the Lower Cover” on page 45.
3. See “Removing the Lower Cover” on page 45.
4. See “Removing the Optical Drive Module” on page 46.
5. See “Removing the DIMM” on page 46.
6. See “Removing the Hard Disk Drive Module” on page 47.
7. See “Removing the SSD Module” on page 48.
8. See “Removing the RTC Battery” on page 49.
9. See “Removing the Keyboard” on page 51.
10. See “Removing the WLAN Board Module” on page 52.
11. See “Separating the Upper Case from the Lower Case” on page 53.
12. See “Removing the LCD Module” on page 59.
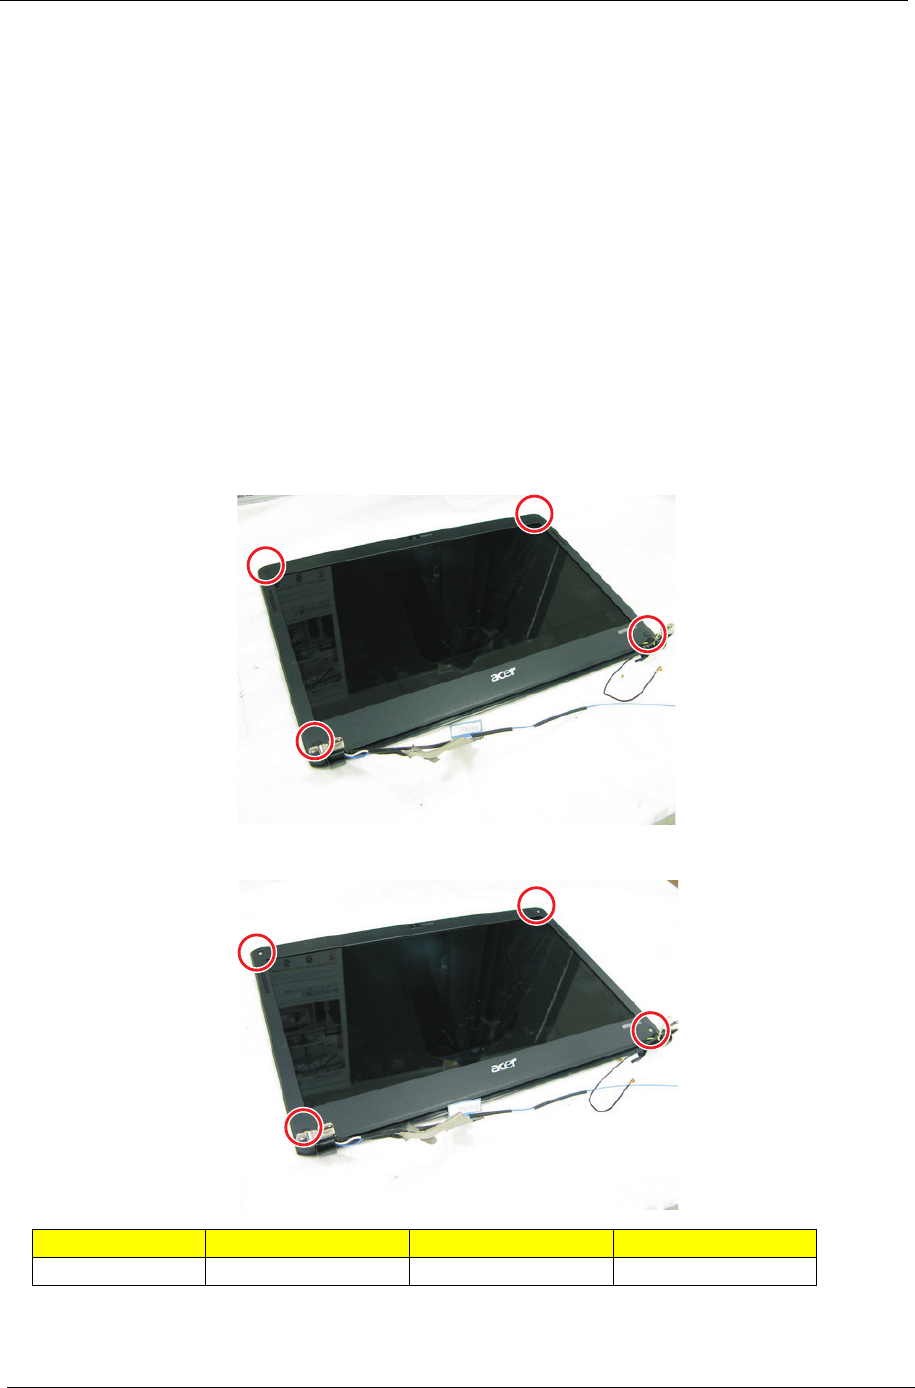
13. Remove the four rubber screw covers from the LCD bezel.
14. Remove the four screws (C) on the LCD module as shown.
Step Size (Quantity) Color Torque
1~4 M2.5 x L3.5 (4) Silver 3.0 kgf-cm


