


Chapter 3 73
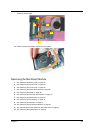
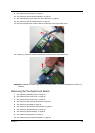
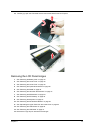
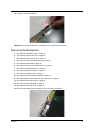
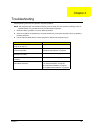
15. Carefully pry open the LCD bezel and and remove the bezel from the LCD panel.
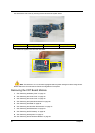
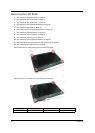
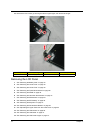
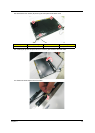
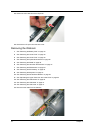
Removing the LCD Panel Hinges
1. See “Removing the Battery Pack” on page 44.
2. See “Removing the Lower Cover” on page 45.
3. See “Removing the Lower Cover” on page 45.
4. See “Removing the Optical Drive Module” on page 46.
5. See “Removing the DIMM” on page 46.
6. See “Removing the Hard Disk Drive Module” on page 47.
7. See “Removing the SSD Module” on page 48.
8. See “Removing the RTC Battery” on page 49.
9. See “Removing the Keyboard” on page 51.
10. See “Removing the WLAN Board Module” on page 52.
11. See “Separating the Upper Case from the Lower Case” on page 53.
12. See “Removing the LCD Module” on page 59.
13. See “Removing the LCD Bezel” on page 72.
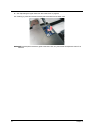
14. Remove the hinge caps on both side of the hinges.