84 Chapter 3
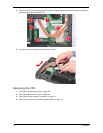
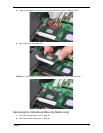
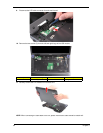
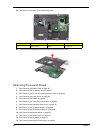
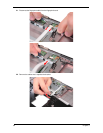
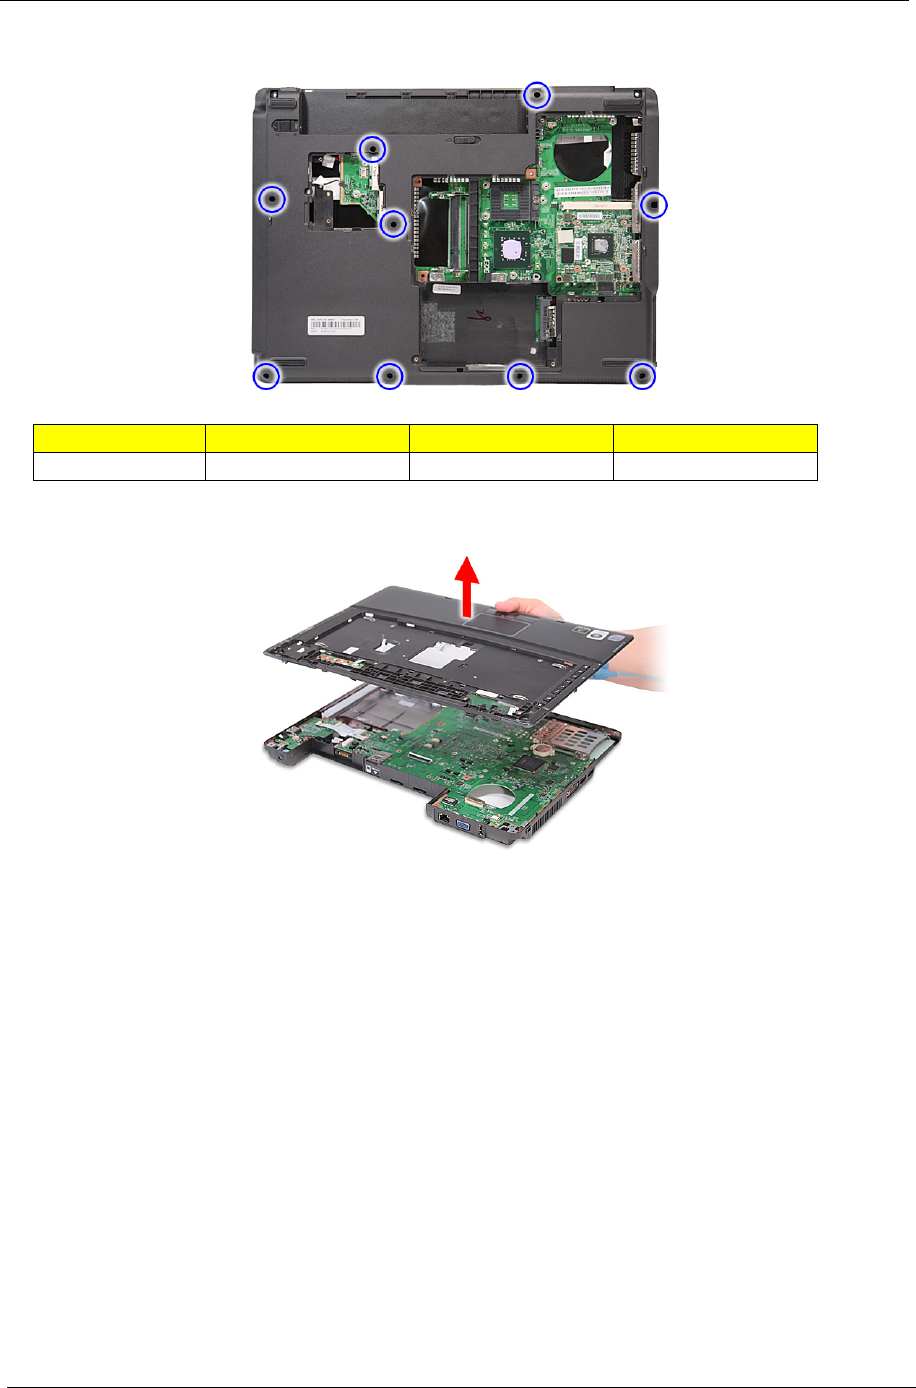
23. Remove the nine screws (C) from the bottom panel.
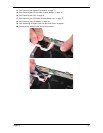
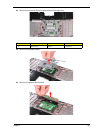
24. Turn the unit over and gently remove the upper case from the lower case.
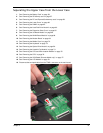
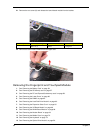
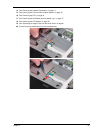
Removing the Launch Board
1. See “Removing the Battery Pack” on page 56.
2. See “Removing the SD dummy card” on page 57.
3. See “Removing the PC and ExpressCard dummy cards” on page 58.
4. See “Removing the Lower Cover” on page 60.
5. See “Removing the DIMM” on page 62.
6. See “Removing the Hard Disk Drive Module” on page 63.
7. See “Removing the Expansion Slots Cover” on page 65.
8. See “Removing the 3G Board Module” on page 66.
9. See “Removing the WLAN Board Module” on page 68.
10. See “Removing the Modem Board” on page 69.
11. See “Removing the Middle Cover” on page 72.
12. See “Removing the Keyboard” on page 73.
13. See “Removing the Optical Drive Module” on page 59.
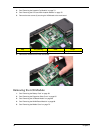
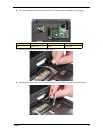
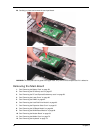
Step Size (Quantity) Color Torque
1~9 M2.5 x L6 (9) Black 3.0 kgf-cm


