


3 Upgrading the system
58
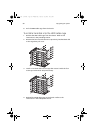
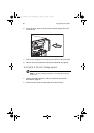
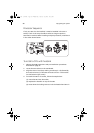
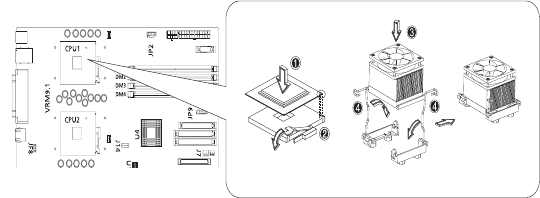
Processor Sequence
If only one CPU is to be installed, it must be installed in the CPU 1
socket; if such is the case, the CPU 2 socket no longer requires a
termination module. When installing multiple processors, install them
in the order shown below.
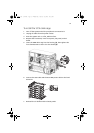
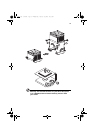
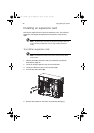
To install a CPU with heatsink
1 Observe the ESD precautions and pre-installation procedures
described on page 37.
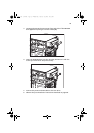
2 Locate the CPU socket on the mainboard.
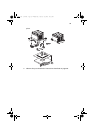
3 Align the CPU to its socket, making sure that pin 1 (indicated by
the notched corner) of the CPU connects to hole 1 of the socket
(on the bottom right corner).
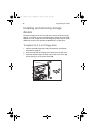
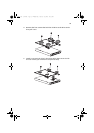
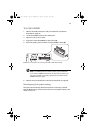
4 To install the CPU to its socket, follow the steps below:
(1) Insert the CPU into the socket.
(2) Replace the heatsink on top of the CPU.
(2) Press down the locking levers to lock the heatsink and CPU in
BB!H621!.!FO/cppl!!Qbhf!69!!Xfeoftebz-!Kbovbsz!9-!3114!!21;63!BN