36
32
34
3
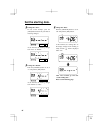
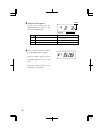
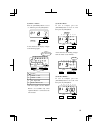
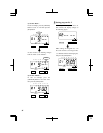
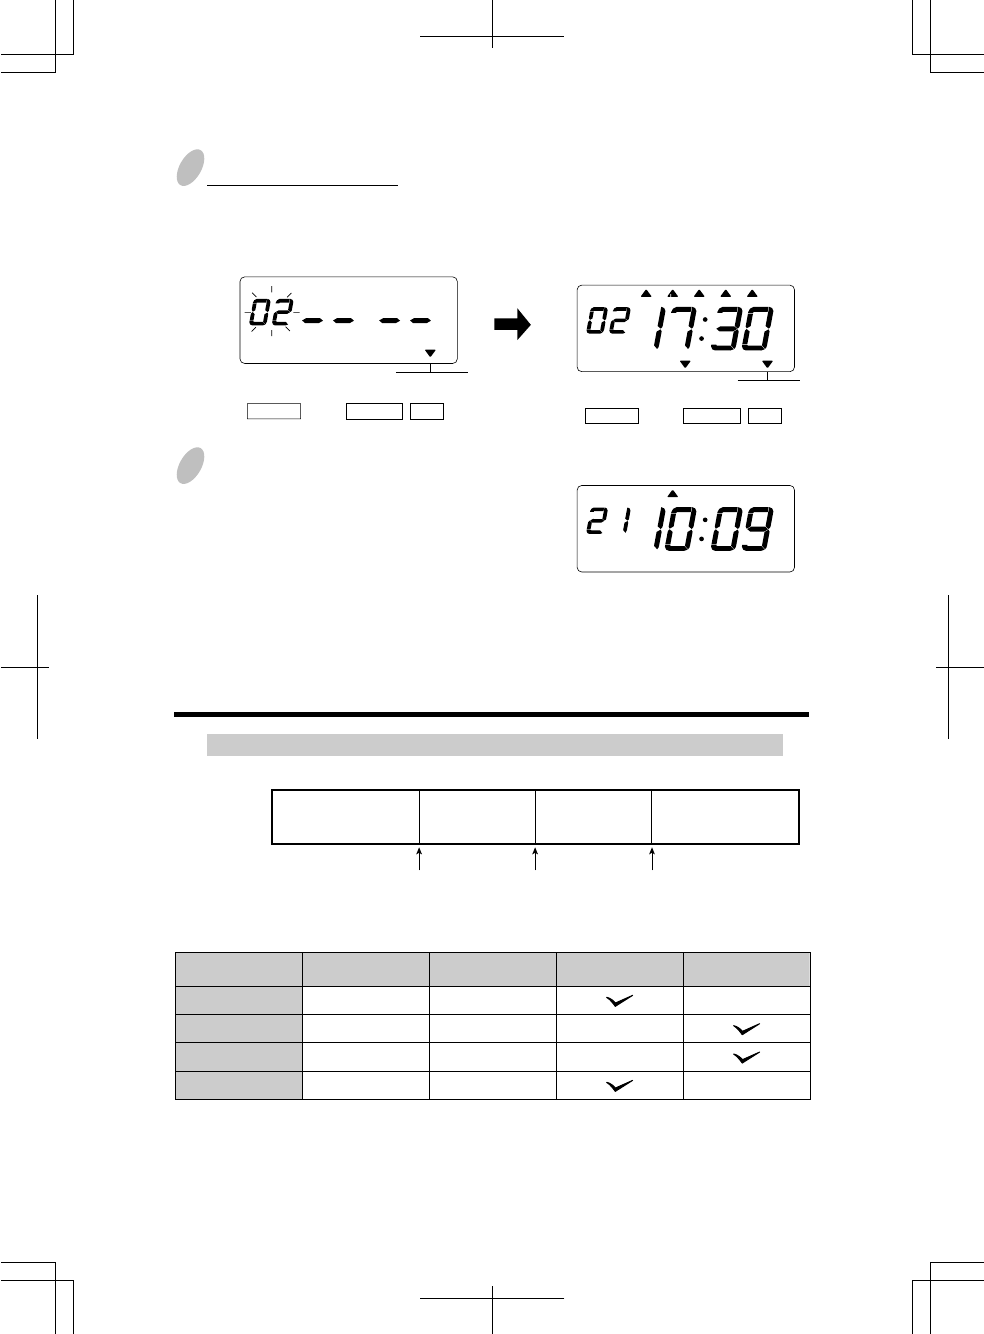
Setting program No. 2
Press the [CHANGE] button twice. At
that moment, the display changes to
the following figure.
Make settings for Program No. 2 in
the same manner as for Program No.
1, as illustrated in the following figure,
and press the [SET] button.
MO TU WE TH FR SASU
SELECT CHANGE SET
TIME TABLE
PROGRAM
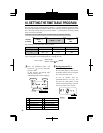
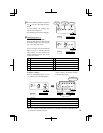
Example 2: The time table program is explained using the following example.
0:00 9:00 0:0017:3012:00
• Up to 48 programs can be set (Program No. 1 through No. 48).
Program No.
01
02
03
04
Day of the week
Mon. - Sat.
Mon. - Sat.
Mon. - Sat.
Mon. - Sat.
Time
9:00
9:00
12:00
17:30
Monday
to Saturday
Ext. Signal
&
Built-in Buzzer
Ext. Signal
ON
Built-in Buzzer
ON
Ext. Signal Built-in Buzzer
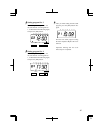
4
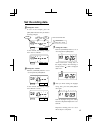
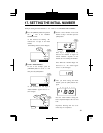
After you finish setting the time table
program, press the [SET] button once
again.
Now the time table program setting
has been completed. Replace
the cover and lock.
Important: Printing will not occur
unless Step 4 is completed.
MO TU WE TH FR SASU
BUZZ EXT.
SIGNAL
*OFF *ON
SELECT CHANGE SET
TIME TABLE
PROGRAM


