welcome contents
installation
& operation
special
configuration
furter
information
12
Video compensation (sharpness and brightness)
Using the in-built X200 controls you can adjust the picture sharpness and
brightness to improve the remote picture quality.
Video compensation is best carried out when viewing high contrast images with
vertical edges, such as black lines on a white background. When doing so, if you
notice that the screen image is ‘fuzzy’ or ‘dark’ then the image controls may not
be able to solve this condition.
To display a suitable high contrast image
The best way to clearly view the effect of
sharpness and brightness adjustments is to display
a high contrast image, with vertical edges, on the
screen.
• Open a word processor, type the capital letter
‘H’, or ‘M’ and increase the point size to 72
or higher. For best results, the background
should be white and the character should be
black.
• A BLACK shadow on the right of the character
indicates UNDER compensation.
• A WHITE shadow on the right of the character indicates OVER
compensation.
Note: The Word processor method is accurate and quick. However, for the very
finest video compensation, use the latest Adder “skew” test pattern program
which shows both the skew pattern and a section of mixed size Hs (black on
white and white on black).
To apply remote user video compensation
Video compensation is controlled by the X200 module and it maintains
independent compensation settings for each of its two ports.
Note: When used with an AdderView CATx switch, also see the section opposite.
1 First select the port that you wish to adjust: On the keyboard that is
connected to the X200 remote module, simultaneously, press the hotkeys
(by default, and ) along along with for the first port or for the
second port.
2 Now enter video configuration mode: On the same keyboard,
simultaneously, press the hotkeys along with .
The three keyboard indicators (‘Num Lock’, ‘Caps
Lock’ and ‘Scroll Lock’) will now begin to flash in
sequence. The speed of the sequence indicates
the level of the sharpness adjustment currently
applied: the slower the rate, the lower the level of
sharpness being applied.
3 While viewing the displayed screen image, use the following keys to adjust
the controls:
Sharpness:
for fine adjustment,
for coarse adjustment.
There are 255 sharpness levels (one coarse step jumps 10 levels).
Note: If the monitor goes blank and switches off (due to oversetting
the sharpness adjustment) press the Home key to restore.
Brightness:
for adjustment. There are 255 brightness levels.
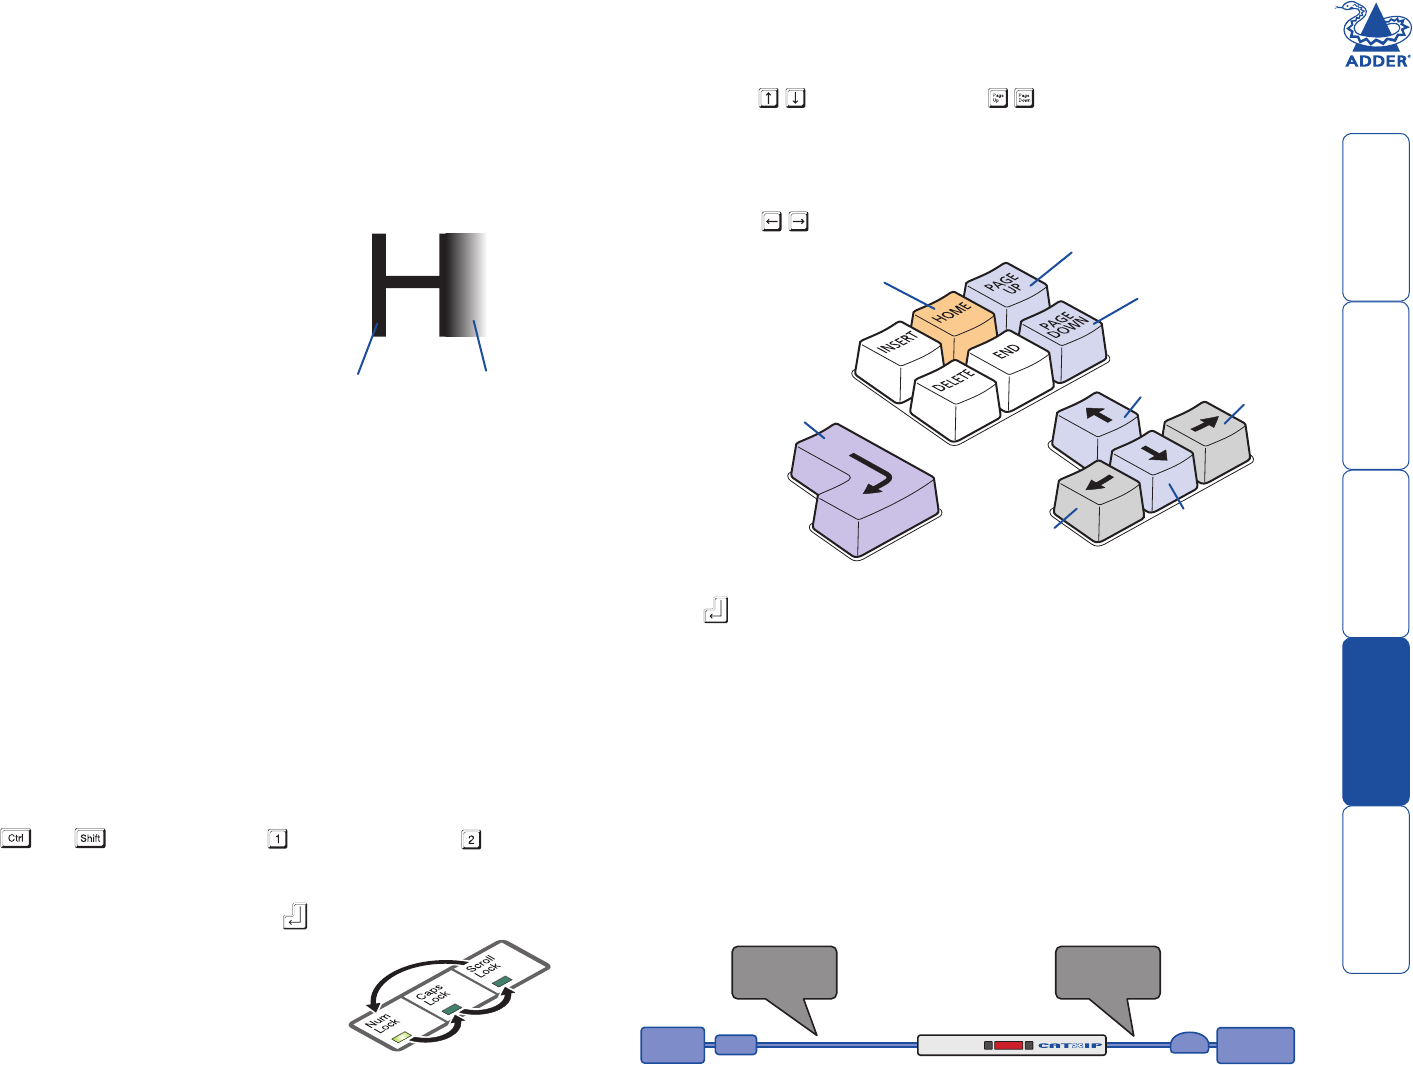
Sharpness
increase
(coarse)
Sharpness
decrease
(coarse)
Sharpness
increase
(fine)
Sharpness
decrease
(fine)
Brightness
increase
Brightness
decrease
Restore default
sharpness and
brightness
settings
Exit image
controls
and save
settings
High contrast
black character
on white
background
Black or bright
white shadow
on the right
indicates
the need for
sharpness
adjustment
4 When no shadows are visible and the displayed images have crisp edges,
press to exit configuration mode and permanently save all settings.
The new compensation settings will be stored, even when power is removed
or if a complete reset is initiated. These settings should not require further
changes unless the cabling arrangements are altered.
Note: To adjust video compensation for the other channel, you must exit
from configuration mode (as described above), select the other channel (as
described in step 1) and then re-enter configuration mode (step 2).
When used with an AdderView CATx switch
The CATx switch will communicate with the X200 module and automatically
add any further CATx to CAM video compensation (set within the OSD of the
CATx switch) to compensate for the distance between the CATx switch and the
final CAM. Important: Ensure that the CATx to CAM compensation has been
configured before adjusting the X200 video compensation.
REMOTE
USER
CATx to CAM
video
compensation
X200 to CATx
video
compensation
X200
CAM
COMPUTER
SYSTEM


