


welcome contents
installation
& operation
special
configuration
furter
information
14
Miscellaneous settings
The following are configuration settings within the modules that are not covered
in other sections of this guide. These can be achieved once within configuration
mode by pressing the indicated keys:
Report X200-series firmware version -
Before initiating this command, ensure that the system is running an application
that can display typed keys as screen characters - e.g. a word processor
or Windows Notepad. The current firmware version will be written to the
application in the form of the letter ‘V’ followed by three numbers - for example
V201 means version 2.01.
Reset all configuration options to default states -
Returns all user configurable options to the settings that are installed at
manufacture. The password will be cleared, however, any current image control
settings or skew adjustments will not be reset.
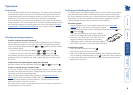
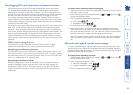
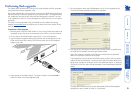
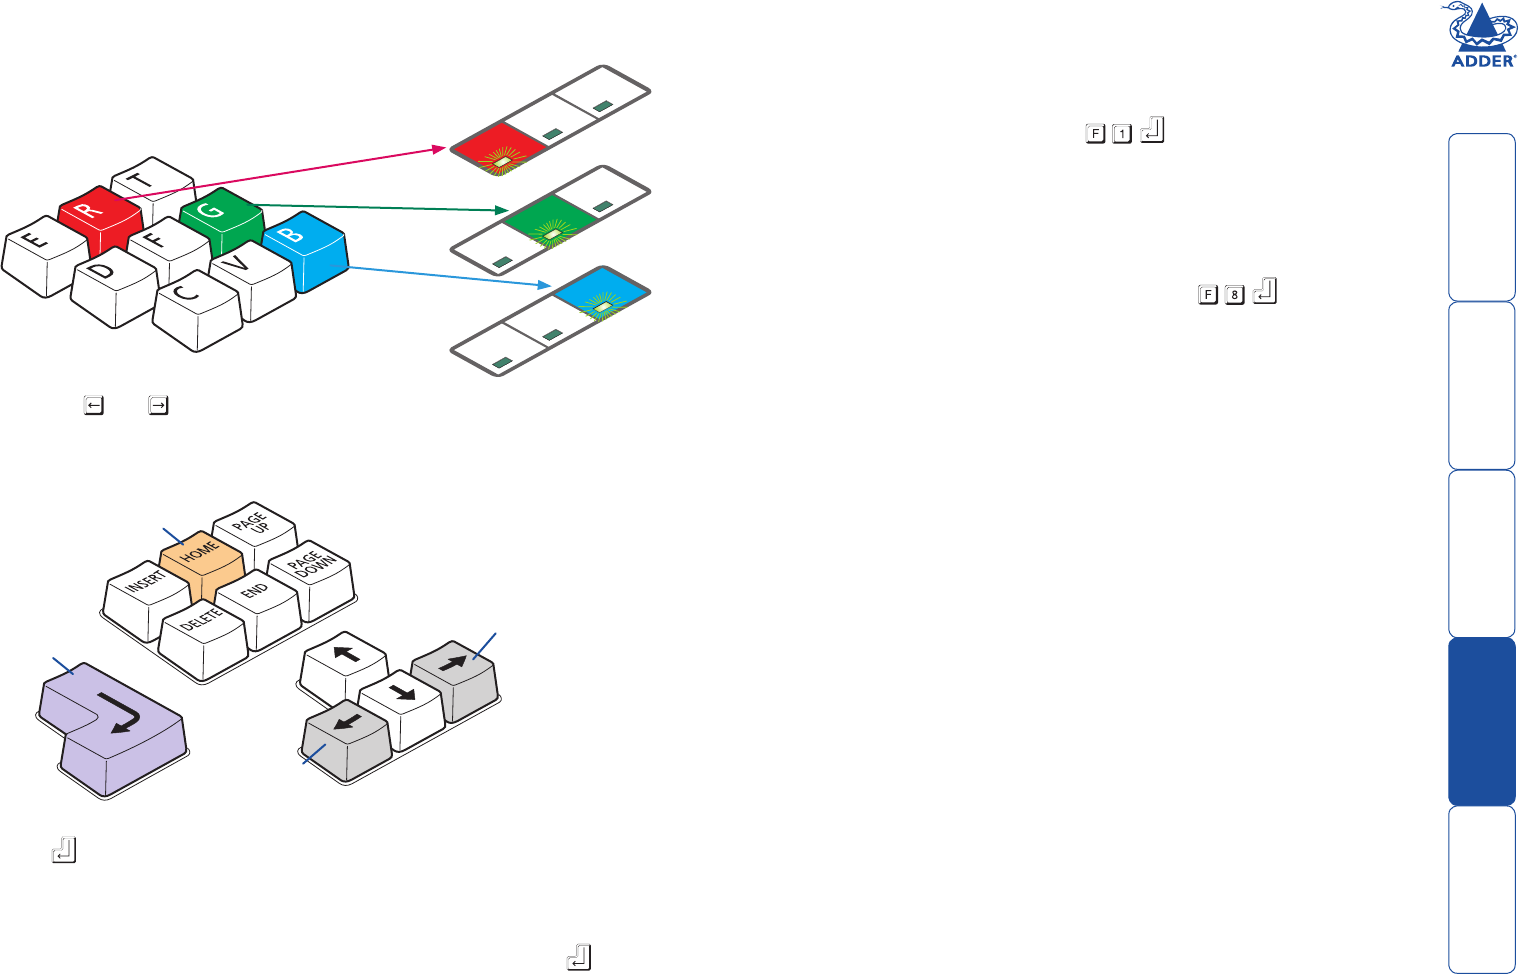
3 As appropriate, press either the R, G or B keyboard keys to
select the appropriate colour channel. Corresponding
keyboard indicators will flash rapidly to show which
channel is currently selected for adjustment:
Num Lock for Red, Caps Lock for Green and
Scroll Lock for Blue.
Advance
colour
timing
Retard
colour
timing
Restore
default
skew
settings
Exit image
controls
and save
settings
Num
Lock
Caps
Loc
k
Scroll
Loc
k
Num
Lock
Caps
Loc
k
Scroll
Lock
Num
Lock
Caps
Loc
k
Scroll
Lock
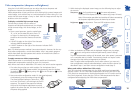
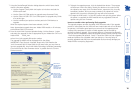
4 Press the
and
keys to retard or advance the timing of the selected
colour channel respectively. On screen you will see a change in the position
of the selected colour crosses (or colour bars) in relation to the other two.
5 When the selected colour crosses (or colour bars) are correctly positioned,
press to exit that colour channel. The keyboard indicators will return to
flashing in sequence.
6 If required, repeat steps 3 to 5 to select and adjust any colour channel until
the vertical lines of the red, green and blue crosses are all aligned.
7 When all colours are correctly aligned on all video channels, press to exit
configuration mode and permanently save all settings.
Note: Once you have made the skew adjustments, it may be necessary to
re-adjust the image controls to attain optimum screen images.