


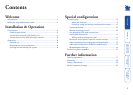


welcome contents
installation
&operation
special
configuration
furter
information
8
Operation
General use
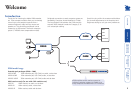
In use, the X200 module should be transparent - the system and its peripherals
should operate exactly as normal, the only difference being that they are now
a long distance apart and two computer systems (or more when used with an
AdderView CATx switch) can be viewed from a single set of peripherals.
In some installations, you may see some ‘shadows’ to the right of high contrast
screen characters. This can be caused by an incorrectly selected sharpness setting
and it may be necessary to make adjustments to correct this. Please see Video
compensation - sharpness and brightness in the ‘Special configuration’
section.
Locking and unlocking the system
In situations where the computer systems (and their local CAMs) can be locked
away, the X200 module offers a viable security system to deter unauthorised
use. Once a password has been set, a simple key sequence allows each system
to be quickly and securely detached from the common peripherals. Only the
correct password will reconnect the remote and local modules.
To lock the system
1 First set a password. For further details, please refer to the Password
setting section in the ‘Special configuration’ chapter.
2 Simultaneously press the currently configured hotkeys (by default, and
) along with .
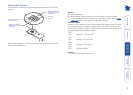
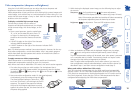
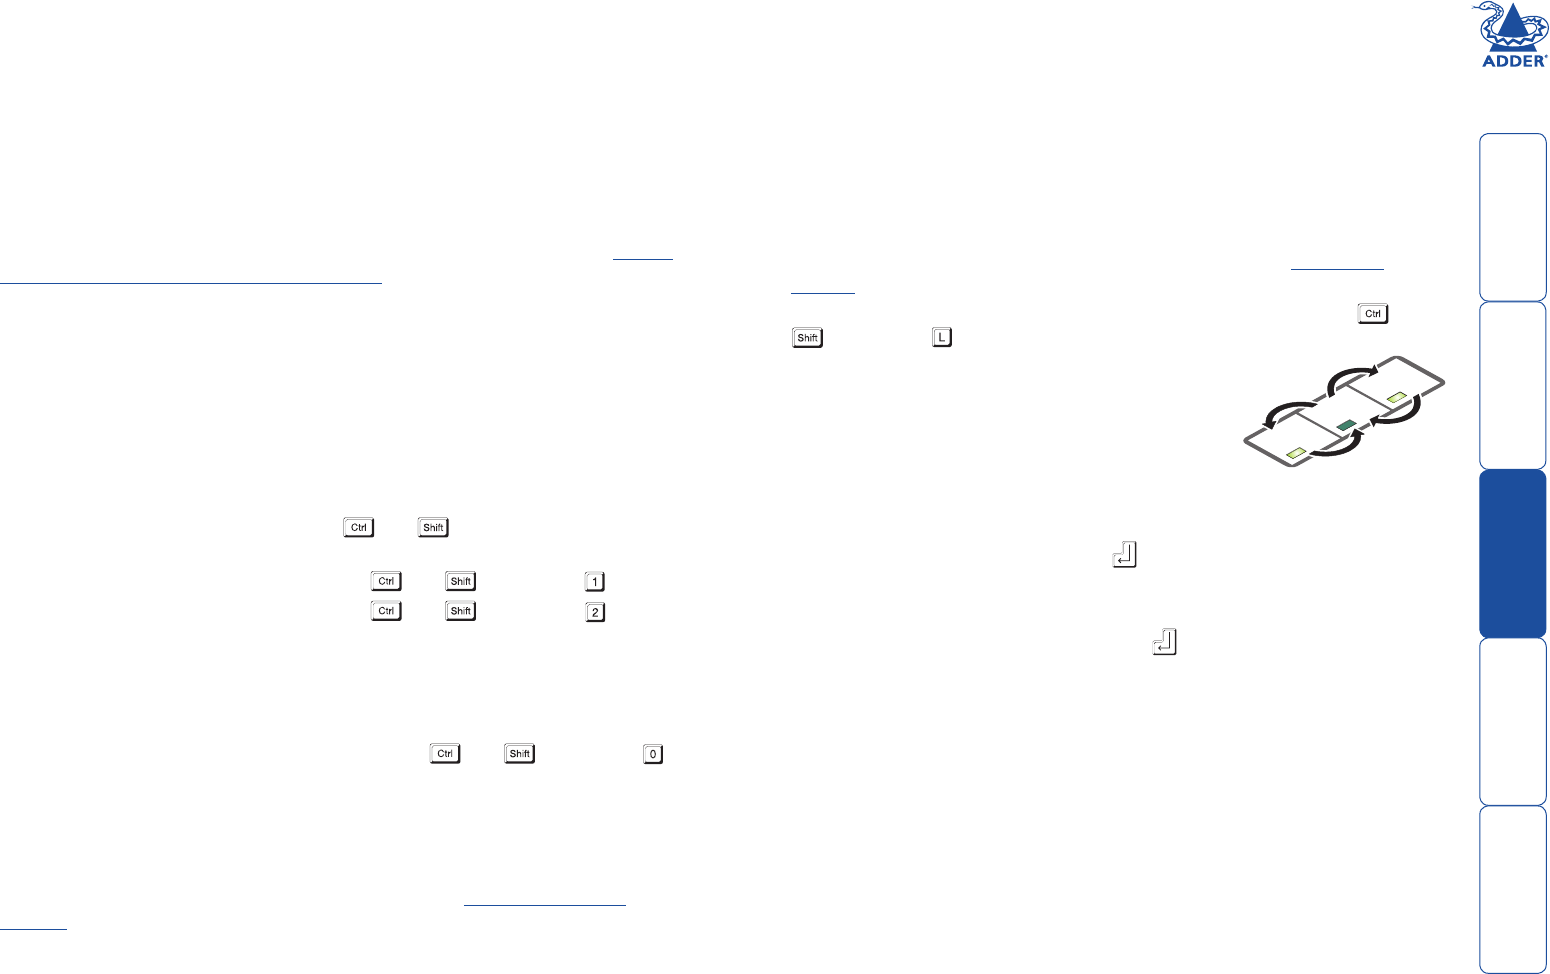
The screen will go blank and the three keyboard
indicators will begin alternately flashing between the
‘Num Lock’ and ‘Scroll Lock’, and ‘Caps Lock’. This
sequence indicates that a password is required.
Additionally neither of the green indicators adjacent
to the CATx connectors on the X200 module will be lit.
To unlock the system
1 Enter the correct password and press .
Note: Passwords are NOT case sensitive.
Note: If an invalid password has been entered and the keyboard indicators
are not flashing as described above, press to clear the incorrect attempt.
2 If the correct password is entered, the screen will be restored and normal
operation can continue.
Num
Lock
Caps
Lock
Scroll
Loc
k
Selecting and using computers
To select a system using the keyboard
Use the keypress combinations (on the common keyboard) to switch between
the two computer systems. In each case, you need to simultaneously press the
currently configured hotkeys (by default, and ) together with the number
of the required system:
• System 1: Press the hotkeys (by default, and ) along with
• System 2: Press the hotkeys (by default, and ) along with
Once entered, (providing the system isn’t locked - see opposite) the remote
peripherals will be connected to the chosen system and you can begin using it
as normal.
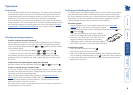
To disconnect from both systems (using the keyboard)
Press the currently configured hotkeys (by default, and ) along with
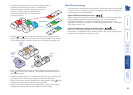
To select a system using a 3 button mouse
You can use a 3 button mouse to change between channels. A 3 button mouse
can either have three distinct buttons or alternatively be a ‘wheel mouse’ where
the central scroll wheel may be depressed.
Notes: You first need to enable mouse switching - see Mouse switching
control. When mouse switching is enabled, the click of the centre button (or
wheel) will not be passed to the host computer - the rotary action of a scroll
wheel will, however, continue as normal.
Press and hold the centre mouse button and then click the left mouse button to
change between the two channels.