


5 PPPoAĆtoĆPPTP Relaying for Microsoft Windows
27 / 88
3EC 17058 AAAA TCZZA Ed. 02
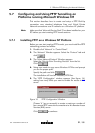
5.4 Using PPPoAĆtoĆPPTP Relaying for Microsoft
Windows 9x (or later)
5.4.1 Establishing a PPPoA/PPTP Connection
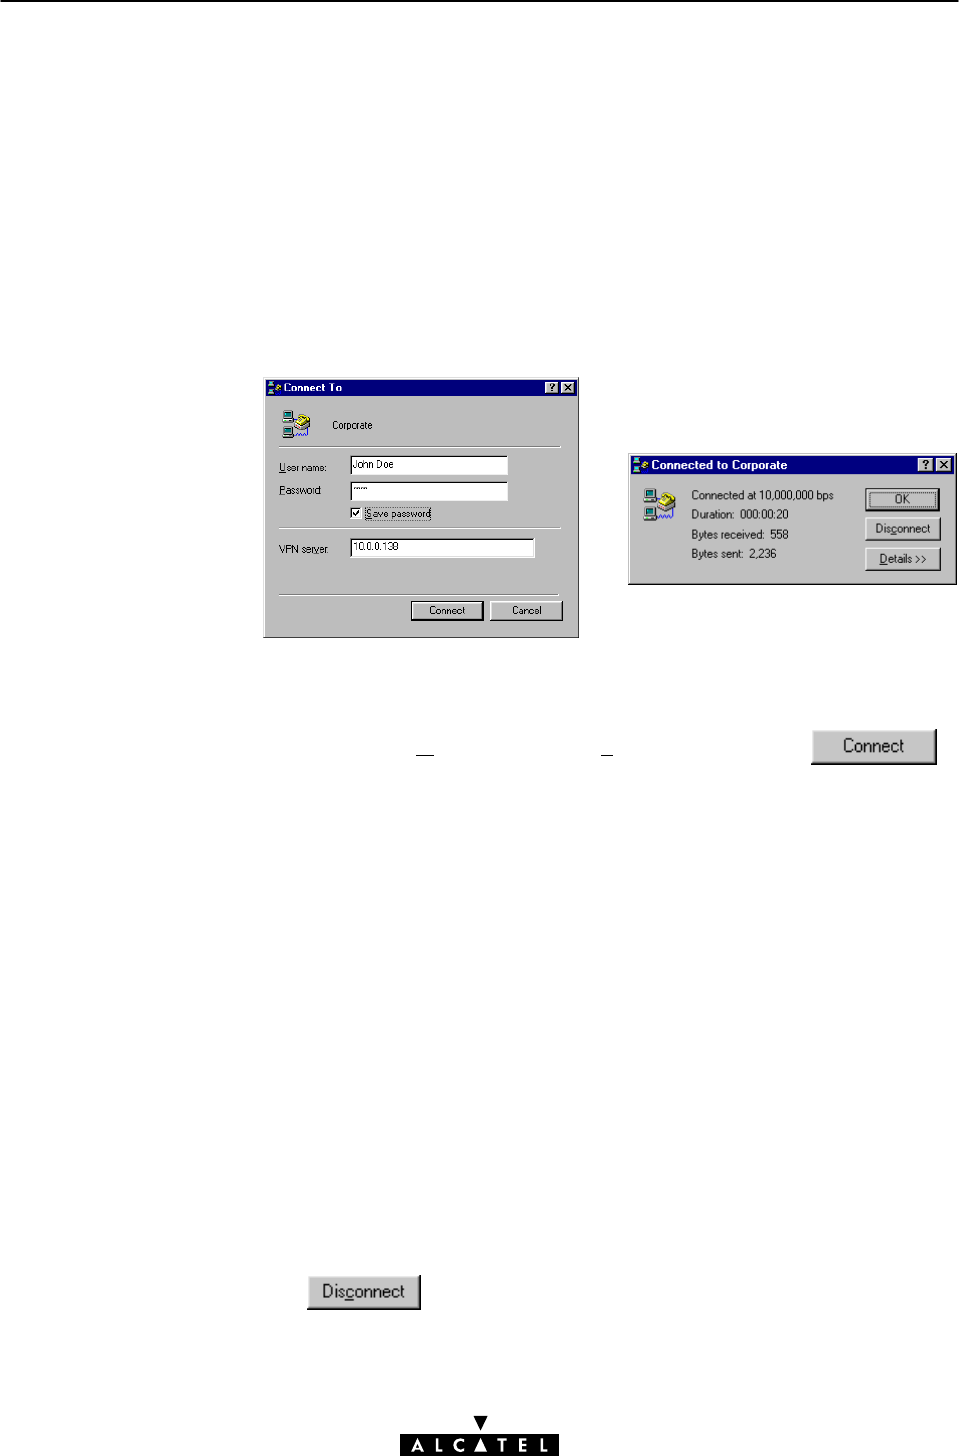
After configuring the connection, establish the connection as follows:
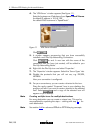
1. DoubleĆclick either the appropriate icon in the 'DialĆUp
Networking' folder or its shortcut on the desktop.
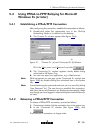
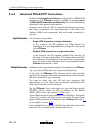
2. The 'Connect To' window appears (See figure 12(a)).
(a)
(b)
Figure 12 'Connect To' (a) and 'Connected To' (b) Window
Fill in the 'U
ser name' and 'Password' and click .
3. The 'Connecting To' window appears shortly before being
minimized in the System Tray.
4. You can now open your application, e.g. a Web browser.
Note While connected you can pop up the 'Connected To' window (see
figure 12(b)) by doubleĆclicking the minimized icon in the System
tray.
Note To avoid entering your password each time, you can save it by ticking
'Save Password' (n). The next time you establish this connection,
both User Name and Password are displayed automatically. Make
sure though you have logged in when booting Microsoft Windows 9x
(or later).
5.4.2 Releasing a PPPoA/PPTP Connection
To release a PPPoA/PPTP connection, proceed as follows:
1. If minimized, doubleĆclick the connection icon in the system tray.
2. In the 'Connected To' window (See figure 12(b)), click
.
The PPPoA/PPTP connection no longer exists.