


Various Printing Operations
80
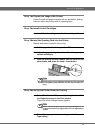
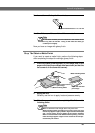
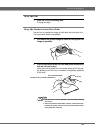
3. Leave them rolled up for five minutes.
4. Unroll them, and the curl should be corrected.
Note
Do not leave the back print film attached to the transfer sheet
too long after the transfer. Doing so will make the sheet get
curled up more tightly.
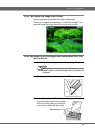
Now you have an image with glossy finish.
Step 7
❿❿
❿❿
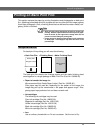
❿ Obtain a Matte Finish
If you want to create a matte finish, perform the following steps
after completing the steps for making a glossy finish.
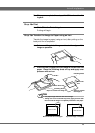
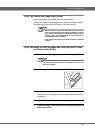
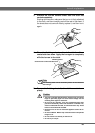
1. Place the matte finishing sheet on the image side of the
paper with the silicon coated side face down (so that the
cut corner is in the lower left corner).
2. Apply the iron.
Carefully use the iron to apply heat and pressure evenly.
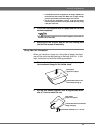
3. After the paper has cooled completely, lift off the matte
finishing sheet.
Note
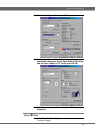
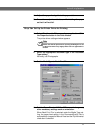
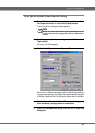
What to do when the image does not print well
When printing on back print film in one or more colors, the print
results may appear rough if printed in high resolution mode (600
dpi). In such cases, click on Quality tab and select, Standard
Dither or Coarse Dither under Halftone before printing. This will
make the image appear rougher on the screen but should pro-
duce better print results.
Approximate diameter of 1 in / 25 mm
Paper with the back
print image
Paper with the back
print image
Matte Finishing Sheet
Matte Finishing Sheet