


12
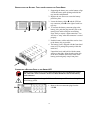
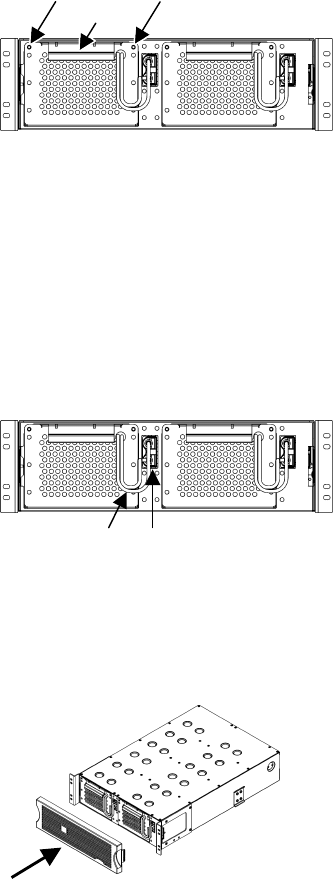
3. Use a screwdriver to remove the two battery pack
mount screws located at the top corners of the bat-
tery tray face plate .
Set the screws aside in a safe place. You will replace
them later.
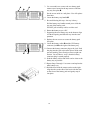
4. Locate the battery tray handle .
5. Be careful during this step—the tray is heavy.
Pull the battery tray handle toward you to slide the
tray out of the battery pack.
DO NOT pull on battery cables or white cord.
6. Return the battery tray to APC.
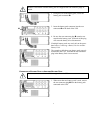
7. Supporting the new battery tray on the bottom, align
it with the opening and slide the tray into the com-
partment.
8. Replace the two screws to secure the battery pack
face plate.
9. Locate the battery cables and the UPS battery
connector jack to the right of the battery tray.
10. Connect the battery connector plug to the jack. Push
the plug into the jack so the metal pieces inside each
part are touching. Press firmly to ensure a tight con-
nection. You will hear a “snap” when the battery
connector plug is seated properly.
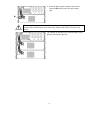
11. Push the battery cables and white cord as close to the
battery tray as possible.
12. Repeat Steps 2 through 11 to remove and replace the
other battery tray.
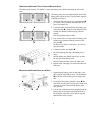
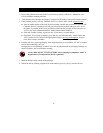
13. Hold the bezel with the cutout section on the right.
Align the tabs on the side of the bezel with the slots
on the front of the battery pack and gently snap it
into place.