


13
4.4.1 Plug in the master device
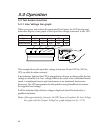
Plug the device whose switch you want to use to power on the entire
system (such as the computer, or any device with an accessible power
switch) into the UPS’s Master outlet. Make sure this device is turned off.
The equipment plugged into the Master outlet must draw more than
40 Watts.
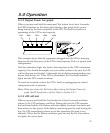
4.4.2 Plug in the accessory devices
Plug the devices to be powered when the master device is turned on (such
as the monitor, an external drive, CD-ROM, or other devices that require
backup power protection) into the UPS’s Accessory outlets.
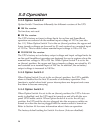
Note: Do not plug laser printers into this UPS. Laser printers
can draw a considerable amount of power, which reduces
the available backup time and, in some cases, causes the
UPS to signal an overload.
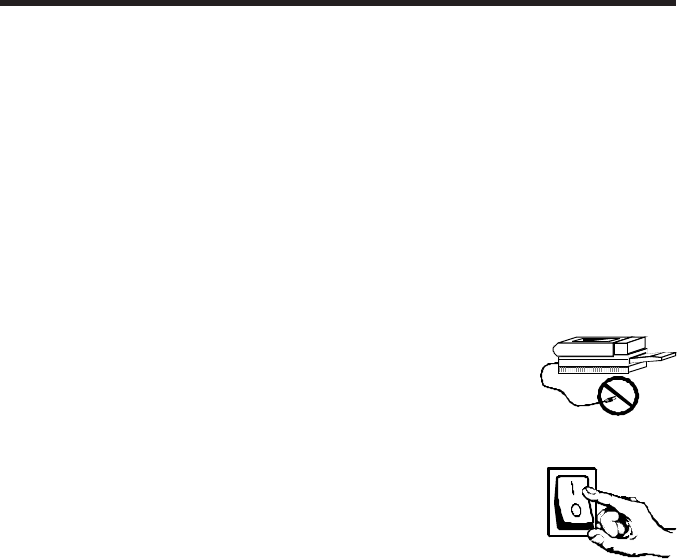
4.4.3 Configure Option Switch 4 and UPS Enable switch
Set Option Switch 4 on the rear of the UPS to the off (up)
position. Set the UPS Enable switch to the on position ( I ).
4.4.4 Turn on accessories
Set all the power switches of the devices plugged into the Accessory outlets
to their on positions. Note that the UPS and the accessories are not yet
powered.
4.4.5 Turn on the master device
Turn on the device plugged into the Master outlet of the UPS. The entire
system, including the UPS and accessories, will power on too.
The UPS performs a brief self-test of its battery and operation. In normal
operation, the On Line indicator will remain lit after the self test.
Note: If the red Overload indicator lights, the UPS is overloaded. Unplug
equipment that does not require backing up, such as a printer, and restart. If
the Replace Battery indicator lights, recharge the UPS overnight and retest.
Note: If you have problems, refer to Section 7.0 for troubleshooting information.
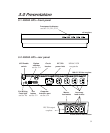
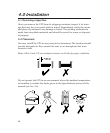
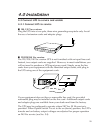
4.0 Installation