


Configuration
50
CSG SIP Communications Gateway
Follow these steps to create a ring group:
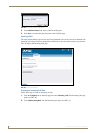
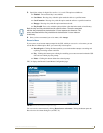
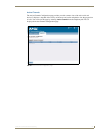
1. Click the Telephony tab on the main page and select Ring Groups. The Ring Groups Configuration
page opens (see FIG. 37).
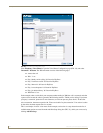
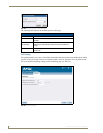
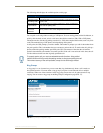
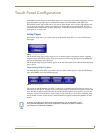
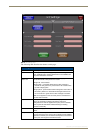
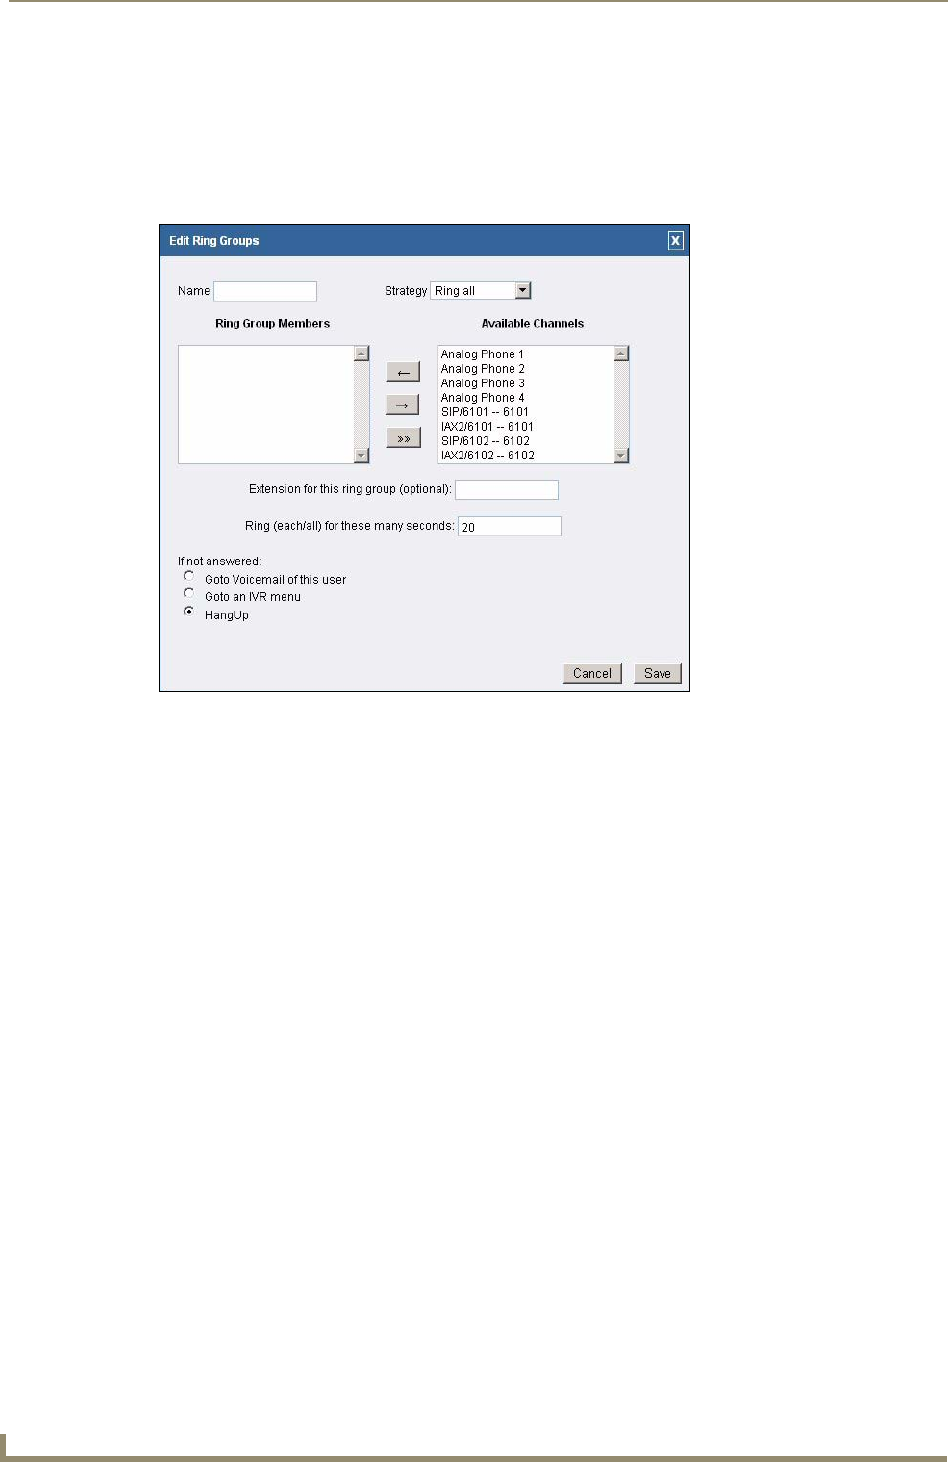
2. Click New Ring Group. The Edit Ring Groups dialog box opens (see FIG. 38).
FIG. 38 Edit Ring Groups dialog box
3. In the Name field, enter a name for the ring group.
4. Using the Strategy drop-down combo box, select a ringing option. You can choose from Ring All
or Ring in Order. Ring All indicates all extensions in the ring group will ring when a call arrives.
Ring in Order indicates the extensions will ring in the order listed in the Ring Group Members area.
Each extension will ring for the amount of time you set in step 7 before moving on to the next
extension.
5. In the Available Channels list, select an extension you want to include in the ring group and click
the left-arrow button to move the extension into the Ring Group Members list. Repeat this step until
all necessary extensions are assigned to the ring group.
6. In the Extension for this ring group field, enter the extension for the ring group. This step is
optional.
7. In the Ring (each/all) for these many seconds field, enter the amount of time, in seconds, you want
the call to ring before other options proceed.
8. Select the Goto Voicemail of this user, Goto an IVR menu, or Hangup option button to indicate
which option you want to occur if no one is available to answer a call. With the first two options, a
combo box appears with further options for you to select.
9. Click Save to save the ring group and return to the Ring Group page.