


21
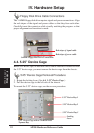
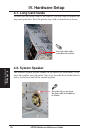
IV. Hardware Setup
AP200 Hardware Reference Guide
IV. HW Setup
3.5” Device Cage
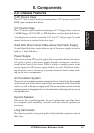
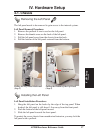
4-3. 3.5” Device Cage
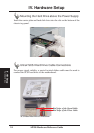
Before hard or floppy disk drives can be installed or removed from the 3.5”
device cage, you must remove the device cage from the chassis.
3.5” Device Cage Removal Procedure
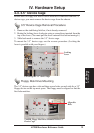
1. Remove the stabilizing link bar, if not already removed.
2. Rotate the locking lever clockwise using a screwdriver inserted from the
top of the lever. (You must pull the lever outward first before turning it.)
3. Slide backward to remove the 3.5” device cage.
To mount the 3.5” device cage, use the reverse procedure. (Locking the
lever is possible with your fingers.)
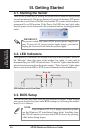
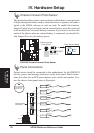
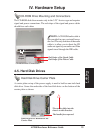
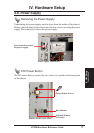
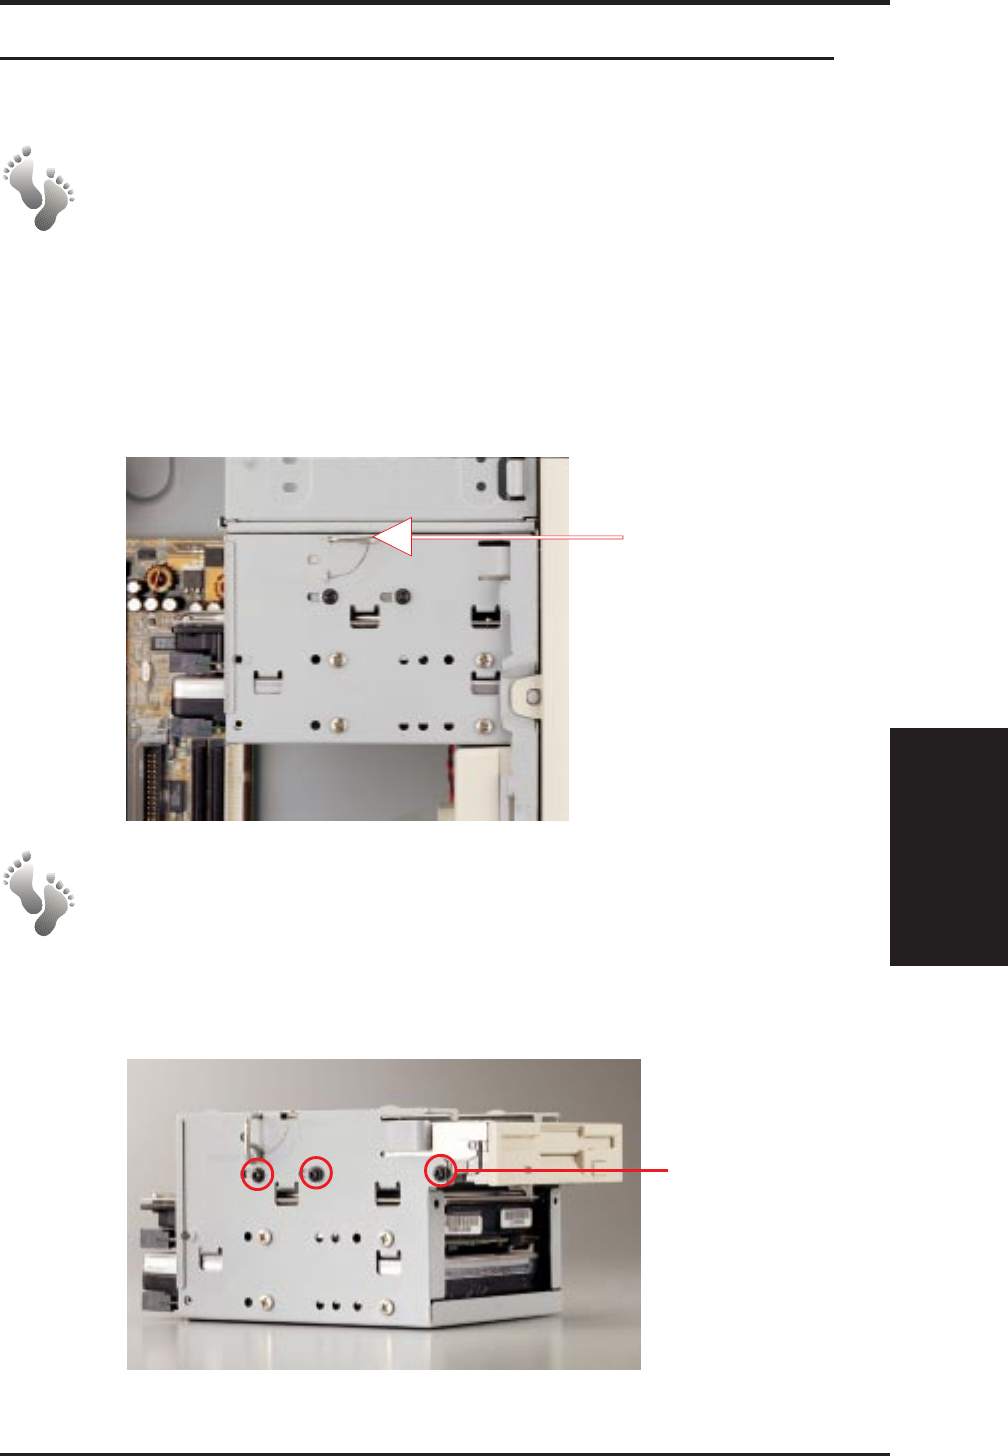
Floppy Disk Drive Mounting
The 3.5” device cage has a slot and three screw holes on each side for a 3.5”
floppy device on the top most space. The floppy must be aligned so that the
first hole matches.
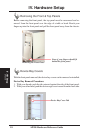
Locking
Lever
Unlocking the 3.5” device cage
1.44MB Floppy Disk Drive Mounted in the 3.5”
Device Cage
Align this
Hole.