5-44 Chapter 5: Software support
Saving the settings and exiting setup
When you have nished, highlight Save & Exit Setup using the up/down arrow key
then press <Enter> to save the current RAID conguration and exit the JMB363
RAID BOS utility.
A dialogue box appears to conrm the action. Press <Y> to conrm; otherwise,
press <N> to return to the JMB RAID BIOS menu.
To rebuild a Mirror drive:
1. In the main JMB363 RAID BIOS menu, highlight Rebuild Mirror Drive using
the up/down arrow key then press <Enter>.
[Main Menu]
Create RAID Disk Drive
Delete RAID Disk Drive
Revert HDD to Non-RAID
Solve Mirror Conict
Rebuild Mirror Drive
Save and Exit Setup
Exit Without Saving
Rebuilding a Mirror Drive
When one of the disks in a RAID 1 (Mirror) conguration is unplugged from the
system, then plugged in again, a dialogue box appears to ask you to rebuild the
Mirror drive. Press <Y> to conrm; otherwise, press <N>.
This option allows you to rebuild the Mirror drive later and synchronize the data
between two hard disks.
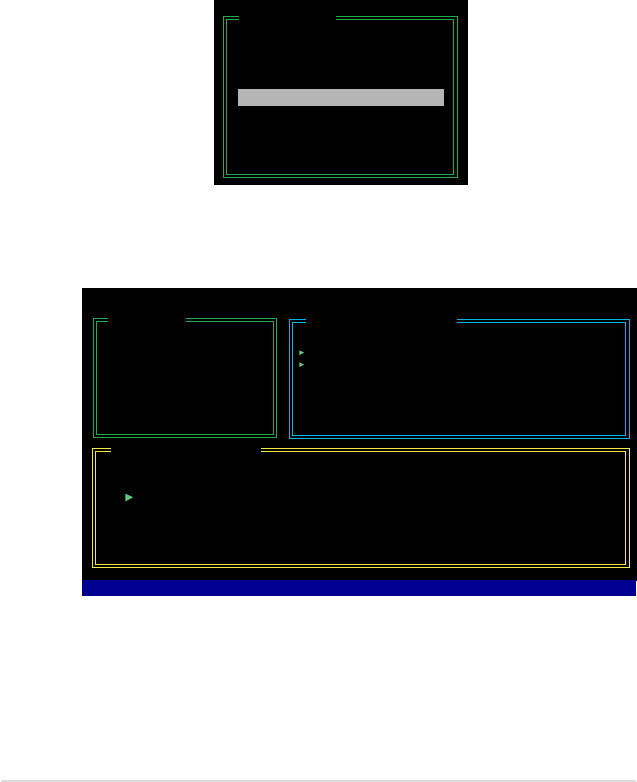
2. Using the <TAB>, move to the RAID Disk Drive List menu and highlight the
RAID set that you want to rebuild. Press <Del> to begin rebuilding the Mirror
conguration.
A status bar at the bottom of the screen shows the progress of the rebuilding.
JMicron Technology Corp. PCI-to-SATA II/IDE RAID Controller BIOS v0.97
[Hard Disk Drive List]
Model Name Capacity Type/Status
HDD0: HDS722516VLSA80 164 GB RAID Inside
HDD1: HDS722516DLA380 164 GB RAID Inside
[RAID Disk Drive List]
Model Name RAID Level Capacity Status
Members(HDDx)
RDD0: JRAID 1-Mirror XXX GB Rebuild 01
[Main Menu]
Create RAID Disk Drive
Delete RAID Disk Drive
Revert HDD to Non-RAID
Solve Mirror Conict
Rebuild Mirror Drive
Save and Exit Setup
Exit Without Saving
Rebuilding... 01%, please wait...


