


3-103-10
3-103-10
3-10
Chapter 3: Software supportChapter 3: Software support
Chapter 3: Software supportChapter 3: Software support
Chapter 3: Software support
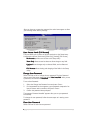
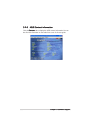
Use arrow keys to move selection bar on items and press <Enter> to
select.
7. Select
Start Create ProcessStart Create Process
Start Create ProcessStart Create Process
Start Create Process and press <Enter> to set up hard disk
for RAID system. The following confirmation message appears:
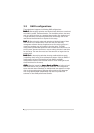
8. Press <Y> to confirm or <N> to return to the configuration options.
9. Press <Esc> to go back to main menu.
RAID 1 for data protectionRAID 1 for data protection
RAID 1 for data protectionRAID 1 for data protection
RAID 1 for data protection
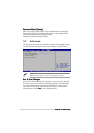
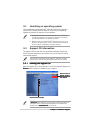
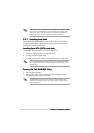
1. From the create array menu, select
Array ModeArray Mode
Array ModeArray Mode
Array Mode, then press <Enter>.
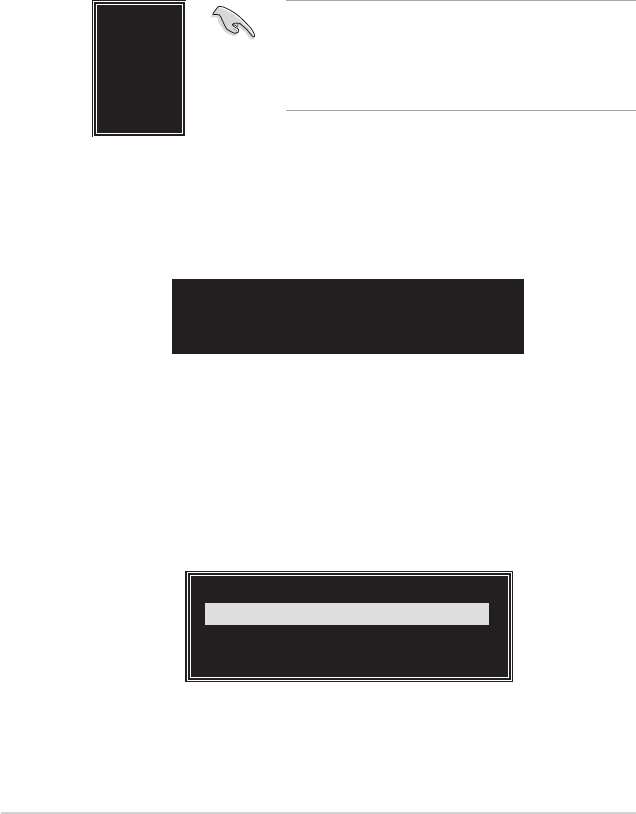
The supported RAID configurations appear on a pop-up menu.
The data on the selected disks will
be destroyed. Continue? (Y/N)
4K
8K
16K
32K
64K
RAID 0 for performance
RAID 1 for data protection
RAID 0/1
RAID SPAN for capacity
RAID 1 for data protection
TIP: TIP:
TIP: TIP:
TIP: For server systems, use of a lower array
block size is recommended. For multimedia
computer systems used mainly for audio and
video editing, a higher array block size is
recommended for optimum performance.
4. Press <Y> to confirm or <N> to return to the configuration options. If
you selected <Y>, proceed to step 9.
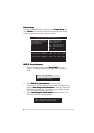
5. Select
Select Disk DrivesSelect Disk Drives
Select Disk DrivesSelect Disk Drives
Select Disk Drives, then press <Enter>. Use arrow keys to
select disk drive, then press <Enter> to mark selected drive. An
asterisk appears before a selected drive.
6. Select
Block SizeBlock Size
Block SizeBlock Size
Block Size, then press <Enter> to set array block size. A list
of valid array block sizes are displayed on a pop-up menu.
2. Select
RAID 1 for data protectionRAID 1 for data protection
RAID 1 for data protectionRAID 1 for data protection
RAID 1 for data protection then press <Enter>.