


3. Kit installation (detailed)
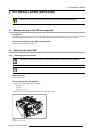
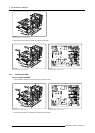
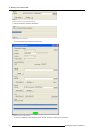
Image 3-17
input module: fixing front screws
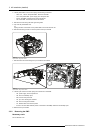
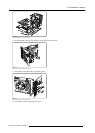
4. Put the preformatter unit next to its cor rect position and plug in the connectors:
- J100, J101, J102 on the preformatter: data from connectors J82 3, J824 and J825 on the PMP
- J11on the preformatter: power supply from connector 6 on the power box
- J410 on the PMP: commands from connector J410 on the local keypad
- J13 on the PMP: commands from the IR receiver
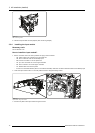
5. Use one screw to fix the three grounding wires to the preformatter
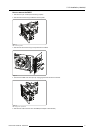
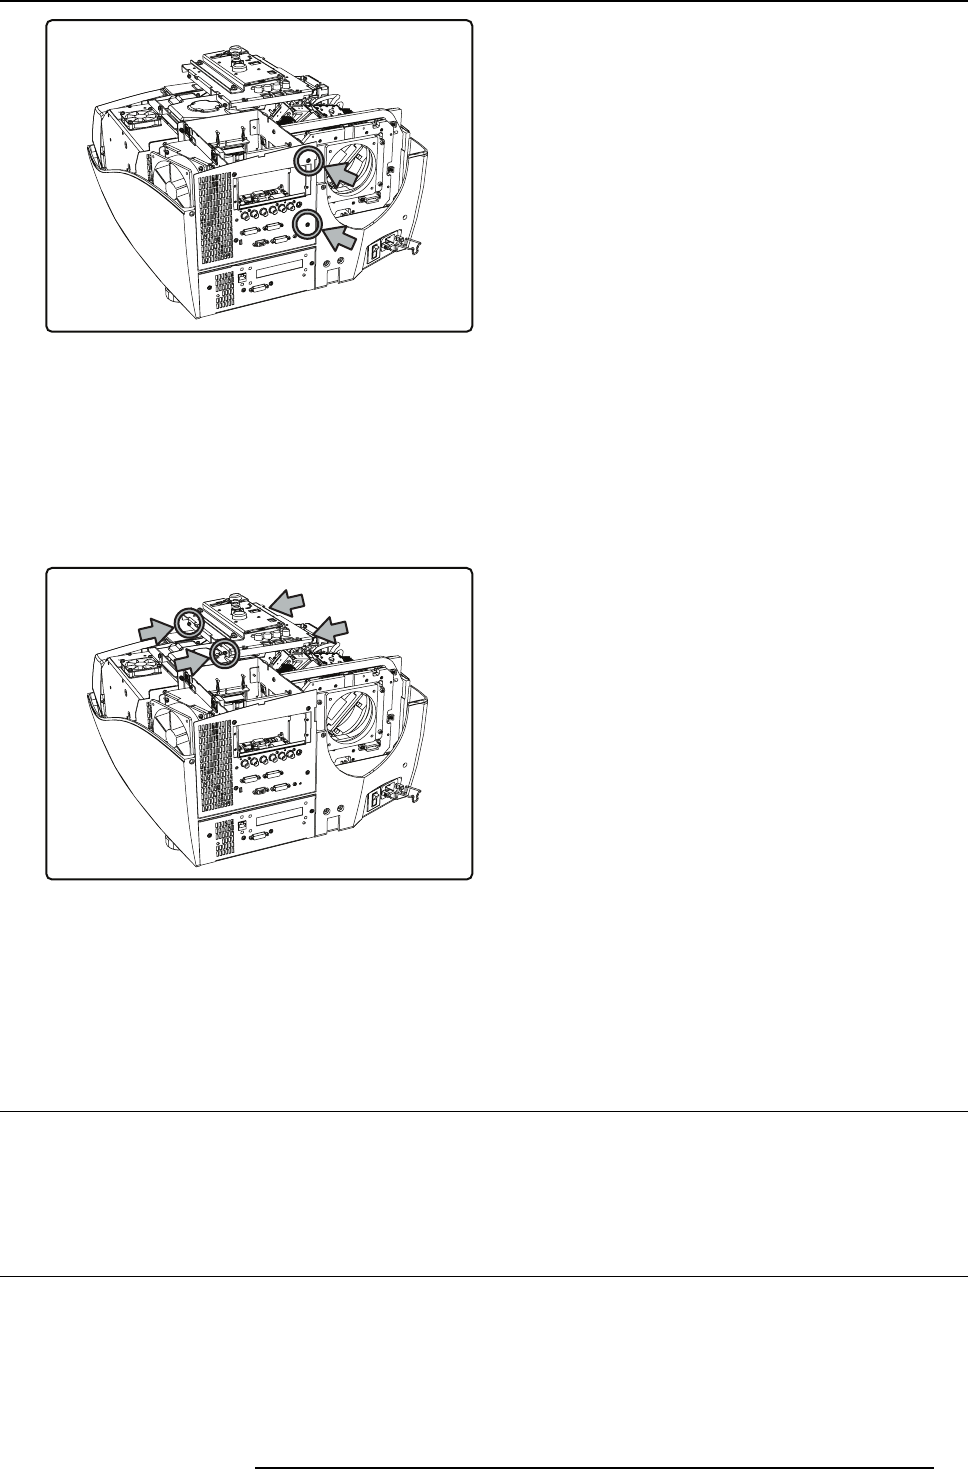
6. Fix the preformatter unit to the input module using four screws
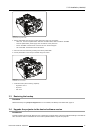
Image 3-18
Preformatter unit: fr ont screws
7. Install the c overs (see concerning chapters):
- eng ine fan cover 1
-topcover
- r e ar cover
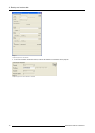
3.3 Restoring the backup
Procedure
Restore the backup using Projector Support tool. For more details, see "Backup and restore data", page 15.
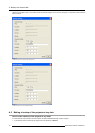
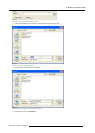
3.4 Upgrade t he projector to t he desired software version
Introduction
Projector upgrade is done through Ether
net. Prior to starting the proc edure below, make sure the Ethernet settings in the OSD are
set to the correct values to make Ethernet comm unication possible between co mputer and projector.
R59770498 PMP KIT 28/02/2011
13