3-2
Installation Guidelines
R5976336 BARCOSLM R6 Executive 06092001
Regardless of the type of screen used, it is important that your screen is of sufficient height to display the images at the aspect ratio
intended to be used. If you have insufficient height, you will have to reduce the overall image size in order to display the full image
on your screen.
For more information about screens, contact your local screen supplier.
Image 1
Projector Configurations
Which configuration can be used.
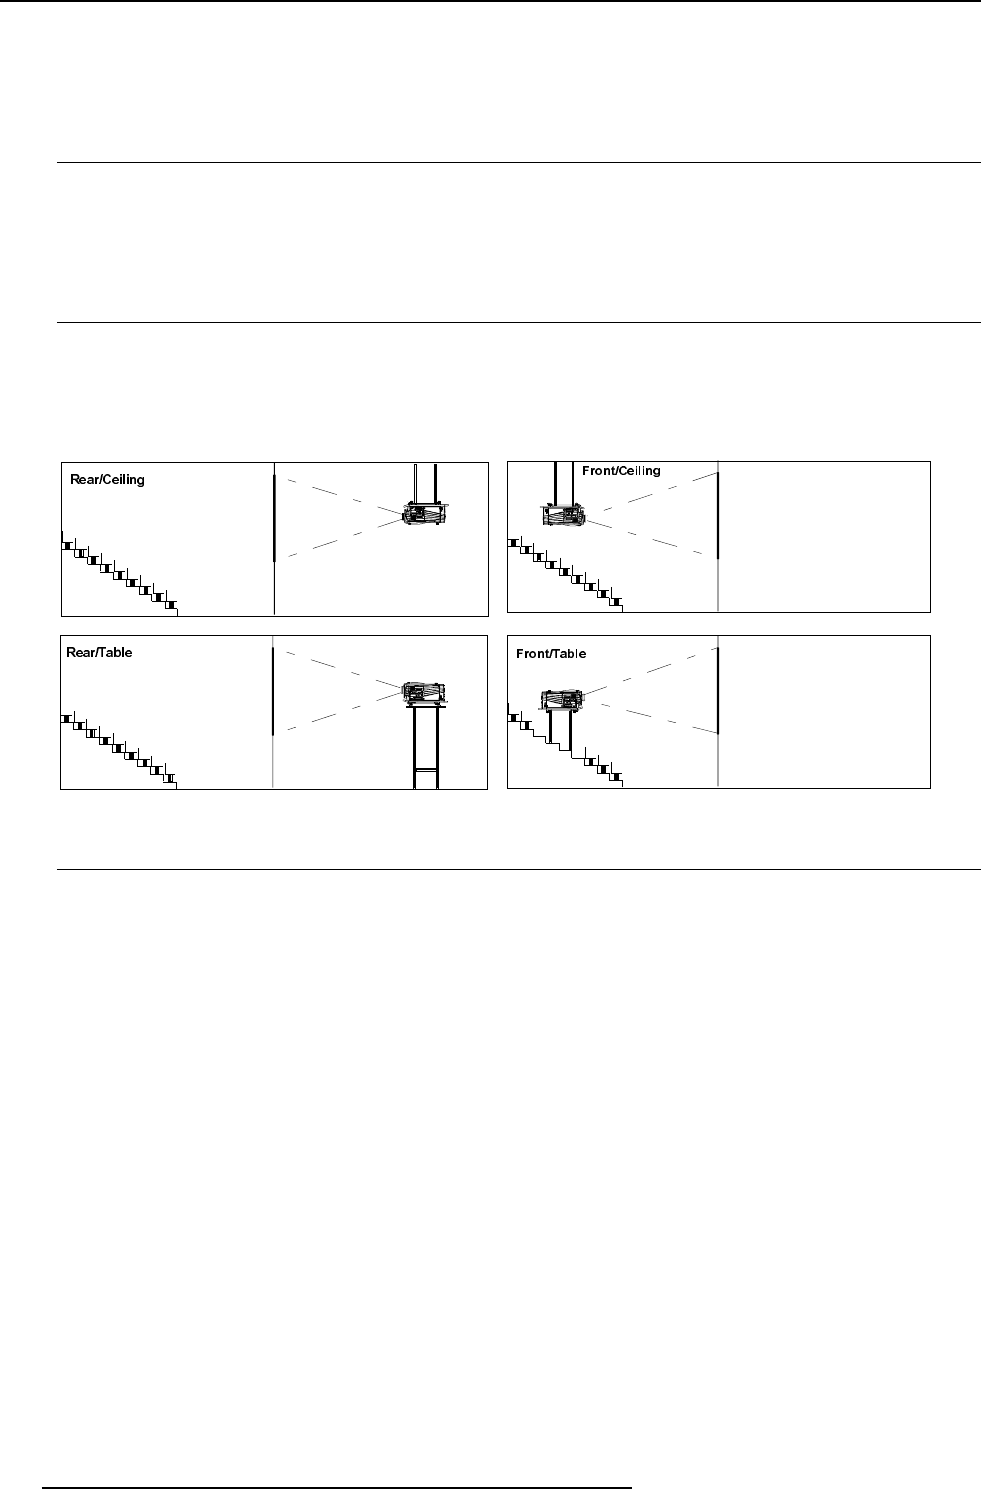
The projector can be installed to project images in four different configurations :
front/table,
rear/table,
front/ceiling or
rear/ceiling.
Positioning the Projector
The projector should be installed perpendicular with the screen on a distance PD and water leveled in both directions.
Four mounting positions are possible.
Be aware for the weight of the projector : 46.5 kg without projection lens.
To carry the projector by the carry handler, 2 persons are needed.
The mounting position shown in the above images are shown for a nominal lens position.
When putting the projector on the 3 adjustable feet, use these feet to level the projector by turning these feet in or out.
Definitions of the Abbreviation on drawings
B = Distance between ceiling and top of the screen or between floor and bottom of the screen.
A = 248 mm , distance from the middle of the lens (in nominal position) to bottom side of the projector. A lens shift between -1.8 mm
down to 8.5 mm up and 6.2 mm left and right are possible.
CD = Total distance between projector and ceiling or projector and floor.
SW = Screen width.
SH = Screen height (image height).
PD = Projector Distance, distance between screen and projector.
What image size? How big should the image be?
The projector is designed for projecting an image size : min 1.00m (3.3ft) to max (15 m 49.2ft) (depending on the ambient light conditions),
with a aspect ratio of 5 to 4.


