


Using the BayStack 303 and 304 Ethernet Switches
2-4 893-01010-A
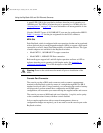
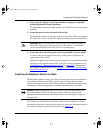
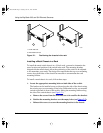
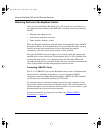
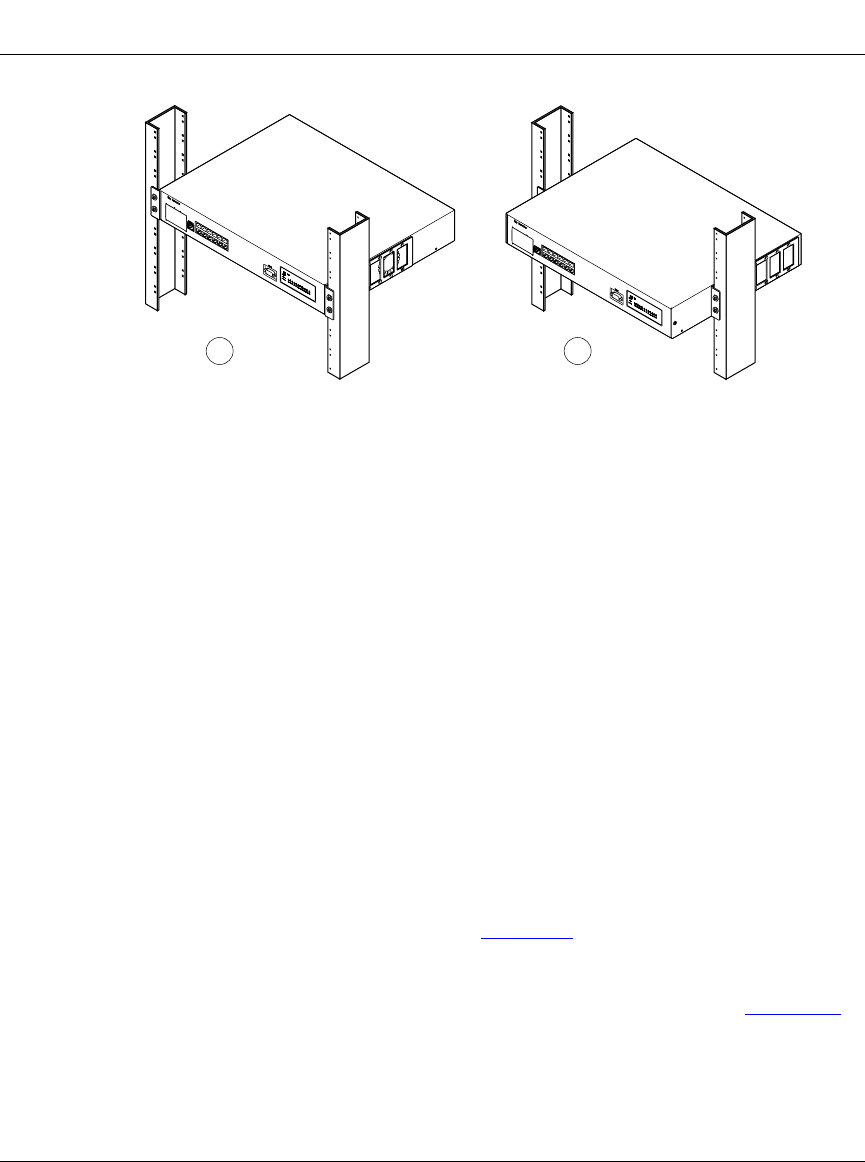
1 = Flush with rack
2 = Extended from rack
Figure 2-1. Positioning the chassis in the rack
Installing a Metal Chassis in a Rack
To install the metal switch chassis in a 19-inch rack, you need to determine the
exact location and position of the switch in the rack. The mounting brackets
shipped with the metal chassis allow the positioning of the switch to be adjusted
to accommodate your needs. The design also requires that the top cover mounting
screws along both sides of the chassis be removed to accommodate the rack
mounting bracket.
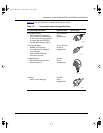
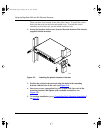
To install a metal chassis in a rack, follow these steps:
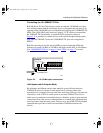
1. Locate the appropriate mounting holes on both sides of the switch.
The bracket can be installed at any position along the side of the chassis using
the existing top cover mounting screw holes. Determine how far you want the
switch to protrude in front of the rack by sliding the mounting bracket along
the side of the switch chassis (see Figure
2-1).
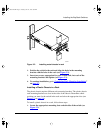
a. Remove the screws from the holes that are to be used for the bracket.
b. Position the mounting bracket over the empty holes (see Figure 2-2).
c. Reinsert the screws to secure the mounting bracket to the chassis.
7530FB
1 2
89301010.BK Page 4 Tuesday, June 10, 1997 8:00 PM