


20
Using the projector
English
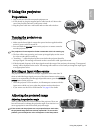
Fine-tuning the image size and clarity
Optimizing the image
To optimize the image, use the remote control or on-screen menus. For the operation of on-screen menus, please
refer to page 25.
The following steps are optional. You do not need to follow every step. It depends on the image quality you
desire.
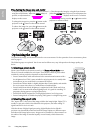
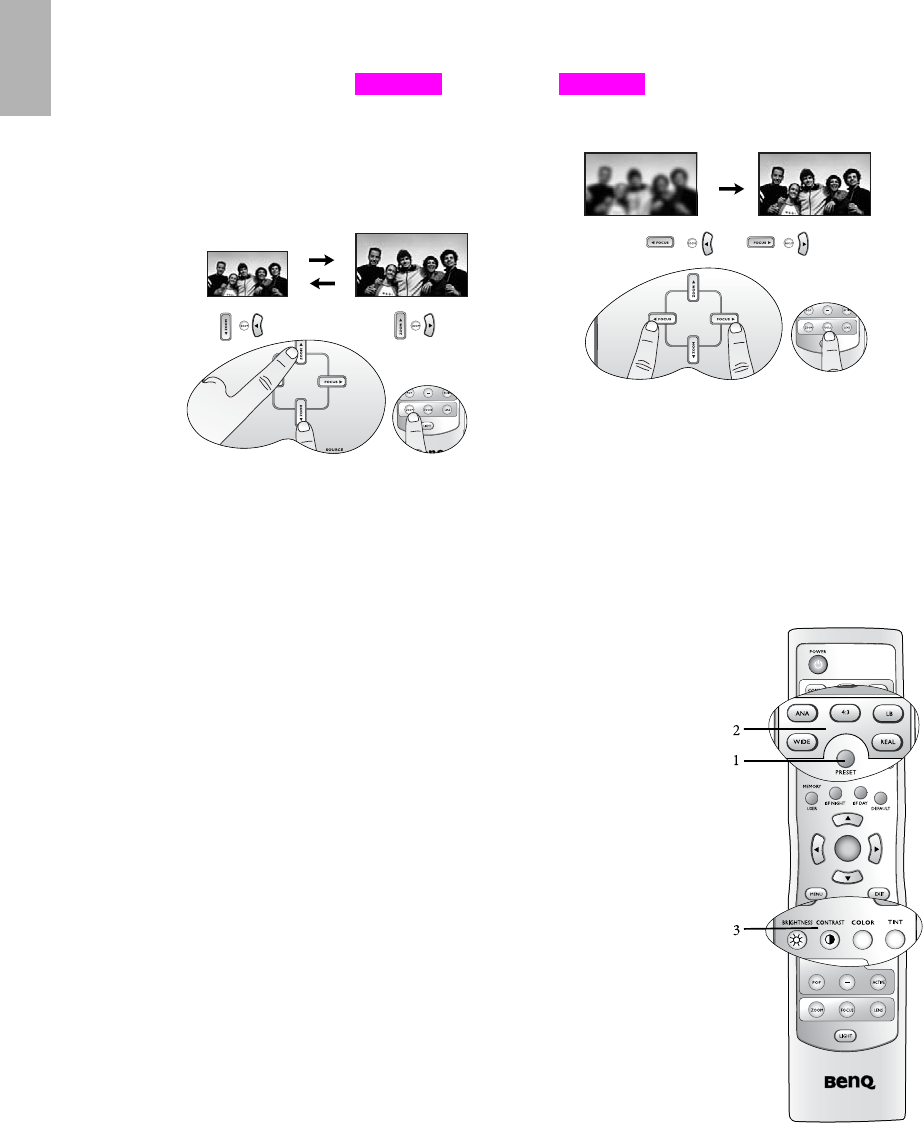
1. Selecting a preset mode
Select a preset mode on the remote control, or in Picture > Preset Mode menu.
There are 5 modes available for each input. These modes consist of preset values
suitable for various projection situations as described below:
• Preset Cinema Mode: with well-balanced color saturation and contrast with a
low brightness level. This is most suitable for enjoying movies in a totally dark
environment (as you would find in a commercial cinema).
• Preset Home Theater Mode: is slightly brighter than Cinema Mode, and suitable
for use in rooms where there is a small amount of ambient light.
• Preset Family Room Mode: Brightness is emphasized in this mode and is best
suited for use in rooms with normal lighting levels. It is good for watching TV
programs, playing games or seeing bright movies.
• Preset Photo Mode: designed for viewing digital pictures in a living room.
• Preset Gaming Mode: is suitable for playing video games in a bright living room.
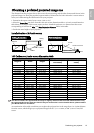
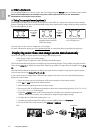
2. Selecting the aspect ratio
The "aspect ratio" is the ratio of the image width to the image height. Digital TV is
usually in 16:9 ratio, which is the default for this projector, and most analog TV
signals and DVDs are in 4:3 ratio.
With the advent of digital signal processing, digital display devices like this
projector can dynamically stretch and scale the image output to a different aspect
than that of the image input source. Images can be stretched in a linear manner so
the whole of the image is stretched equally, or non-linearly, which distorts the
image.
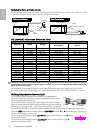
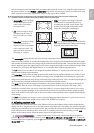
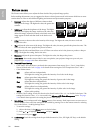
1. Adjust the projected image to the size that you need
using the zoom buttons. When the ZOOM button is
pressed, an adjustment bar " "
displays on the screen.
To enlarge the image size, press the c button on the
projector or the f button on the remote control.
To reduce the image size, press the d button on the
projector or the e button on the remote control.
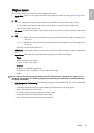
2. Then sharpen the image by using the focus buttons.
When the FOCUS button is pressed, an adjustment bar
" " displays on the screen. To further
adjust the image clarity, press the e or f button on the
projector or remote control.
ef
Zoom
ef
Focus
C
T
ENTER
1
2
3
SIZE
C
T