


33
Additional information
English
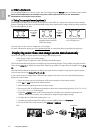
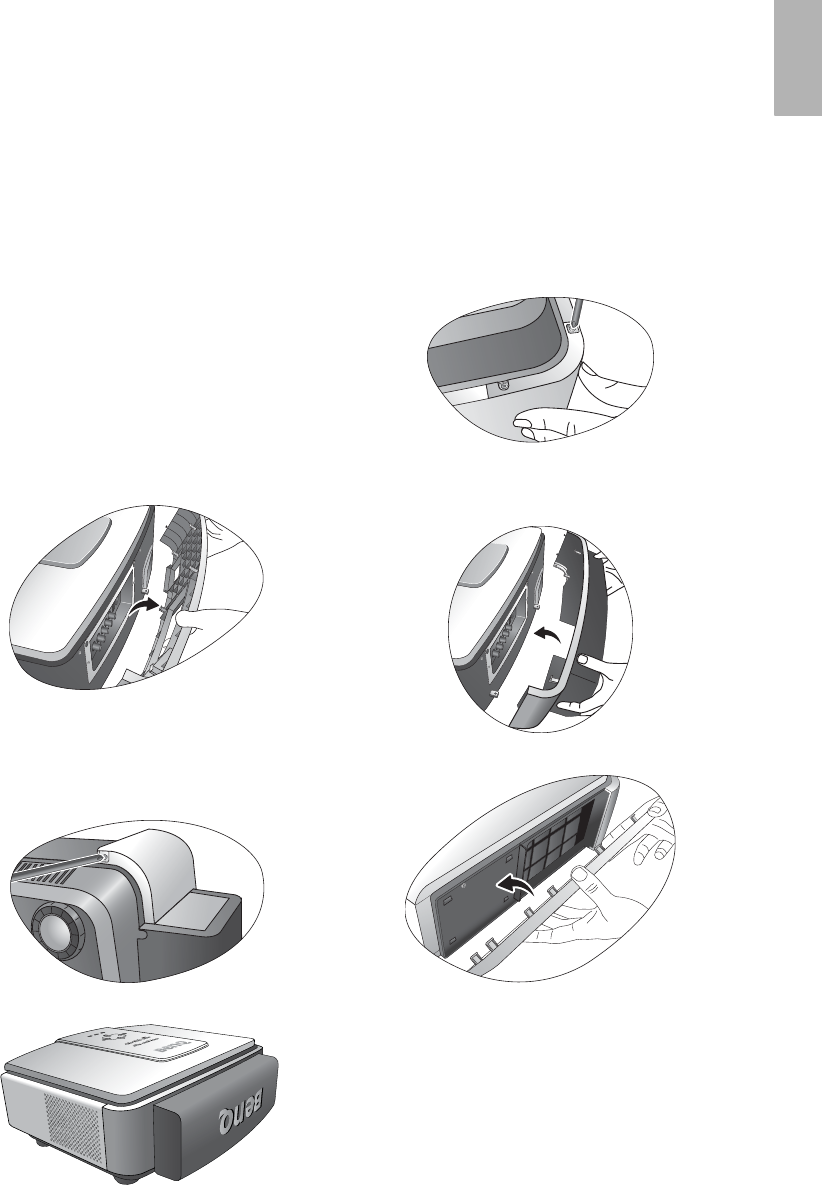
Installing the cable connector-panel cover
The cable connector-panel cover is used to cover those unsightly cables and connections in the rear of the
projector after all of the cable connections have been done.
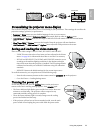
Important Notice: The following instructions are only for the projector which is intended to be installed
near the floor or in a reachable location. If your projector is ceiling-mounted or out of your reach, it is a
must to install or un-install the cable cover through a qualified technician’s help.
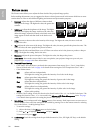
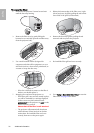
To install the cover:
1. Repeat Step 1~Step 3 in the "To clean the filter:"
section. See page 32 for details.
2. Place a soft item on the desk for padding. Turn the
projector upside-down so that you can locate the
screws that hold the rear cover to the projector on
both sides. Loosen the screws.
3. Turn the projector topside-up. Remove the rear
cover.
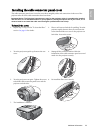
4. Manage all the connected cables within the
indentation of the cable connector-panel cover and
attach it to the projector securely.
5. Turn the projector over again. Tighten the screws
to hold the cable connector-panel cover and the
projector on both sides.
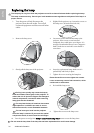
6. Re-install the filter cover securely.
7. The installation is finished.