


724-746-5500 | blackbox.com
724-746-5500 | blackbox.com
Page 53
Chapter 4: E2 Controller
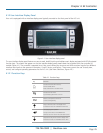
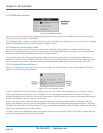
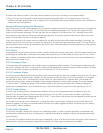
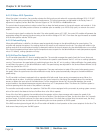
Figure 4-14. Flashing cursor.
Change the "0" to "1" (or to the current Control menu password if it was changed in the Service menu) with the Up arrow
key and then press the Enter key to accept the password. Press the Enter key again to access the Control menu screens.
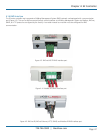
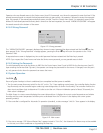
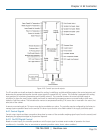
4. From the Control menu, select Setpoints by scrolling through the menu selections with the Up and Down arrow keys and
pressing the Enter key when “SET” appears in bold capital letters in the center of the screen.
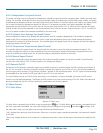
Figure 4-15. Set screen.
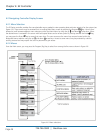
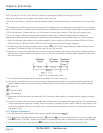
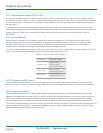
5. After entering the Setpoints screens, select the Temperature setpoint screen by scrolling the menu selections with the Up
and Down arrow keys until the word “Temperature” appears in the field at the top of the screen.
Figure 4-16. Temperature screen.
Pressing the Enter key places the flashing cursor in the setpoint value field. Increase or decrease the Temperature Setpoint with
the Up and Down arrow keys until the desired temperature value is shown.
Press the Enter key again to accept the setpoint (this removes the cursor from the field).
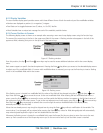
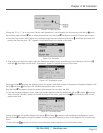
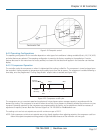
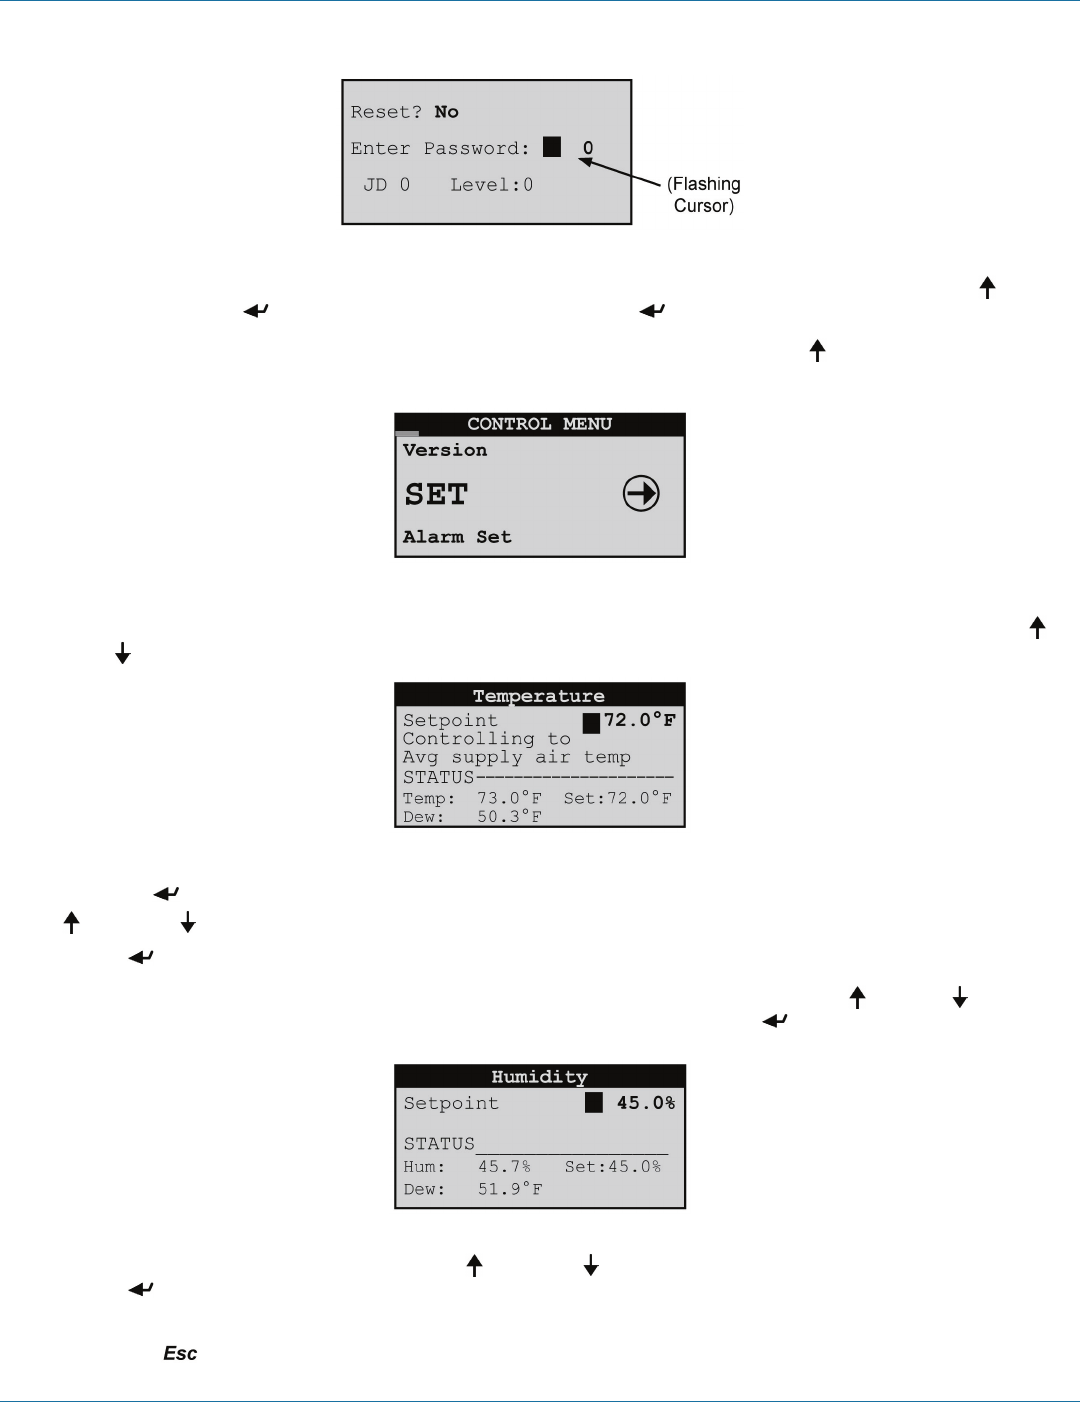
6. From the Temperature setpoint screen, select the Humidity Setpoint screen by scrolling with the Up or Down arrow key.
When the word “Humidity” appears in the field at the top of the screen, press the Enter key to move the cursor into the
setpoint value field.
Figure 4-17. Humidity screen.
Increase or decrease the Humidity Setpoint with the Up and Down arrow keys until the desired humidity value is shown.
Press the Enter key again to accept the setpoint and then press the Escape key to return to the Setpoints (SET) Control menu
screen.
7. Press the Escape key twice to exit the Control>Setpoints screens and return to the Main Menu screen.