


19
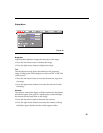
USING THE PROJECTOR
This section describes how to use and make adjustments to the
projector. It also provides a reference to the keypad and remote
buttons and the options available from the on-screen menus.
Basic Image Adjustment
1
Make sure you have powered up your equipment in the right
order (page 16).
2
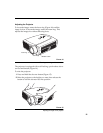
If the image doesn’t display completely, zoom the image
(page 21), adjust the height of the projector (page 21) or center
the image by adjusting its horizontal or vertical position
(page 29). Be sure the projector is at a 90 degree angle to the
screen.
3
If the image is out of focus, rotate the focus lens (page 21).
4
If the image appears to shimmer or if it has blurry vertical
bars after you have adjusted the focus, turn Auto Image
(page 28) off and then back on to reset the automatic sync and
tracking. If that doesn’t clear up the image, turn Auto Image
off and adjust the sync (page 28) and/or the tracking
(page 29) manually.
5
If the colors don’t look right, adjust the brightness (page 25).
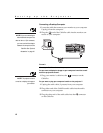
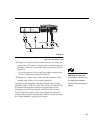
Using the Remote Control
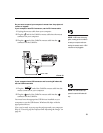
NOTE: If you can’t aim the
remote control at the projector so
that its signal is received
—
for
example, when using rear projec-
tion
—
purchase the optional
LaserPro remote and connect it
directly to the projector with the
optional remote control cable. See
“Optional Accessories” on
page 46.
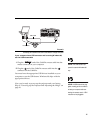
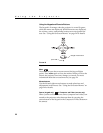
Point the remote control at the projection screen or at the front or
rear of the projector. The range for optimum operation is about
40 feet. If you point the remote at the projection screen, the dis-
tance to the screen and back to the projector must be less than or
equal to 40 feet. For best results, point the remote directly at the
projector.
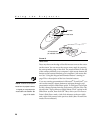
The projector ships with a remote that has four function buttons,
a disk mouse and two mouse buttons, one on the top of the
remote and one on the bottom.