


17
ENGLISH
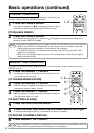
Adjustments and functions (continued)
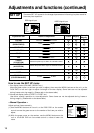
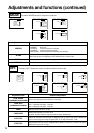
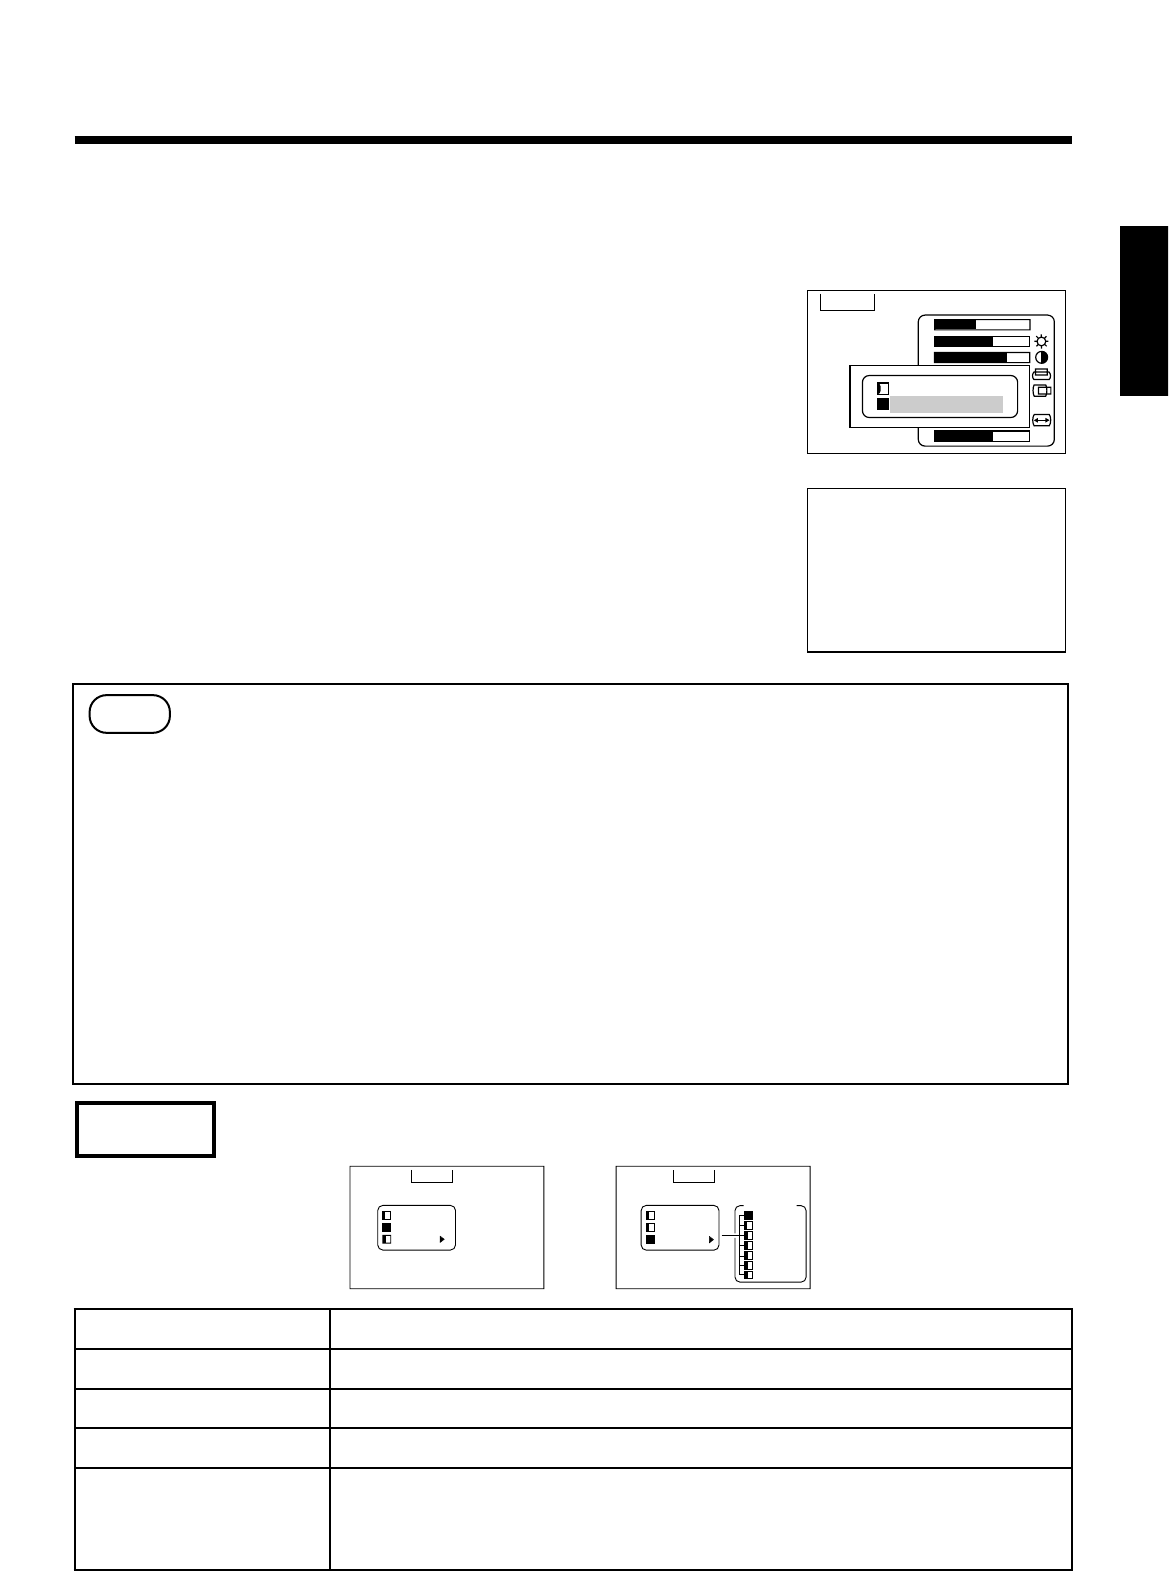
The menu INPUT serves for the selection of input source.
INPUT
SETUP INPUT IMAGE OPT.
RGB1
RGB2
VIDEO
SETUP INPUT IMAGE OPT.
RGB1
RGB2
V I DEO
SYSTEM
AUTO
NTSC
PAL
SECAM
NTSC4.43
M
-PAL
N-PAL
Adjustment Item Details of adjustment
RGB 1
Selects the RGB 1 terminal.
RGB 2
Selects the RGB 2 terminal.
VIDEO
Selects the VIDEO terminal.
SYSTEM
Selects the video signal systems. In normal circumstances, select AUTO. AUTO does not
support N-PAL.
When the picture (Video) is abnormal (no color), selects the input signal mode (NTSC,
PAL, SECAM, NTSC4.43 M-PAL and N-PAL). To input N-PAL signals, select N-PAL.
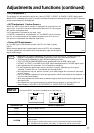
• When start up screen is displayed ("NO INPUT IS DETECTED" or "SYNC IS OUT OF
RANGE" is displayed), SETUP menu items other than VOLUME cannot be set.
• TINT cannot be adjusted with PAL/SECAM video signal input.
• TINT, COLOR and SHARPNESS cannot be adjusted with an RGB signal input.
• V.POSIT, H.POSIT, H.PHASE and H.SIZE cannot be adjusted with a VIDEO signal input.
• Auto-adjustment will take about 10 to 15 seconds to complete.
• In some cases auto-adjustment may not function normally, depending on the type of
computer to which the unit is connected, and the signal sent.
• Auto-adjustment may not perform normally with some images. Do not use with animated
or dark images.
• Carry out the auto-adjustment when the application, which is activated on the computer, is
set to the maximum display.
• After auto-adjustment the screen may become slightly dark due to the auto-adjustment of
the signal level.
• Auto-adjust can not be performed during freeze, during magnify, or during the initial
screen display ("NO INPUT IS DETECTED" or "SYNC IS OUT OF RANGE").
Caution
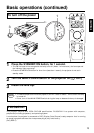
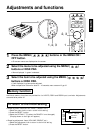
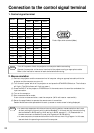
< AUTO-adjustment >
The projector will automatically adjust four items (V POSIT, H POSIT, H PHASE, H SIZE, White level).
When AUTO is selected (the cursor is moved from Manual Operation towards the right) the AUTO Confirm
screen shown below will be displayed.
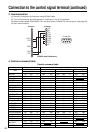
< AUTO-adjustment Confirm Screen >
While the AUTO confirmation screen is displayed as illustrated on the
upper right, if you shift the cursor upward and select AUTO, the projector
will perform auto-adjustment.
It will become as illustrated on the lower right.
If CANCEL is selected for three seconds, or if the RESET button on either
the unit or the remote control is pressed, the green cursor will return to
the value for the selected item (Manual Operation)
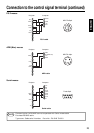
< During AUTO-adjustment >
At the lower right of the screen the word <AUTO> will flash in green
letters.
When the auto-adjustment is completed the word <AUTO> will disappear.
The auto-adjustment of the white level is cancelled by input switching and
signal mode change.
SETUP INPUT IMAGE OPT.
VOLUME
BRIGHT
CONTRAST
V POSIT
H POSIT
H PHASE
H SIZE
COLOR BAL
123
111
31
1024
R B
AUTO
AUTO
CANCEL
AUTO