29
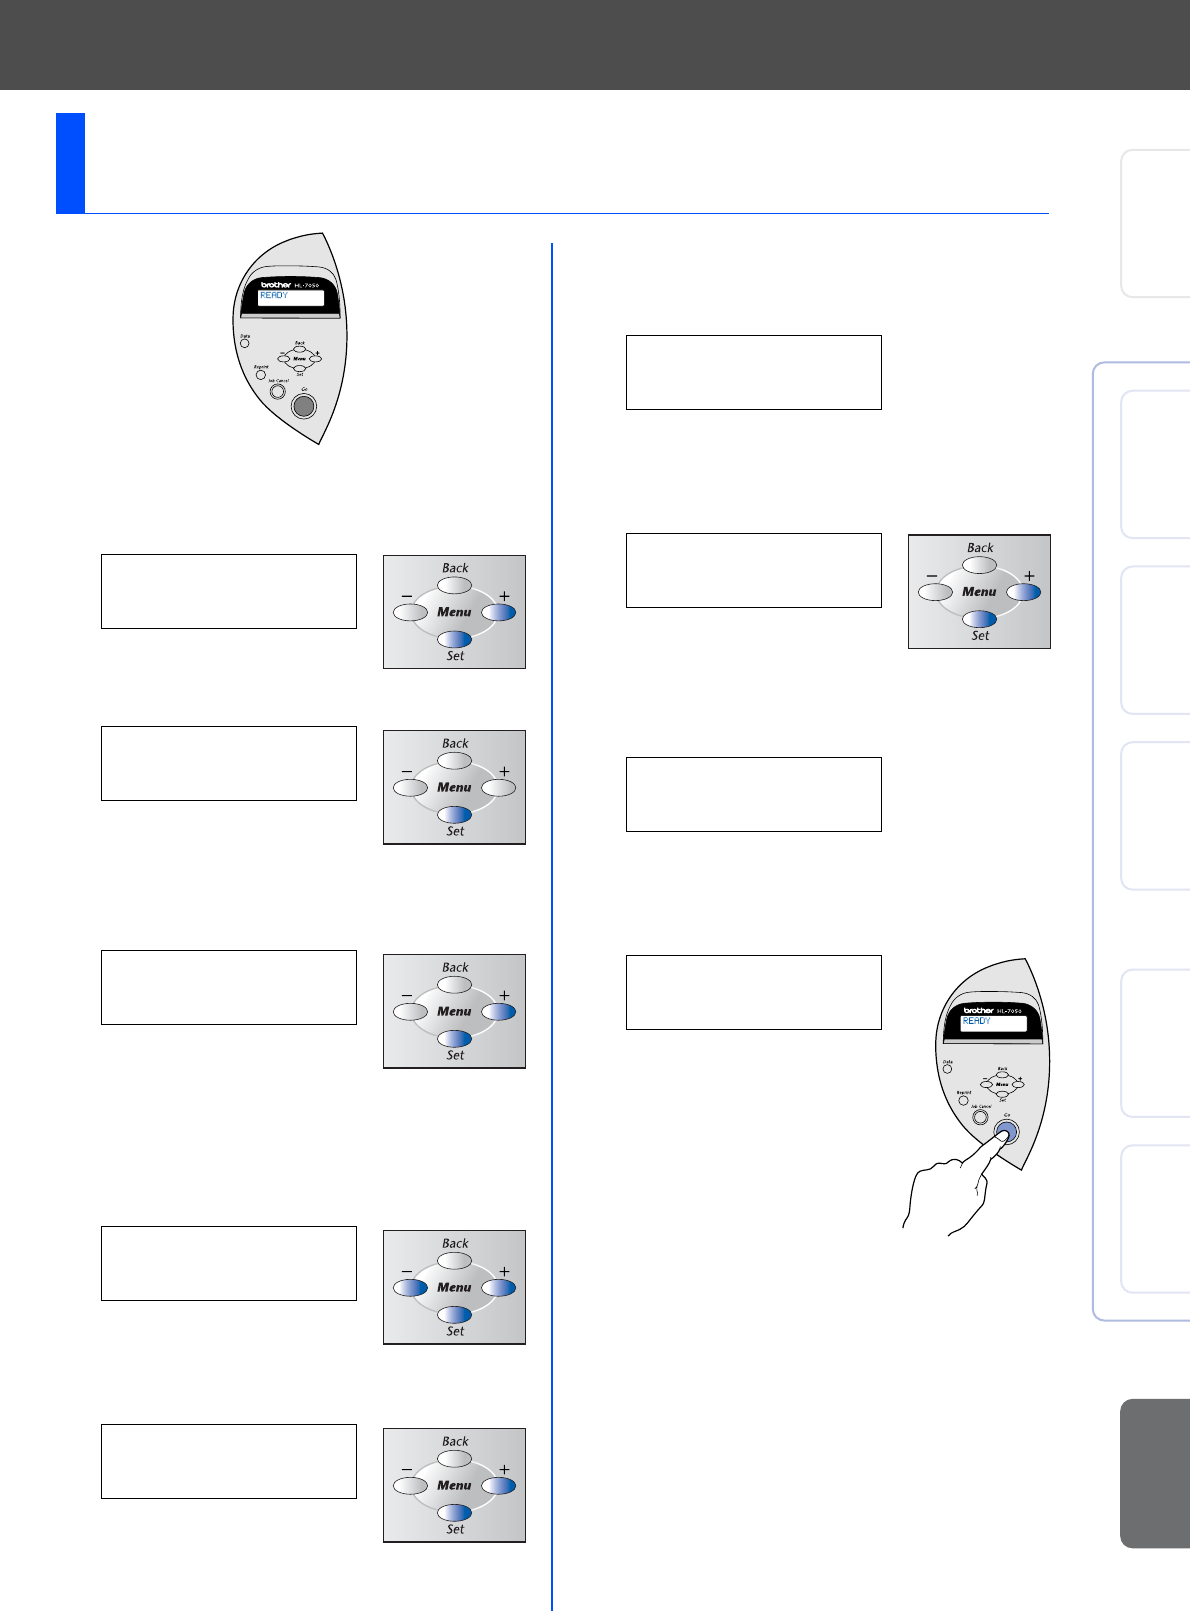
1 Press the + button until NETWORK is
displayed.
Press the Set button.
2 Press the Set button again.
3 Press the + button until IP ADDRESS= is
displayed.
Press the Set button.
4 Enter the IP address of the printer using the
+ and – buttons. Press the Set button to go
to the next digit. Press the Set button to
complete the IP address.
An asterisk mark (*) appears on the LCD.
5 Press the + button until SUBNET MASK= is
displayed. Press the Set button.
6 Enter the subnet mask settings in the same
way that you entered the IP address.
An asterisk mark (*) appears on the LCD.
7 Press the + button until GATEWAY= is
displayed. Press the Set button.
8 Enter the gateway settings in the same way
that you entered the IP address.
An asterisk mark (*) appears on the LCD.
9 Press the Go button to put the printer back
into its READY state.
Setting your IP Address, Subnet Mask and
Gateway (Using the Control panel)
-- MENU --
NETWORK
NETWORK
TCP/IP
TCP/IP
IP ADDRESS=
IP ADDRESS=
192. 0. 0.192*
TCP/IP
SUBNET MASK=
SUBNET MASK=
0. 0. 0. 0*
TCP/IP
GATEWAY=
GATEWAY=
0. 0. 0. 0*
READY
Setting Up
Your Printer
Windows
®
USB
Windows
®
Parallel
Windows
®
Network
Macintosh
®
USB
Macintosh
®
Network
For
Administrator
Installing the Driver


