1 - 26 ABOUT THIS PRINTER
6
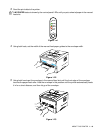
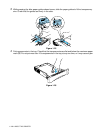
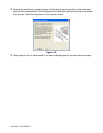
After the printed transparency comes out of the printer, put in the next transparency as described
in Step 5 above. Repeat for each transparency that you want to print
7
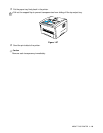
After you finish the print job, close the rear cover.
Caution
Remove each transparency immediately after printing. Stacking the printed transparencies may cause
a paper jam or the transparency to curl.
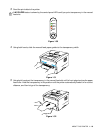
■ Put the transparency into the manual feed slot with the side to be printed face up.
■ Make sure that the transparency is straight and in the proper position on the manual feed slot.
If it is not, the transparency may not be fed properly, resulting in a skewed printout or a jam.
■ Do not put more than one transparency in the manual feed slot at any one time, or it may cause
a jam.


