


WBMR-G54 Wireless ADSL Router User Guide
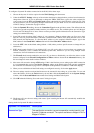
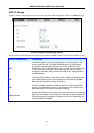
your account. Leave the PVC and Virtual Circuit setting at the default (Pcv0 and Enabled) values for now. This
can be used later if you are configuring multiple virtual circuits for your ADSL service. For more information on
ATM VC Settings, see the table on page 41 below.
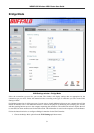
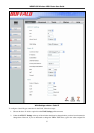
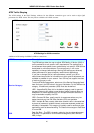
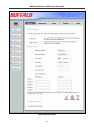
3. Under the Static IP heading, choose the Connection Type from the pull-down menu. This defines both the
connection type and encapsulation method used for your ADSL service. The available options are Bridged IP
LLC, Bridged IP VC-Mux, Routed IP LLC, Routed IP VC-Mux or IPoA. If have not been provided specific
information for the Connection Type setting, leave the default setting.
4. Change the IP Address, Subnet Mask, Gateway Address and (if available) Secondary DNS Server IP address
as instructed by your ISP. These are the global IP settings for the WAN interface. This is the “visible” IP address
of your account. Your ISP should have provided these IP settings to you.
5. Leave the MTU value at the default setting (default = 1400) unless you have specific reasons to change this (see
table below).
6. NAT should remain Enabled. If you disable NAT, you will not be able to use more than one computer for
Internet connections. NAT is enabled and disabled system-wide, therefore if you are using multiple virtual
connections, NAT will be disabled on all connections.
7. The Firewall should remain enabled for most users. If you choose to disable this you will not be able to use the
features configured in the Firewall Configuration and Filters window located in the Advanced directory. See
the next chapter for more details on these windows.
8. Most users will not need to change ATM settings. If this is the first time you are setting up the ADSL connection
it is recommended that you leave the Service Category settings at the default values until you have established
the connection. See the table on page 40 for a description of the parameters available for ATM traffic shaping.
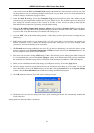
9. When you are satisfied that all the WAN settings are configured correctly, click on the Apply button.
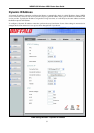
10. The new settings must be saved and the Router must be restarted for the settings to go into effect. To save and
reboot the Router, click on the Tools directory tab and then click the System button. In the System Settings
window, click the Save and Reboot button under Save Settings and Reboot the System.
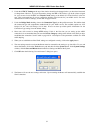
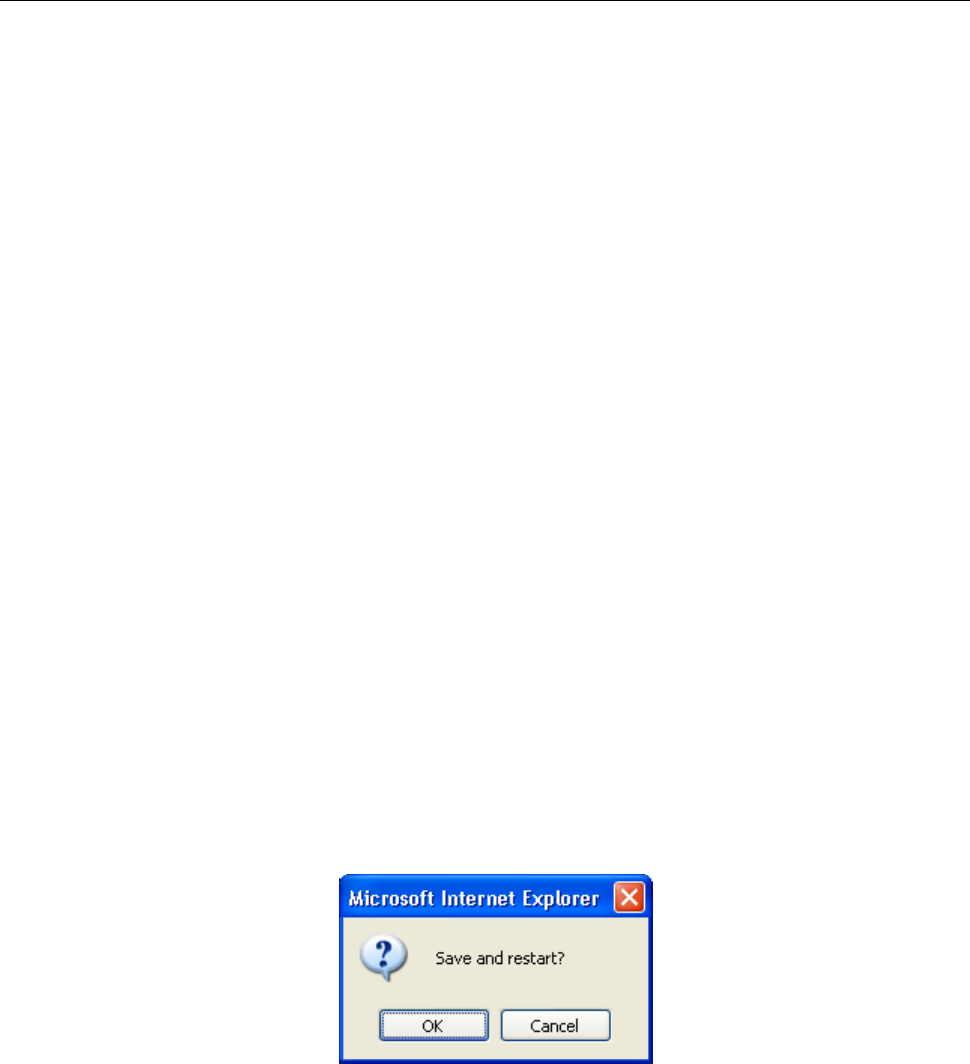
11. Click OK when the following “Save and restart?” dialog box opens.
12. The Router will save the new settings and restart. Upon restarting the Router will automatically establish the
WAN connection.
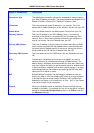
Setting details for Static IP Address connections:
38