


30
3. Projecting an Image (Basic Operation)
❺
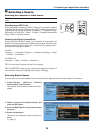
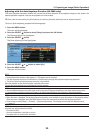
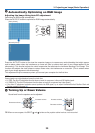
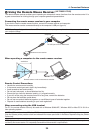
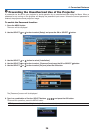
Automatically Optimizing on RGB Image
Adjusting the Image Using Auto PC adjustment
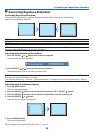
Optimizing an RGB image automatically.
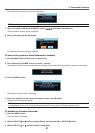
Press the AUTO PC button to optimize an RGB image automatically.
[Poor picture]
[Normal picture]
AUTO PC
O
W
E
R
AUTO PC
INPUT
VOL
-
POWER
BACK
INPUTIMAGE
ASPECT
INFO.
MENU
NO
SHO
W
AUTO PC
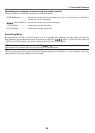
Press the AUTO PC button to ne-tune the computer image or to remove any vertical banding that might appear
and to reduce video noise, dot interference or cross talk (this is evident when part of your image appears to be
shimmering). This function adjusts the clock frequencies that eliminate the horizontal banding in the image. This
function also adjusts the clock phase to reduce video noise, dot interference or cross talk. (This is evident when
part of your image appears to be shimmering.)
This adjustment may be necessary when you connect your computer for the rst time.
NOTE:
Some signals may not be displayed correctly or take time.
• LV-7265: The Auto PC adjustment function does not work for component, video, and DVI digital signals.
• LV-7260/LV-X7: The Auto PC adjustment function does not work for component and video signals.
• If the Auto PC adjustment operation cannot optimize the RGB signal, try to adjust Horizontal/Vertical Position Clock and
Tracking manually. See page
46.
❻
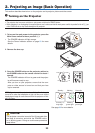
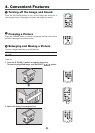
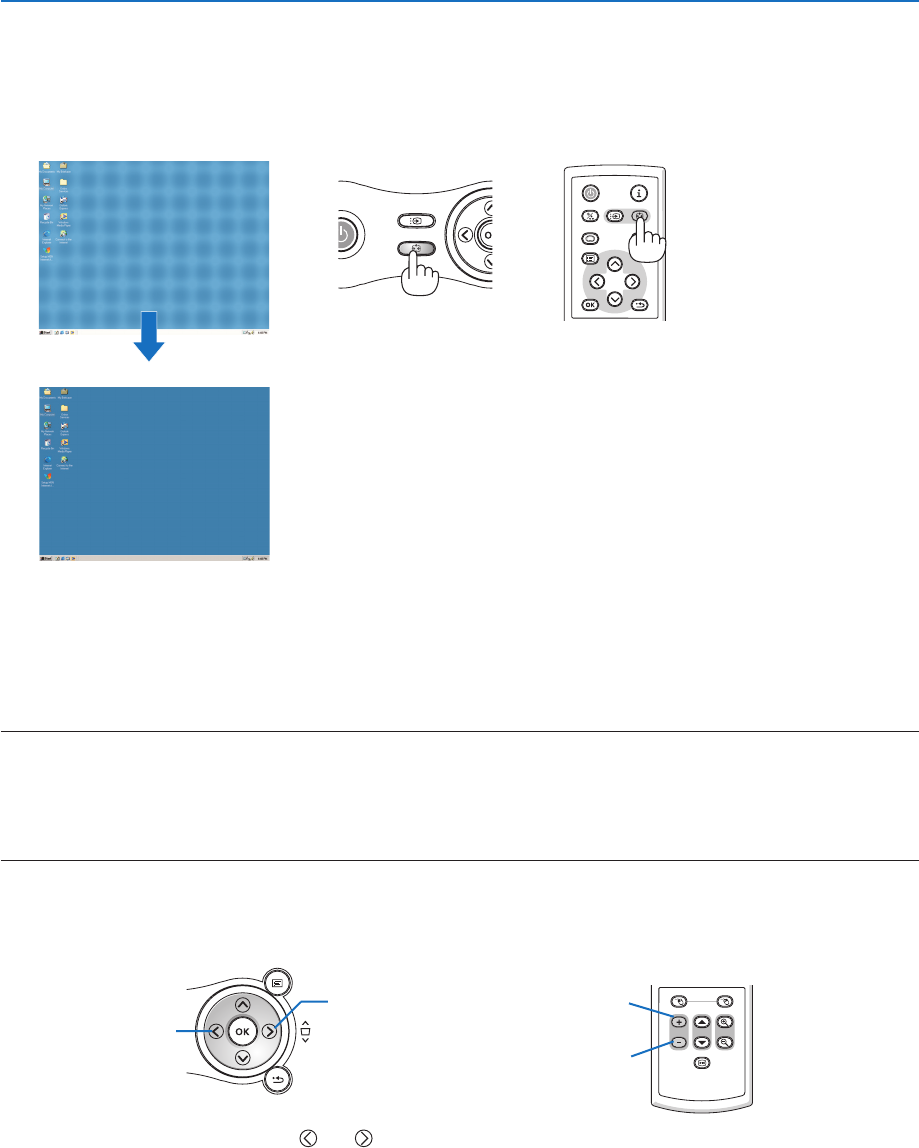
Turning Up or Down Volume
Increase volume
Decrease volume
R
-
CLICK
L
-
CLICK
FREEZE
D.ZOOM
PAG EVOL
Sound level from the speaker can be adjusted.
TIP: When no menus appear, the SELECT and buttons on the projector cabinet work as a volume control.
VOL
-
VOL
+
MENU
BACK
KEYSTONE
Increase volume
Decrease volume