


Installation-Related Menu Settings
158
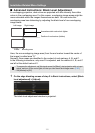
■ Advanced Instructions: Black Level Adjustment
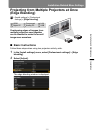
In overlapping projection, dark colors are projected with less intensity than other
colors in the overlapping area. For this reason, overlapping image areas might be
more noticeable when the images themselves are dark. You can make this
overlapping area less distracting by adjusting the black level of non-overlapping
image areas.
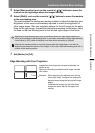
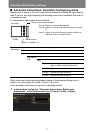
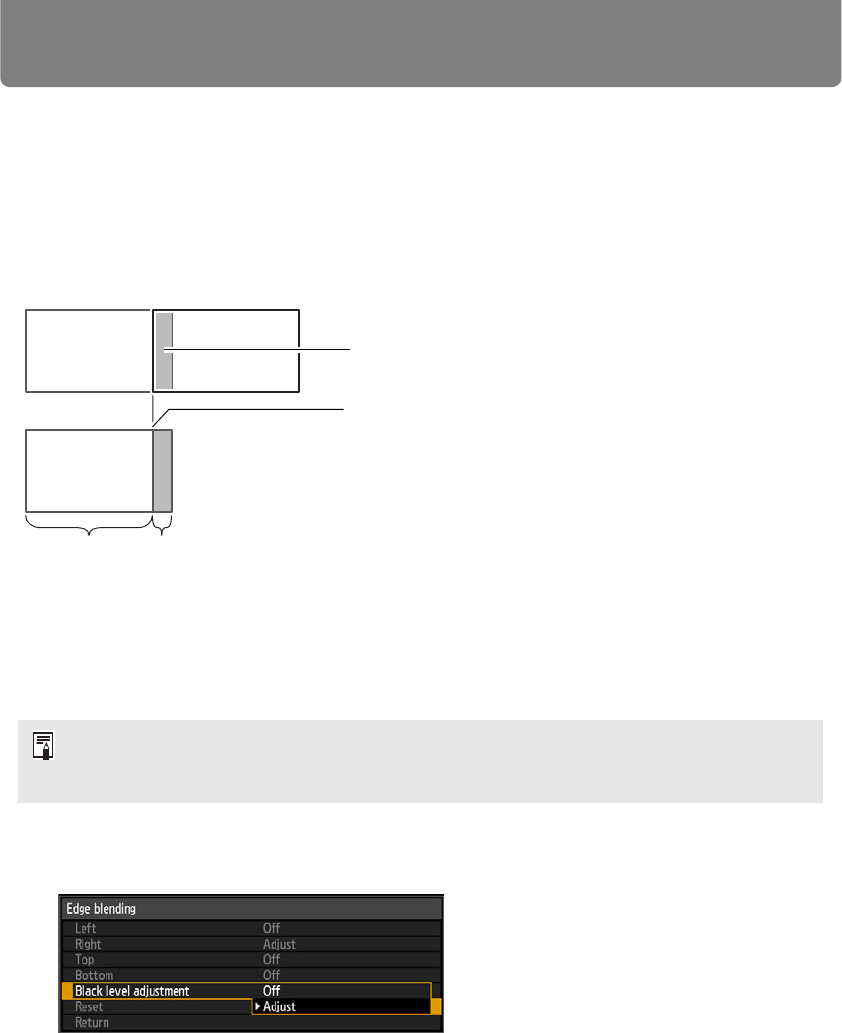
Here, the non-overlapping image area (from the end marker toward the center of
the image) is called area “D.”
Normally, three areas are identified in the context of end markers: A, B, and C.
In the following instructions, only area D is adjusted, and the widths of A, B, and C
are left at the default value of 0.
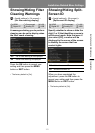
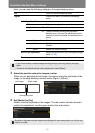
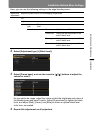
1 On the edge blending screen of step 2 in Basic Instructions, select [Black
level adjustment] > [Adjust].
The black level adjustment window is projected.
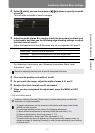
• To prepare for adjustment, set [No signal screen] to [Black], start projection with no input
signal, and turn off the room lights, so that you can check dark image areas. (P107)
• Set [Marker] to [Off].
Area where dark colors look lighter
Left image Right image
Position of end marker (hidden)
D-area Blending area