15
6.
Select the PowerPoint file you want to convert from and then click the [Open]
button.
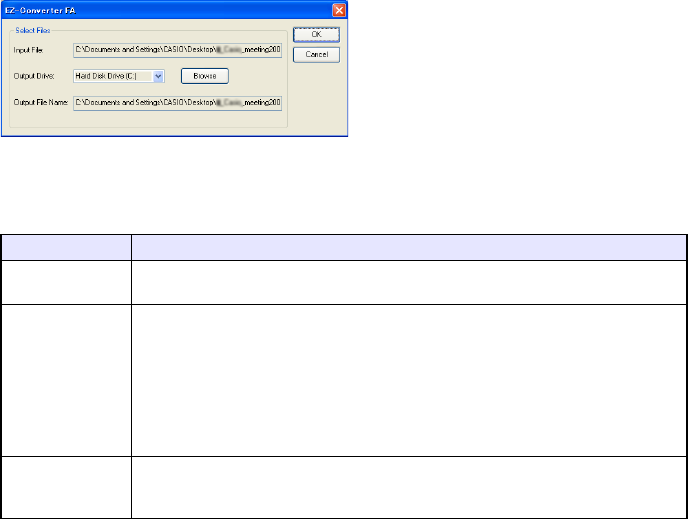
This will display a dialog box like the one shown below for specifying the ECA file settings.
7.
Configure the settings as required on the dialog box.
The following describes the meanings and settings of each of the items that appear on the
dialog box.
8.
After configuring all the settings you want, click [OK].
This will start playback of the PowerPoint file and start converting it to an ECA file.
The “Conversion complete.” message will appear when file conversion is complete.
If you have other PowerPoint files you want to convert, repeat steps 4 through 7.
To check the contents of an ECA file, perform the procedure under “To play back an ECA file
on your computer” (page 16).
9.
After you are finished converting all the files you want, click the close button in
the upper right corner of the EZ-Converter FA window.
Dialog Box Item Description
Input File Shows the name of the PowerPoint file selected in step 6. The setting of this item
cannot be changed.
Output Drive Shows the drive name of the removable disk (USB memory or memory card) connected
to the computer in step 2. When you have multiple removable disks connected to your
computer, you can click the [] button and select the name of the drive where you
want to save the converted file. The converted ECA file will be saved in a folder named
“ECA” on the drive you specify here. Under initial default settings, if there are no
removable disks connected to the computer, the resulting ECA file will be saved in the
same location (drive and folder) as the original PowerPoint file. Click the [Browse]
button and change the save destination, if you want.
Output File Name Shows the file name of the converted ECA file, along with the path from the drive name.
Except for the extension, the file name is the same as the PowerPoint file name. The
setting of this item cannot be changed.


