


44
To adjust the camera position
1.
Remove all documents and objects from the document stage.
2.
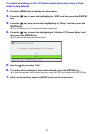
Press the [FUNC] key to display the YC Camera application function menu.
3.
Use the [] key to move the highlighting to “Adjust Camera Position” and then
press the [ENTER] key.
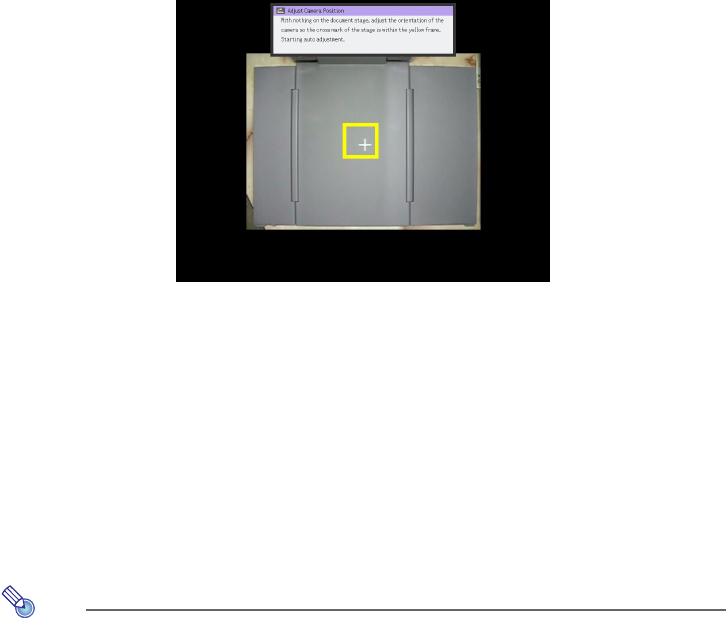
This displays the camera position adjustment dialog box.
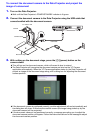
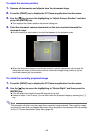
4.
Point the document camera downwards so the lens is pointed towards the
document stage.
Aim the camera as instructed by the text that appears in the projection area.
When the document camera is positioned correctly, position adjustment will end and the
dialog box will close. At this time the monitor screen (the image being picked up by the
document camera) will be projected.
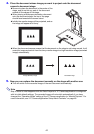
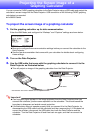
To rotate the currently projected image
1.
Press the [FUNC] key to display the YC Camera application function menu.
2.
Use the [] key to move the highlighting to “Rotate Right” and then press the
[ENTER] key.
This will rotate the projected image 90 degrees to the right.
Instead of steps 1 and 2 above, you can also rotate the projected image by pressing the [O]
key.
Note
This operation will affect only the image that is currently being projected. The projection image
produced the next time you release the shutter will be projected in accordance with the settings
on the YC Camera Application Setup Menu (page 46).