


26
Projecting a Slideshow
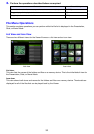
The Data Projector’s Slide Mode lets you group multiple image files and project them in sequence as a
slideshow. You can select either manual playback or auto playback for slideshow image display. The
initial default setting is manual playback.
To prepare image files for slideshow play
Note the following points when preparing your slideshow on your computer.
All of the image files in the slideshow must be in the same folder.
Images will appear during a slideshow in the file name sequence the image files are arranged in the
folder. To display images in a specific sequence, adjust their file names so they are listed in the
folder in the sequence you want.
Copy the folder with the slideshow images to a memory device.
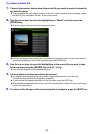
To project image files as a slideshow
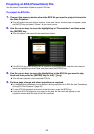
1.
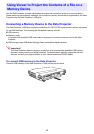
Connect the memory device where the image files of the slideshow are stored to
the Data Projector.
This will project the main Viewer window. If the main Viewer window does not appear, press
the [INPUT] key and select “Viewer” as the input source.
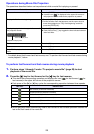
2.
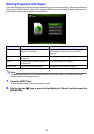
Select either manual or auto scroll, and configure other slideshow settings.
For more information, see “Configuring Viewer Settings” (page 33).
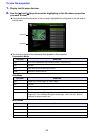
3.
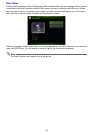
Use the cursor keys to move the highlighting to “Slides” and then press the
[ENTER] key.
This will project a file menu.
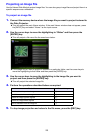
4.
Use the cursor keys to move the highlighting to the folder that contains the
image files that make up your slideshow and then press the [ENTER] key.
5.
Use the cursor keys to move the highlighting to the image file you want to start
the slideshow from and then press the [O] key.
This will project the selected image file and start the slideshow.