


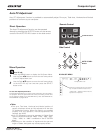

39
Note:
s4RUE&ULLSCREENAND$IGITALZOOMnCANNOT
BESELECTEDWHENNOSIGNALISDETECTEDINTHE
0#3YSTEM-ENUP
s4HEPROJECTORCANNOTDISPLAYANDRESOLUTION
HIGHERTHANX)FYOURCOMPUTERS
SCREENRESOLUTIONISHIGHERTHANX
LOWERTHERESOLUTIONBEFORECONNECTINGTHE
PROJECTOR
s4HEIMAGEDATAOTHERTHAN8'!XIS
MODIFIEDTOFITTHESCREENSIZEININITIALMODE
s4HEPANNINGFUNCTIONMAYNOTOPERATEPROPERLY
IFTHESTORED-ODEINTHE0#!DJUST-ENUIS
USEDP
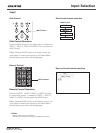
Screen Size Adjustment
Select the desired screen size that conforms to the input signal source.
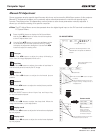
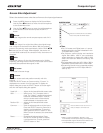
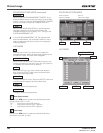
Press the MENU button to display the On-Screen Menu.
Use the Point buttons to move the red frame pointer
to the Screen Menu icon.
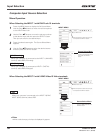
1
Use the Point ! buttons to move the red frame pointer
to the desired function and then press the SELECT
button.
2
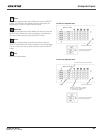
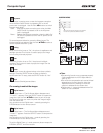
Normal
SCREEN MENU
Provide the image at the normal computer aspect ratio of 4:3.
Wide
Tr u e
Provide the image in its original size. When the original image
size is larger than the screen size (1024 x 768), the projector
enters to the panning mode automatically. Use the Point !
buttons to pan the image. When adjusted, the arrows will
turn red. When reached to the correction limits, the arrows will
disappear.
Provide the image to fit the wide video aspect ratio (16:9) by
expanding the image width uniformly. This function can be used
to provide the squeezed video signal at 16:9.
Full screen
Provide the full screen image.
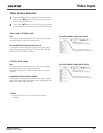
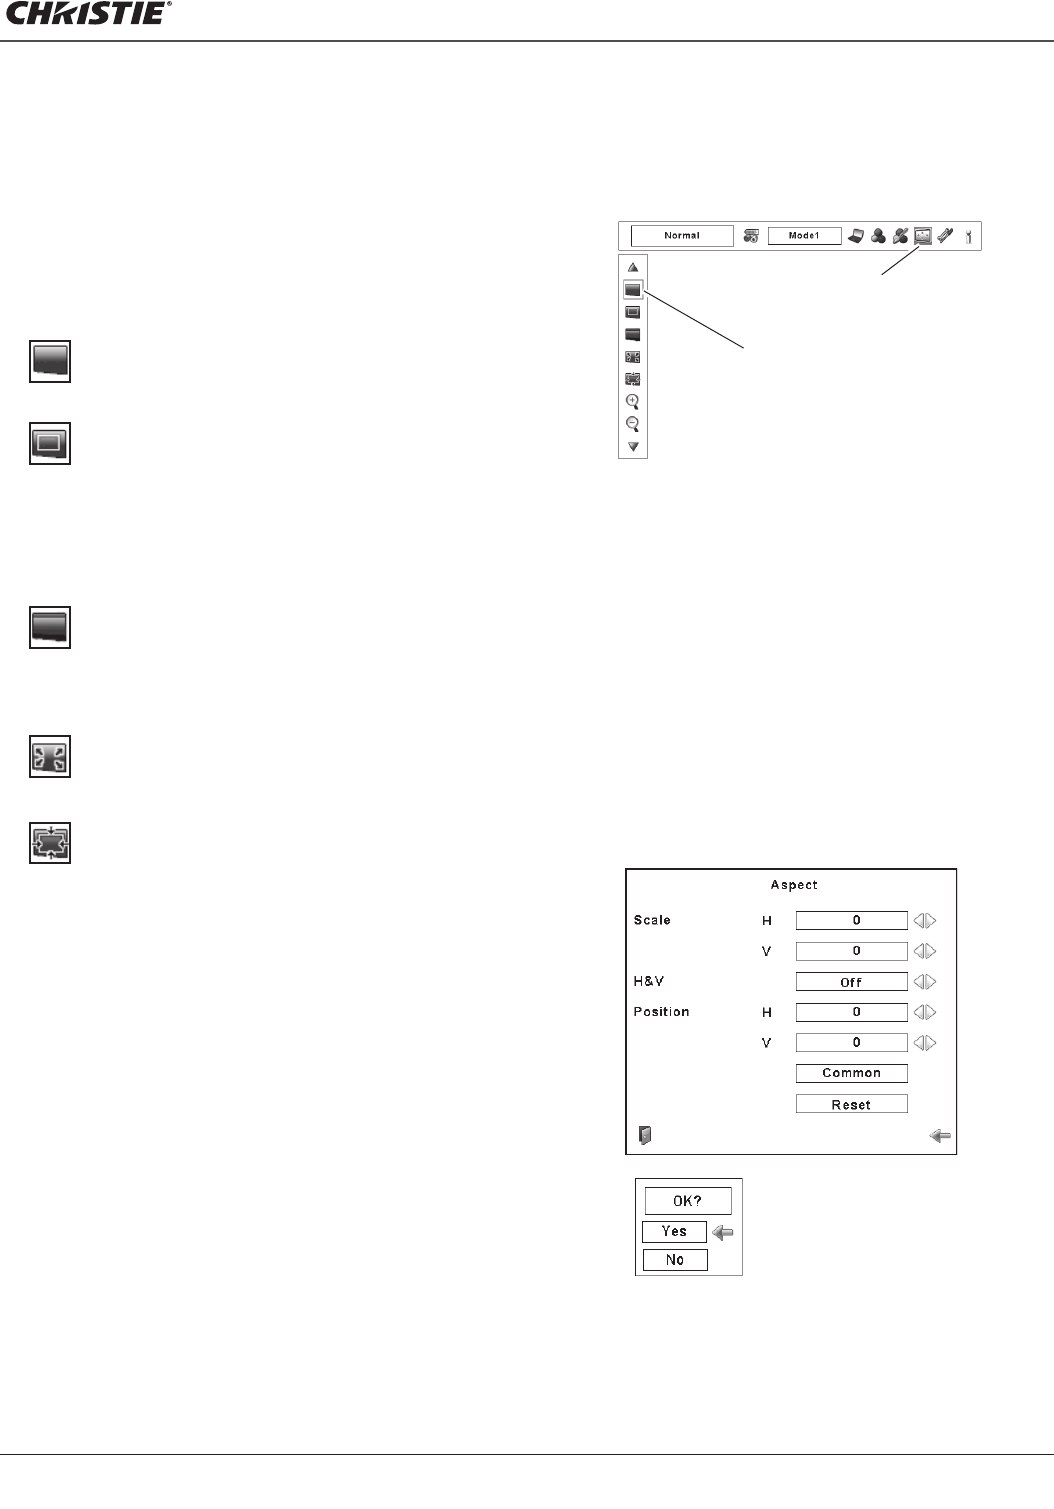
Screen Menu icon
Move the red frame pointer to the desired
function and press the SELECT button.
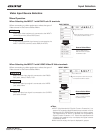
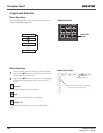
Scale H/V .............. Adjust the Horizontal/Vertical screen scale.
H&V ...................... When set to “On,” the aspect ratio is
fixed. The “Scale V” appears dimmed and
becomes unavailable. Adjust “Scale H,”
then the screen scale is automatically
modified based on the aspect ratio.
Position H/V .......... Adjust the Horizontal/Vertical screen
position.
Common .............. Save the adjusted scale to all the inputs.
Press the SELECT button at Common to
display a confirmation box. To save the
scale, press the SELECT button at “Yes.”
When Custom is selected, the saved scale
is used.
Reset .................... Reset the all adjusted values. Press
the SELECT button at Reset to display
a confirmation box. To reset, press the
SELECT button at “Yes.”
Custom
Note:
s7HENNOSIGNALISDETECTEDh.ORMALvISSET
AUTOMATICALLYANDTHE!SPECTDIALOGBOXDISAPPEARS
s4HEADJUSTABLERANGEFOR3CALE(6AND0OSITION(6
ISLIMITEDDEPENDINGONTHEINPUTSIGNAL
Press the SELECT button at Common or
Reset, to display a confirmation box.
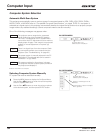
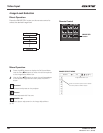
Computer Input
Adjust the screen scale and position manually with this
function.
Press the SELECT button at Custom and the “Custom” is
displayed on the screen for a few seconds. To display the
Aspect dialog box, press the SELECT button at Custom again
and then the Aspect dialog box appears.
LX1000 User Manual
020-000141-01 Rev. 1 (05-2009)