


7
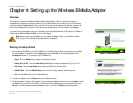
Chapter 3: Connecting the Wireless-B Media Adapter to Your Network for Setup
Overview
Wireless-B Media Adapter
Chapter 3: Connecting the Wireless-B Media Adapter to Your
Network for Setup
Overview
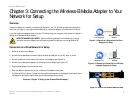
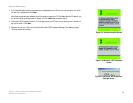
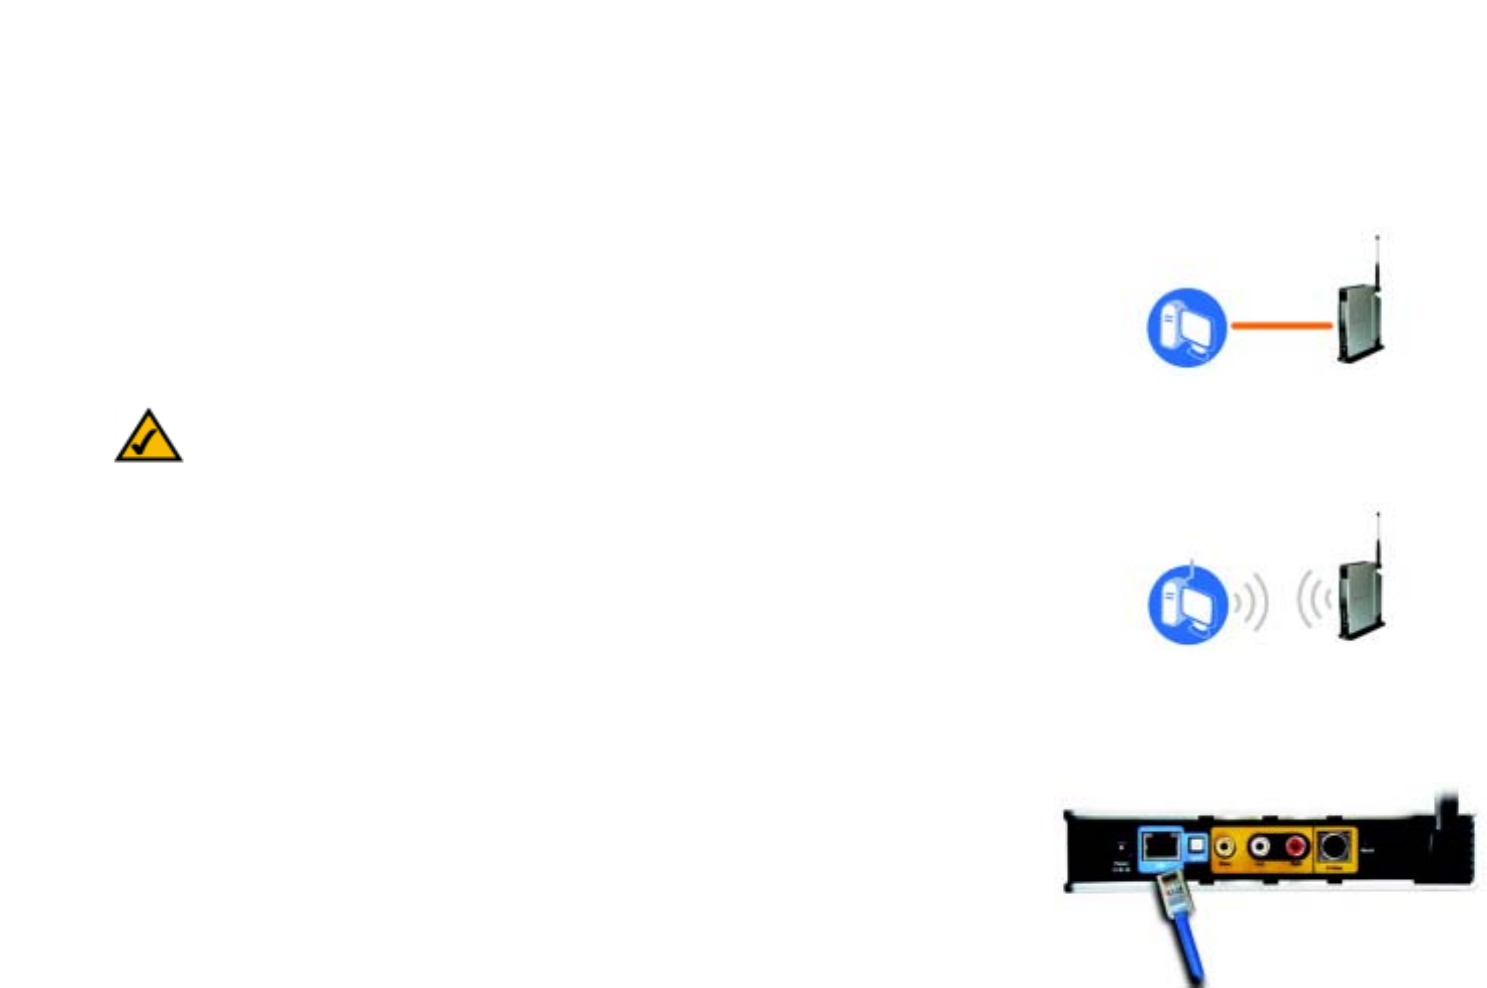
Connect the Adapter to a network or computer (see Figures 3-1 and 3-2), and then proceed to the appropriate
section for your setup. It is strongly recommended that you connect the Adapter to a wired network for setup.
If you want to set up the Adapter directly from your TV (without using your computer), then proceed to “Chapter 4:
Setting up the Wireless-B Media Adapter.”
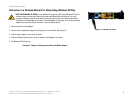
Connection to a Wired Network for Setup
1. Attach the antenna to the Adapter.
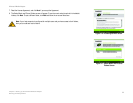
2. Connect the included Ethernet network cable to an Ethernet (LAN) port on your PC, router, or switch.
3. Connect the other end of the cable to the LAN port on the Adapter (see Figure 3-3).
4. Connect the included power adapter to the Power port on the Adapter (see Figure 3-4).
5. Plug the power adapter into an electrical outlet.
6. Press the Adapter’s power button, which is located on the Adapter’s front panel.
7. The Ethernet LED will light up. If it does not, then push the Uplink button on the Adapter’s back panel. Power
the Adapter off and back on again. Make sure the cable connections are secure.
Proceed to “Chapter 4: Setting up the Wireless-B Media Adapter.”
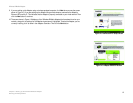
Figure 3-2: Example of a Connection to a Wireless-
equipped Computer for Setup
Figure 3-1: Example of a Connection to a Wired
Computer for Setup
Figure 3-3: Connect the Ethernet Network Cable
Windows XP
Computer Only
Windows 2000
or XP Computer
Wireless-B Media
Adapter
Wireless-B Media
Adapter
NOTE FOR WINDOWS 2000 USERS: You must connect the Adapter to a wired network for setup.
You cannot set up the Adapter from a wireless-equipped PC unless you are running Windows XP.